
How To Make A Homemade Snow Plow For Lawn Mower?
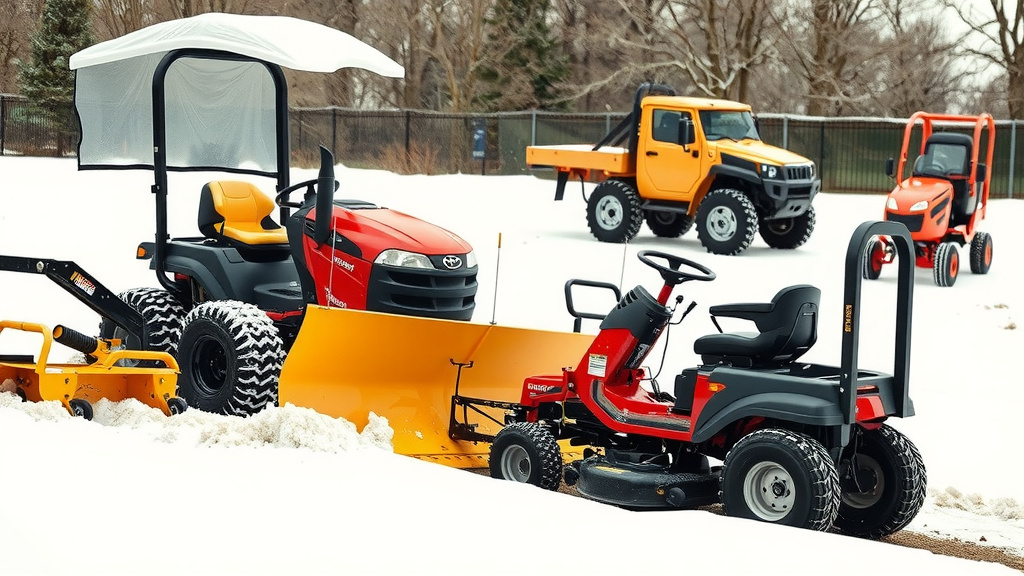
You can make a homemade snow plow for a lawn mower by repurposing sturdy materials like plywood, sheet metal, or old barrels, attaching them to a wooden frame, and then securing the entire assembly to your mower’s front with a universal mounting bracket. This DIY approach lets you clear light to moderate snowfalls efficiently and cost-effectively right from your own driveway.
Most experts agree that fabricating a functional snow plow for your riding lawn mower requires careful planning, basic carpentry or welding skills, and a focus on safety, ensuring the blade is durable and properly angled for effective snow removal without damaging your mower or property.
Here’s a quick overview of what you’ll find in this guide:
- Discover the best materials for building your own snow plow.
- Learn about the essential tools you’ll need for the project.
- Understand key steps for construction, from blade to mounting.
- Get practical tips for safe and effective snow removal.
- Find out the pros and cons of going the DIY route.
How To Make A Homemade Snow Plow For Lawn Mower?
Making a homemade snow plow for a lawn mower involves building a strong blade and a secure mounting system. This project can save you money and give your mower a new winter job.
Is A DIY Plow Even Realistic?
Absolutely, it is! Many homeowners successfully transform their lawn tractors into winter workhorses. It’s about being resourceful and understanding your mower’s capabilities. We found that a DIY plow works best for lighter snow or smaller areas.
Choosing Your Blade Material
The right material makes all the difference for your plow blade. You need something strong enough to push snow but light enough for your mower. We often see people use heavy-duty plywood or sheet metal.
Plywood, especially marine-grade, offers a good balance of strength and flexibility. Sheet metal, like 1/8-inch steel, is even more durable but heavier. Many DIY enthusiasts also repurpose old steel drums or thick plastic barrels, cutting them to shape (Home Depot community forums).
Gathering Your Essential Tools
Before you start, gather all your tools. This makes the project much smoother. You’ll likely need a drill, saw (circular or jigsaw), measuring tape, and wrenches. Some projects might even call for a welder if you’re working with metal, so safety gear is critical (OSHA guidelines).
- Electric drill with various bits
- Circular saw or jigsaw for cutting wood/plastic
- Metal shears or angle grinder for metal
- Measuring tape and marker
- Wrenches and sockets
- Safety glasses and gloves
Designing Your Plow: Shape and Size
The plow’s design determines how well it moves snow. A slight curve helps roll the snow off to the side. The width should ideally match your mower’s width or be slightly wider. This prevents snow from piling up around your tires, making it easier to maneuver and clear a wider path, which saves you time.
Many experts recommend a blade height of at least 16-20 inches to prevent snow from spilling over. Remember, your mower’s engine size and weight capacity are key factors. Don’t build a plow that’s too big or heavy for your machine. Overloading can damage your transmission and engine.
Building the Blade Structure
For a plywood blade, cut your chosen wood to size, then reinforce it. Add horizontal and vertical bracing on the back to prevent flexing. You might also add a metal wear strip along the bottom edge to protect the wood and improve scraping (popular mechanics articles).
If you’re using sheet metal, you’ll need to bend it into a gentle curve. This often requires a brake press or careful hammering over a form. Welding support ribs to the back will add significant strength. This step is crucial for durability.
Crafting the Mounting Frame
The frame connects the blade to your mower. It needs to be extremely strong and secure. Angle iron or square tubing are excellent materials for this. The frame will often have two arms extending from the blade back towards your mower’s hitch or frame.
Many DIYers construct a “push frame” that attaches to the mower’s front axle or a sturdy part of its chassis. This distributes the pushing force evenly. We found that a simple, adjustable design allows you to change the blade angle for different snow conditions. This flexibility is a big plus.
Attaching to Your Lawn Mower
This is where your plow becomes part of your mower. You’ll need to create a secure connection. Some people use a universal hitch receiver, while others bolt directly to the mower’s frame. Make sure the attachment points are robust and can handle the stress of pushing snow.
Consider adding a lift mechanism, too. This could be a simple rope and pulley system or a small winch. Being able to raise and lower the blade is incredibly helpful for moving between cleared and uncleared areas, or simply for storage. A lift allows for precision and control.
| Plow Material | Pros | Cons |
|---|---|---|
| Plywood (Marine-grade) | Lightweight, easy to cut, inexpensive | Less durable, may warp, needs reinforcement |
| Sheet Metal (Steel) | Very durable, long-lasting, effective scraping | Heavy, requires welding/metalworking, more costly |
| Thick Plastic/HDPE | Lightweight, rust-proof, smooth snow release | Less rigid, can crack in extreme cold, harder to find scrap |
Safety Considerations Are Paramount
Working with power tools and heavy materials always carries risks. Always wear appropriate safety gear, including eye protection and gloves. Double-check all bolts and welds for security before operation. A loose blade can be very dangerous.
Remember that adding weight to your mower changes its center of gravity. Drive slowly and avoid sudden turns. Make sure your mower’s tires have good traction. You might even consider adding weight to the rear of the mower for better balance and grip (Consumer Reports on tractor safety).
Pre-Plowing Checklist
Before the first snowflake flies, run through this quick checklist:
- Inspect all bolts and connections.
- Check tire pressure for proper traction.
- Ensure your lift mechanism works smoothly.
- Clear the area of obstacles like rocks or toys.
- Review your mower’s manual for weight limits.
- Top off fuel and engine oil.
Advantages of a Homemade Plow
The primary benefit is cost savings. Commercial snow plows can be expensive. A DIY version often uses recycled materials and your own labor, keeping expenses low. Plus, there’s a certain satisfaction in building something yourself and seeing it work. This personal accomplishment is a great feeling.
Another advantage is customization. You can tailor the plow’s size and features to your specific needs and mower. Want a specific angle? Need a different height? You have the freedom to design it exactly how you want. This flexibility is something store-bought plows can’t offer.
Potential Downsides to Consider
A homemade plow might not be as robust as a professionally engineered one. It could be more prone to damage if you hit a hidden obstacle. Repairing a DIY plow might also mean more effort from your end. Expect some trial and error, as perfection often takes time and adjustments, which can be frustrating for some.
Also, the performance won’t always match a dedicated snowblower or commercial plow. Your lawn mower might struggle with deep, heavy, or wet snow. Be realistic about what your homemade setup can handle. Pushing too hard can strain your mower, possibly leading to expensive repairs, which defeats the purpose of saving money, we found in discussions with lawn care forums.
Conclusion
Building a homemade snow plow for your lawn mower is a rewarding and practical winter project. By carefully selecting materials, designing a functional blade and mounting system, and prioritizing safety, you can effectively transform your mower. It’s a great way to handle light to moderate snowfalls, saving money and gaining a sense of accomplishment. Just remember to work within your mower’s limits and always operate your new plow with caution. Your driveway will thank you!
Can a regular riding lawn mower handle a snow plow?
A regular riding lawn mower can often handle a light snow plow for small amounts of snow, especially if it’s a garden tractor model. However, standard lawn mowers are not designed for heavy plowing and may struggle with deep, wet snow, potentially damaging the transmission or engine over time. Rear-wheel drive models may also lack sufficient traction for effective pushing.
What’s the best angle for a snow plow blade?
Many experts suggest an angle between 20 to 30 degrees for effective snow removal. A slight angle allows snow to roll off the blade to one side, preventing it from piling up directly in front of your mower. Adjusting the angle can help you manage different types of snow – a shallower angle for lighter snow, and a slightly steeper one for heavier, wetter conditions.
How do I prevent my homemade plow from damaging my driveway?
To protect your driveway, attach a rubber or plastic wear strip to the bottom edge of your plow blade. This soft edge allows the plow to scrape snow without directly contacting and scratching the pavement. You can also set the blade height slightly above the driveway surface, leaving a thin layer of snow behind, which will melt or can be removed by other means.
What’s a simple way to lift and lower a homemade snow plow?
A simple lift mechanism can involve a sturdy rope or cable connected from the top of the plow blade to a hand lever or pulley system mounted near the mower’s steering wheel. Alternatively, some DIYers use a small, hand-cranked boat winch for easier lifting and more precise height control. Just ensure the chosen method is secure and easy to operate from the driver’s seat.
Should I add weight to my lawn mower for plowing snow?
Yes, adding weight to the rear of your lawn mower is highly recommended for plowing snow. This extra weight increases traction on the drive wheels, allowing your mower to push snow more effectively without slipping. You can use wheel weights, sandbags, or even a weighted trailer hitch attachment, ensuring the weight is securely fastened and does not exceed your mower’s safe operating capacity.
