
How To Make A Lawn Mower Grass Catcher?
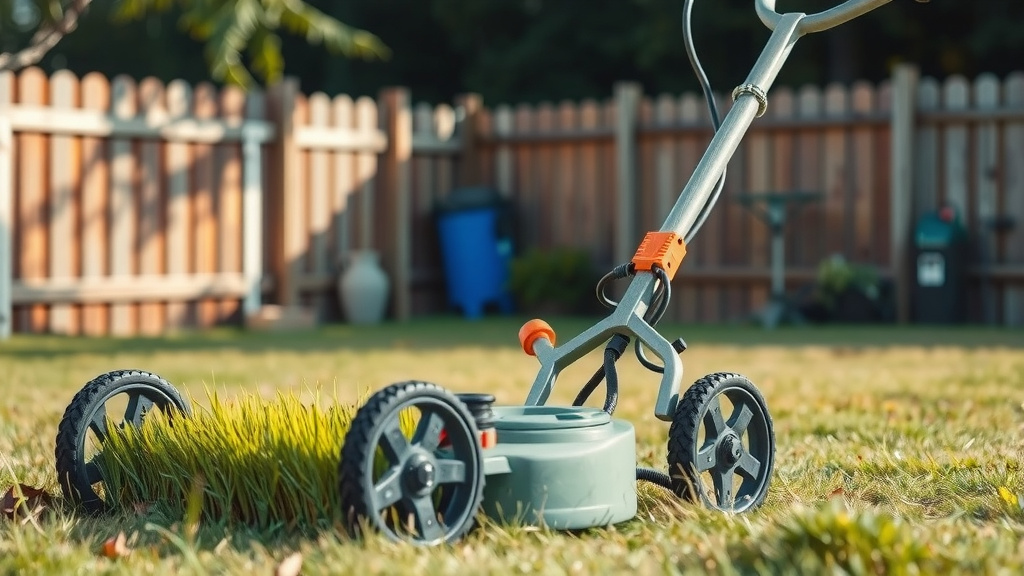
Making a lawn mower grass catcher involves adapting a durable bag or container to your mower’s discharge chute. You’ll need some basic tools and materials like heavy-duty fabric or a plastic bin, along with straps or bungee cords for secure attachment.
This DIY project can save you money and provide a custom fit for your specific mower, helping you achieve a cleaner lawn while also collecting clippings for compost or disposal.
TL;DR: Want to make your own grass catcher? Here’s the rundown:
- Save money and get a custom fit compared to buying.
- You’ll need sturdy material like canvas or a plastic bin, and basic tools.
- Measure your mower’s discharge chute accurately for a snug fit.
- Secure the catcher firmly to prevent it from falling off during use.
- Empty your DIY catcher regularly to keep your mower performing well.
How To Make A Lawn Mower Grass Catcher?
Creating your own lawn mower grass catcher can be a surprisingly rewarding project. It helps you keep your lawn tidy and also lets you collect clippings for composting. We found that a homemade catcher can be quite effective if done right.
Why Build Your Own Grass Catcher?
Why would you make one when you can buy one? Well, sometimes store-bought catchers just don’t fit perfectly. Or maybe your mower is an older model, and finding parts is a headache. Building it yourself gives you a custom solution, often at a lower cost.
Plus, catching grass clippings can prevent thatch buildup, which many lawn care experts say is a good thing for lawn health. It also gives your yard a cleaner, more manicured look. Who doesn’t want that?
What Materials Will You Need?
Gathering your materials before starting is a smart move. Think about what will stand up to flying grass and dirt. Durability is key here, according to our research on common DIY projects.
Here’s a quick checklist of what you’ll likely need:
- Heavy-duty fabric (canvas, tarp, or mesh) or a sturdy plastic bin
- Strong thread and a sewing machine (if using fabric) or strong adhesive/rivets
- Measuring tape
- Scissors or utility knife
- Marker
- Drill and drill bits (if using plastic or metal components)
- Bungee cords, zip ties, or strong straps for attachment
- Optional: Metal rods or PVC pipe for a frame
Choosing the Right Bag Material
Your catcher’s material needs to be tough. Many homeowners find that a heavy canvas or a durable mesh tarp works wonderfully. If you prefer a solid container, a sturdy plastic bin can be an excellent choice.
The material must handle wet grass without tearing or becoming too heavy. We learned that breathability is a bonus, preventing moisture buildup. This helps avoid mold and mildew growth in your collected clippings.
Essential Tools for the Job
You probably have most of these tools in your garage already. A good measuring tape is non-negotiable for accuracy. Sharp scissors or a utility knife will make cutting your material much easier.
A drill can assist with creating attachment points on plastic or for adding a frame. Don’t forget those bungee cords or straps; they are your best friends for a secure attachment.
Step-by-Step Guide to Making Your Grass Catcher
Alright, let’s get into the nitty-gritty. This isn’t rocket science, but taking your time will yield the best results. Ready to get those hands dirty?
Step 1: Measure Your Mower’s Chute
This is arguably the most critical step. Measure the dimensions of your mower’s grass discharge chute carefully. You need both the width and height. Also, consider the angle at which grass exits.
An accurate measurement means your catcher will fit snugly and capture most of the clippings. You want a tight seal to prevent blow-back.
Step 2: Prepare Your Catcher Material
If you’re using fabric, cut it to size. You’ll need enough material to create a bag that can hold a decent amount of grass. Add some extra for seams and for wrapping around any frame you might build.
For a plastic bin, you might need to cut an opening to match your mower’s chute. Ensure the opening is slightly smaller than the chute for a secure overlap.
Step 3: Secure the Opening
With fabric, sew a reinforced opening that can snugly attach to your chute. You might add grommets for extra strength. If using a plastic bin, sand down any rough edges around your cut opening.
This opening is where all the action happens, so make it strong. Many experts suggest using a double-stitched seam for fabric catchers.
Step 4: Create a Sturdy Frame (Optional but helpful)
A frame can give your grass catcher shape and stability. You can use thin metal rods or PVC pipe to create a simple box-like structure. This frame can then be integrated into your fabric bag or used to support your plastic bin.
A frame prevents the bag from collapsing and ensures clippings flow freely. We found that a frame often leads to a more efficient catching system.
Step 5: Attach to Your Mower
Now for the big moment! Position your homemade grass catcher so its opening aligns perfectly with the mower’s discharge chute. Use bungee cords, strong straps, or heavy-duty zip ties to secure it firmly.
Check for any gaps where grass might escape. Give it a gentle tug to ensure it won’t fall off during mowing. You need a rock-solid connection here.
Common Challenges and How to Fix Them
Sometimes, DIY projects throw a curveball. Is your catcher sagging? Add more support with a stronger frame or additional attachment points. Is grass blowing out? Check your seal around the chute.
You might need to adjust the angle of the catcher or reinforce the opening. Don’t get discouraged; a little troubleshooting goes a long way. Persistence pays off when you want a well-functioning tool.
DIY vs. Buying a Grass Catcher
Both options have their merits, right? Let’s quickly compare what you gain and what you might compromise.
| Feature | DIY Grass Catcher | Store-Bought Grass Catcher |
|---|---|---|
| Cost | Generally lower, uses readily available materials. | Higher initial investment. |
| Customization | Perfect fit for your mower, specific capacity. | Standard sizes, might not be a perfect match. |
| Durability | Depends on material and construction quality. | Typically durable, designed for specific models. |
| Time Investment | Requires time for planning, construction, and fitting. | Quick to install if compatible. |
| Skill Required | Basic crafting and problem-solving skills needed. | Minimal skill, just follow instructions. |
Maintenance Tips for Your Homemade Catcher
Just like your mower, your grass catcher needs a little love. Empty it often to avoid excessive weight and to keep grass from compacting. After each use, shake out any lingering clippings.
If using fabric, consider hosing it down occasionally and letting it dry completely to prevent mildew. Regular checks for wear and tear will help your catcher last longer. Keep it clean for optimal performance.
Conclusion
Making a lawn mower grass catcher is a practical and budget-friendly project. With careful planning and attention to detail, you can create a functional tool that keeps your lawn looking pristine. Remember to measure twice and secure everything tightly for the best results.
Embrace the satisfaction of a job well done and a tidier lawn without breaking the bank. Happy mowing, and enjoy your DIY success!
How often should I empty my homemade grass catcher?
You should empty your homemade grass catcher frequently, ideally before it becomes completely full. Overfilling can put strain on your mower and make the catcher heavy and difficult to handle. For best results, empty it when it’s about two-thirds full.
Can I use any type of fabric for my DIY grass catcher?
No, not just any fabric will do. You need a heavy-duty material like canvas, a thick mesh, or a durable tarp. Lighter fabrics will tear quickly from the force of clippings and sunlight exposure. Choose something rugged that can withstand repeated use.
What if my mower doesn’t have a side discharge chute?
If your mower is designed for mulching or has a rear discharge without an easy attachment point, making a grass catcher can be much more challenging. This guide primarily focuses on mowers with a clear side discharge chute for easier adaptation. For other types, you might need a more complex design or professional help.
Is it safe to use a homemade grass catcher?
Yes, it can be safe if constructed and attached properly. The main safety concerns are ensuring it’s securely attached so it doesn’t fall off during operation and that it doesn’t obstruct any safety features of your mower. Always double-check all connections before starting your mower.
How can I make my grass catcher more durable?
To increase durability, use the strongest materials you can find for both the bag and any frame components. Reinforce all seams and attachment points with extra stitching, grommets, or strong adhesive. Protecting it from UV rays when not in use can also prolong its life. Many university extension services suggest storing lawn equipment out of direct sunlight.
