How To Replace Muffler On Craftsman Lawn Mower?
To replace the muffler on a Craftsman lawn mower, you must first ensure the engine is completely cool and disconnect the spark plug for safety.
You will typically unbolt the old muffler, remove the old gasket, and then attach the new muffler with a fresh gasket, securing it with the appropriate torque.
Before you dive into the details, here’s a quick summary of what you need to know:
- Always prioritize safety: engine off, cool, and spark plug disconnected.
- Gather the right tools and a new, compatible muffler.
- Expect to remove a few bolts to detach the old muffler.
- Always replace the exhaust gasket when installing a new muffler.
- Properly torque the new muffler bolts to prevent leaks and damage.
How To Replace Muffler On Craftsman Lawn Mower?
Replacing the muffler on your Craftsman lawn mower involves a few straightforward steps, ensuring your machine runs quieter and more efficiently. We found that the process generally requires basic hand tools and a bit of patience.
Why Bother Replacing Your Muffler?
You might wonder if a noisy mower is just part of the deal. However, a failing muffler is more than just an annoyance; it signals potential problems. A loud engine could be an indicator of a muffler nearing the end of its life.
A damaged muffler can also impact your mower’s performance. Many experts say a healthy exhaust system is vital for engine efficiency (Small Engine Repair Manuals). Ignoring it could lead to reduced power and even engine damage over time.
Think of it like a car’s exhaust system. A hole in it makes a lot of noise and might even affect fuel economy. Your lawn mower is no different, just on a smaller scale.
Is Your Muffler Really the Problem?
Before grabbing your tools, let’s do a quick check. Does your mower sound like a tractor without a muffler? Are you seeing excessive smoke from the exhaust area? These are often clear signs.
Sometimes, a simple loose connection or a crack might be visible. Give your muffler a visual inspection. Look for holes, cracks, or rust that could be causing the issue.
What You’ll Need: The Essential Tool Kit
Having the right tools makes any job easier, and this one is no exception. You don’t need a fancy mechanic’s garage, just some common items.
- Socket wrench set (with various sockets)
- Extension bar (can be helpful for tight spots)
- Torque wrench (important for proper tightening)
- Safety gloves
- Safety glasses
- Wire brush (for cleaning surfaces)
- New Craftsman muffler (ensure it’s the correct model)
- New exhaust gasket (always replace this!)
Getting the Right Replacement Muffler
This is a critical step. Not all mufflers are created equal, even for Craftsman mowers. You need the exact part for your specific model.
Look for the model number on your mower, usually found on a sticker. Many manufacturers provide detailed part diagrams online. We found that matching the part number precisely helps avoid frustration.
| Muffler Type | Pros | Cons |
|---|---|---|
| OEM (Original Equipment Manufacturer) | Perfect fit, specific to your mower, often higher quality. | Can be more expensive, sometimes harder to find. |
| Aftermarket | Often more affordable, widely available, good performance. | Fit might not be exact, quality can vary. |
Safety First! Preparing for the Task
We can’t stress this enough: safety is paramount when working with power equipment. A small mistake can lead to big problems. Your well-being is worth a few extra minutes of preparation.
First, make sure your mower’s engine is completely cool. A hot muffler can cause severe burns. Allow ample time after its last use.
Next, and this is crucial, disconnect the spark plug wire. This prevents accidental starting while you’re working. It’s like putting a “do not disturb” sign on the engine (OSHA guidelines often emphasize this).
If your mower has a fuel shut-off valve, close it. Some experts also recommend draining the fuel tank or tilting the mower so the fuel cap is pointing upwards. This prevents fuel leaks.
Step-by-Step Guide: Removing the Old Muffler
Now that you’re prepared, let’s get to it. You’re giving your mower a fresh start, so let’s approach this with care.
Locating the Muffler
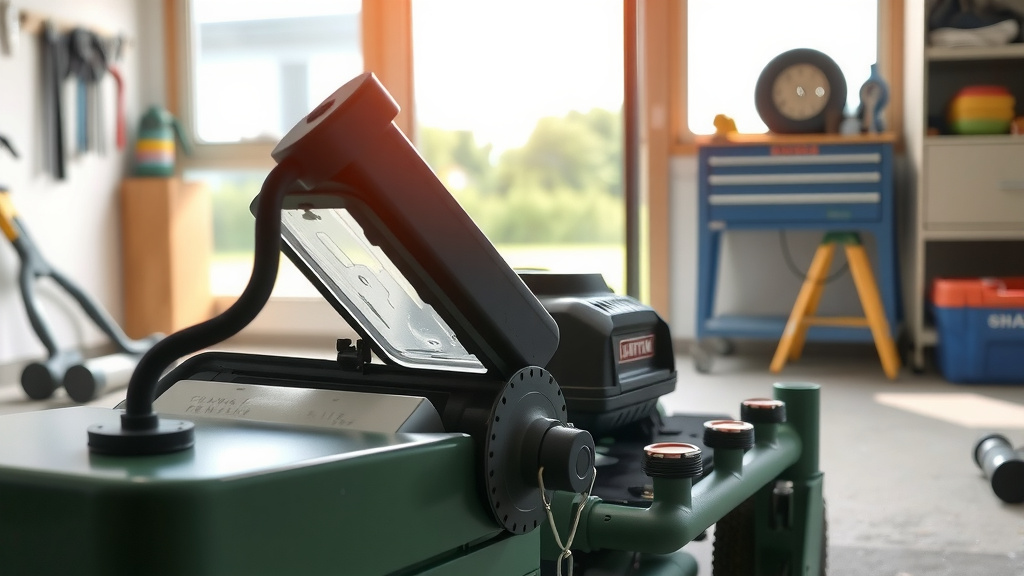
The muffler is typically found on the side or front of the engine, often near the exhaust port. It’s usually a metal canister connected by bolts.
Unbolting the Old Muffler
Using your socket wrench, carefully remove the bolts holding the muffler in place. These bolts can sometimes be stubborn due to heat and corrosion. A little penetrating oil can work wonders if they’re stuck.
Try not to strip the bolt heads. Apply steady pressure. Once the bolts are loose, gently pull the old muffler away from the engine. It might be a bit stiff, but it should come free.
Inspecting the Area
With the old muffler off, take a moment to look at the exhaust port. Clean any carbon buildup or rust around the mounting surface with a wire brush. A clean surface ensures a good seal with the new muffler.
A Word on Exhaust Gaskets
You’ll notice an old gasket stuck to either the muffler or the engine block. Always, always replace this. Reusing an old gasket almost guarantees an exhaust leak. A new gasket creates a tight, leak-free seal.
Installing Your New Craftsman Muffler
This is where your mower gets its new voice! The installation process is essentially the reverse of removal.
Gasket Placement is Key
Place the new exhaust gasket onto the exhaust port studs or against the engine block. Make sure it’s seated correctly. This little ring does a big job.
Mounting the New Muffler
Carefully align your new Craftsman muffler with the studs on the engine. Slide it into place, making sure the gasket stays put. It should fit snugly.
Securing the Bolts
Start threading the muffler bolts by hand first. This helps prevent cross-threading, which can damage the engine block. Once they’re finger-tight, you can use your socket wrench.
Tightening Torque: What You Need to Know
This is where your torque wrench comes in. Over-tightening can strip threads or crack the muffler or engine. Under-tightening can lead to leaks. Research often connects proper torque with component longevity (Engine Builders Guide).
Refer to your Craftsman mower’s owner’s manual or a service manual for the exact torque specifications. If you don’t have it, a general guideline for small engine muffler bolts is often in the range of 15-20 foot-pounds. Always confirm for your specific model.
Tighten the bolts evenly, alternating between them if there are two or more. This helps distribute pressure evenly across the gasket, ensuring a proper seal.
Testing Your Work: The Moment of Truth
You’ve done the hard work, now let’s see the results. This is the exciting part, like turning the key after a car repair.
Before starting, reattach the spark plug wire. Double-check that all tools are clear of the mower and that no loose parts are lying around.
Now, start your Craftsman lawn mower. Listen carefully. Does it sound quieter? Is there any abnormal smoke? Are there any obvious exhaust leaks?
A small amount of smoke might appear initially as any oils or coatings on the new muffler burn off, but this should quickly stop. If you hear a hissing sound or feel exhaust gases escaping, you might have a leak, perhaps from an improperly seated gasket or loose bolts.
Common Pitfalls and How to Avoid Them
Even experienced DIYers can run into snags. Being aware of these common issues helps you avoid them.
- Stripped Bolts: Take your time unbolting. Use penetrating oil if needed. Always start bolts by hand.
- Wrong Part: Double-check your mower’s model number and the new muffler’s part number. Measure twice, order once.
- Forgetting Safety Steps: Always disconnect the spark plug. It’s easy to forget in the excitement.
- Exhaust Leaks: Always use a new gasket and tighten bolts to the correct torque specification.
When to Call a Professional
While replacing a muffler is often a DIY task, there are times when calling a professional is a good idea. If bolts are severely rusted and breaking, or if you feel uncomfortable with the process, don’t hesitate. A professional can handle complex issues safely.
Your lawn mower is an investment, and sometimes, a little expert help ensures its longevity. There’s no shame in knowing your limits.
Conclusion
Replacing the muffler on your Craftsman lawn mower might seem daunting at first, but with the right tools and a careful approach, it’s a very manageable project. You’ll not only restore your mower’s quiet operation but also potentially improve its engine efficiency.
Remember, prioritizing safety and using the correct parts are your best friends here. You’ll be back to a quieter, more pleasant lawn-cutting experience in no time. Enjoy the peace and quiet!
How do I know if my Craftsman lawn mower muffler needs replacing?
You’ll often notice your mower becoming significantly louder, sometimes sounding like it has no muffler at all. Visual signs include holes, cracks, rust, or loose connections on the muffler itself. Increased smoke or reduced engine power can also be indicators.
Can I use an aftermarket muffler on my Craftsman lawn mower?
Yes, you can often use an aftermarket muffler, but it’s crucial to ensure it’s specifically designed for your Craftsman model. While aftermarket options can be more affordable, always verify fitment and check reviews for quality and durability to avoid future issues.
What happens if I don’t replace a damaged lawn mower muffler?
Ignoring a damaged muffler can lead to excessive noise, which might annoy neighbors or violate local ordinances. More critically, it can reduce engine efficiency, potentially leading to power loss, increased fuel consumption, and even long-term engine damage due to improper back pressure or debris entry.
Do I need a new gasket when replacing my Craftsman muffler?
Absolutely, yes. Always replace the exhaust gasket when installing a new muffler. The old gasket will have compressed and hardened over time, making it unable to create a proper seal with the new muffler, which would result in exhaust leaks.
How important is torque when installing the new muffler bolts?
Proper torque is very important. Over-tightening muffler bolts can strip the threads in the engine block or crack the new muffler. Under-tightening can cause exhaust leaks. Using a torque wrench to tighten to the manufacturer’s specified foot-pounds ensures a secure, leak-free, and undamaged installation.