
How To Make Lawn Mower Ramps?
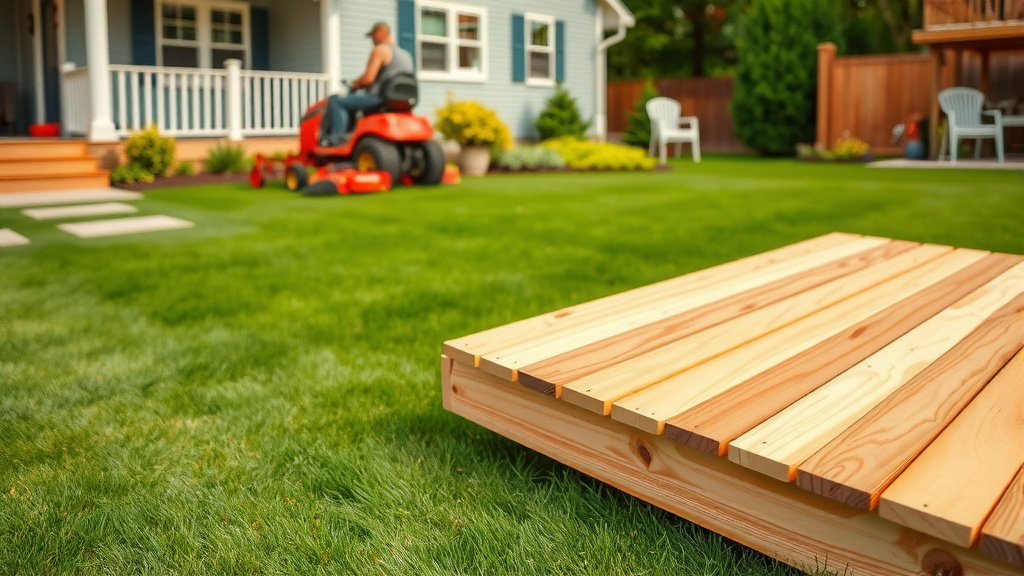
Making your own lawn mower ramps typically involves selecting strong, durable materials like wood or aluminum, cutting them to the right dimensions, and securing them with appropriate fasteners to create a stable, inclined surface. You’ll want to ensure the ramps are wide enough and have a gentle enough slope for your mower’s weight and wheelbase.
Properly constructed lawn mower ramps offer a safe and cost-effective way to load your equipment onto trailers or raised surfaces, preventing injury and damage. Remember, planning for weight capacity and ramp angle is key to a successful DIY project, ensuring stability and ease of use every time.
Thinking about making your own lawn mower ramps? That’s a smart move! It saves money and lets you customize them for your specific needs. Here’s a quick look at what you’ll find in this guide:
- Discover the best materials for building strong, safe ramps.
- Learn simple steps to measure, cut, and assemble your ramps.
- Get practical tips for making your ramps stable and easy to use.
- Understand key safety precautions before you even pick up a tool.
- Find out when DIY is a great idea and when buying might be better.
Do you ever dread wrestling your heavy lawn mower onto a trailer or workbench? It’s a common struggle, and honestly, it can be quite dangerous. Many of us have felt that jolt of fear as a mower slips, or that strain in our back from lifting awkwardly. What if there was a way to make this task easier, safer, and perhaps even a little satisfying?
That’s where making your own lawn mower ramps comes in. It’s a practical solution that puts you in control. You can tailor them perfectly for your mower and your hauling setup, ensuring a snug fit and maximum safety. Plus, there’s a real sense of accomplishment when you build something useful with your own hands, isn’t there?
How To Make Lawn Mower Ramps?
To make lawn mower ramps, you need to first plan the length and width based on your mower and the height you’re loading it onto, then select sturdy wood or metal, cut the pieces to size, and assemble them with strong hardware.
Always prioritize safety by ensuring your design accounts for the mower’s weight and provides sufficient grip.
Why DIY Lawn Mower Ramps Make Sense for You
Building your own ramps isn’t just a fun project; it brings several practical benefits. First, it’s often far more
budget-friendly than buying pre-made ones. You can often use readily available materials or leftover wood from other projects.
Second, you get
perfect customization. Have an extra-wide riding mower or a specific trailer height? You can build ramps that fit like a glove, something off-the-shelf options might not offer. This precision often leads to safer and easier loading.
Safety First: Essential Precautions Before You Build
Before you even pick up a saw, safety needs to be your top priority. Ramps, if not built correctly, can cause serious accidents. Always wear
safety glasses and gloves when working with tools and materials. Many experts recommend having a helper, especially when measuring or moving longer pieces of wood.
Also, think about your workspace. Make sure it’s
clear, well-lit, and stable. A wobbly workbench is a recipe for mishaps. Remember, taking a few minutes to set up safely can prevent hours of regret.
Understanding Ramp Angles and Weight Limits
The science behind safe ramps isn’t complicated. The
gentler the slope, the easier and safer it is to push or drive your mower up. A good rule of thumb is a rise of 1 foot for every 3-4 feet of ramp length. So, if your trailer is 2 feet high, you’d want ramps at least 6-8 feet long.
Weight capacity is another big one. You need to know the
total weight of your mower and yourself, if you’ll be riding it up. We found that most riding mowers weigh between 400-700 pounds. Your materials and design must support at least double that for a safety margin (Occupational Safety and Health Administration guidelines often suggest a factor of 2:1 or 3:1 for safety).
Materials You’ll Need for Your Project
Gathering your supplies beforehand makes the building process smoother. Here’s a quick list of common items you’ll want to have on hand:
- Lumber: Treated 2×8 or 2×10 boards are popular for their strength.
- Plywood: Exterior grade, 3/4-inch thick, for the ramp surface.
- Fasteners: Heavy-duty screws or bolts (galvanized if for outdoor use).
- Tools: Saw (circular or miter), drill, tape measure, pencil, clamps.
- Safety Gear: Safety glasses, work gloves.
Wood vs. Metal: Which Material is Right for Your Ramps?
When it comes to DIY ramps, wood and metal are your main choices, each with its own advantages. We’ve seen that
wood is generally easier for beginners to work with and is more affordable, especially if you have some scraps. It’s also relatively easy to replace sections if they get damaged.
Metal, like aluminum, offers
superior strength and lighter weight, but it often requires special tools and welding skills that not everyone possesses. It’s also typically more expensive upfront. For most DIYers and their lawn mowers, wood provides an excellent balance of cost, ease of use, and durability.
Here’s a quick comparison to help you decide:
| Feature | Wood Ramps | Metal (Aluminum) Ramps |
|---|---|---|
| Cost | Lower | Higher |
| DIY Difficulty | Easier (common tools) | Harder (specialized tools) |
| Weight | Heavier | Lighter |
| Durability | Good (with treatment) | Excellent |
Step-by-Step Wood Ramp Construction
Ready to get building? Here’s a straightforward guide to making sturdy wooden ramps.
Design and Measure for Success
First, measure the height of the surface you’re loading onto. Then, decide on your ramp length using that 3-4 foot ratio for every foot of height. You’ll also need the width of your mower’s tires to ensure your ramps are wide enough. Many experts recommend ramps at least
10-12 inches wide to give good clearance for most mower tires.
Cutting the Wood with Precision
Carefully measure and mark your lumber. You’ll need two long boards for the ramp “runners” and several shorter pieces for cross-bracing. If you’re using plywood for the surface, cut it to match the length and width of your runners.
Accuracy here prevents wobbles later.
Assembling the Frame for Strength
Lay your two long runner boards parallel. Place the shorter cross-brace pieces at regular intervals underneath, usually every 1-2 feet. Secure these with screws, driving them through the runners into the ends of the cross-braces. This creates a
strong, ladder-like frame.
Adding the Decking for Traction
If you’re using plywood or smaller boards for a continuous surface, attach them firmly to the top of your frame. Make sure to use
plenty of screws to prevent any flexing or lifting. Some people skip this step and just use the runners, but a solid surface often feels more secure.
Securing the Ramps for Stability
This is critical. You need to create a “foot” for the top end of the ramp that hooks over or rests firmly on the edge of your trailer or truck bed. This prevents the ramp from sliding off. Many DIYers use
angle iron or a thick piece of wood bolted securely to the ramp’s top edge (Consumer Product Safety Commission guidelines often highlight securing ramps as a key safety measure).
Tips for Stability and Traction
Even with good construction, you can improve ramp safety. Consider adding
gritted anti-slip tape or screwing small, evenly spaced wood cleats across the ramp surface, especially if it might get wet. This really helps the mower tires grip and reduces the risk of slipping.
Also, ensure the bottom end of your ramps rests on a
firm, level surface. Soft ground or loose gravel can cause the ramps to dig in or shift unexpectedly. A stable base is just as important as the ramp itself.
Testing Your New Ramps Safely
Before you load your expensive mower, do a test run! Push the mower up and down the ramps slowly, without riding it, to
check for any flexing or instability. If you plan to ride the mower up, walk alongside it during the first few attempts, ready to stop if anything feels off.
Many experts advise having a spotter present during the initial uses to help guide you and watch for potential issues. It’s like checking the brakes on a bike before a big ride—
better safe than sorry.
Maintenance for Long-Lasting Ramps
To keep your DIY ramps in top shape, a little maintenance goes a long way. If they’re wood, consider
applying a weather-resistant sealant or paint annually, especially if they live outdoors. Regularly check all screws and bolts to ensure they are tight and haven’t worked loose.
Inspect the wood for
cracks, rot, or splintering, which could weaken the structure. Replacing damaged sections promptly will extend the life of your ramps and keep them safe for years to come. Think of it as a small tune-up for your useful tools.
When to Consider Buying vs. Building
While DIY ramps are fantastic, sometimes buying a ready-made set is the better choice. If you
frequently haul very heavy equipment, like zero-turn mowers that can weigh over 1000 pounds, commercially manufactured metal ramps might offer a certified load capacity that DIY wood can’t easily match (many manufacturers test to specific SAE standards).
Also, if you’re
short on time, tools, or building experience, purchasing ramps might be a safer and less stressful option. The convenience of ready-to-use, often foldable, designs can be quite appealing.
Conclusion
Building your own lawn mower ramps can be a truly rewarding project, offering a tailor-made solution that’s both cost-effective and practical. By focusing on smart design, using sturdy materials, and always prioritizing safety, you can create ramps that serve you well for many years. Remember, proper planning and a careful build are your best friends in this endeavor.
It’s all about making your lawn care tasks easier and safer. With your new ramps, loading your mower will go from a dreaded chore to a simple, confident process. You’ve got this!
How do I calculate the correct length for my lawn mower ramps?
To calculate the correct ramp length, measure the height of the surface you’re loading onto. Multiply that height by a factor of 3 or 4. For example, if your trailer is 2 feet high, you’ll want ramps that are at least 6 to 8 feet long to achieve a safe, gradual slope.
What type of wood is best for building sturdy lawn mower ramps?
Pressure-treated lumber like 2x8s or 2x10s is generally recommended for building sturdy lawn mower ramps. This wood is resistant to rot and insects, making it suitable for outdoor use and providing the necessary strength for heavy loads.
How can I make my DIY ramps non-slip and safe in wet conditions?
To make your DIY ramps non-slip, you can attach gritted anti-slip tape to the surface or screw small wooden cleats horizontally across the ramp at regular intervals. These additions provide extra traction for mower tires, greatly improving safety, especially when wet.
Are there any alternatives to building full-length ramps for a low trailer?
For a very low trailer or small rise, some people use a sturdy piece of plywood or thick planks as short, temporary ramps. However, this is generally only safe for light walk-behind mowers and very small height differences, as the angle can still be steep. Always assess the risk before using makeshift solutions.
What maintenance do homemade lawn mower ramps require?
Homemade lawn mower ramps require regular checks for loose fasteners, cracks, or rot in the wood. Applying a weather-resistant sealant or paint annually will protect wooden ramps from the elements. Tighten any loose screws and replace damaged sections promptly to maintain safety and prolong their lifespan.
