
How To Mow Designs In Your Lawn?
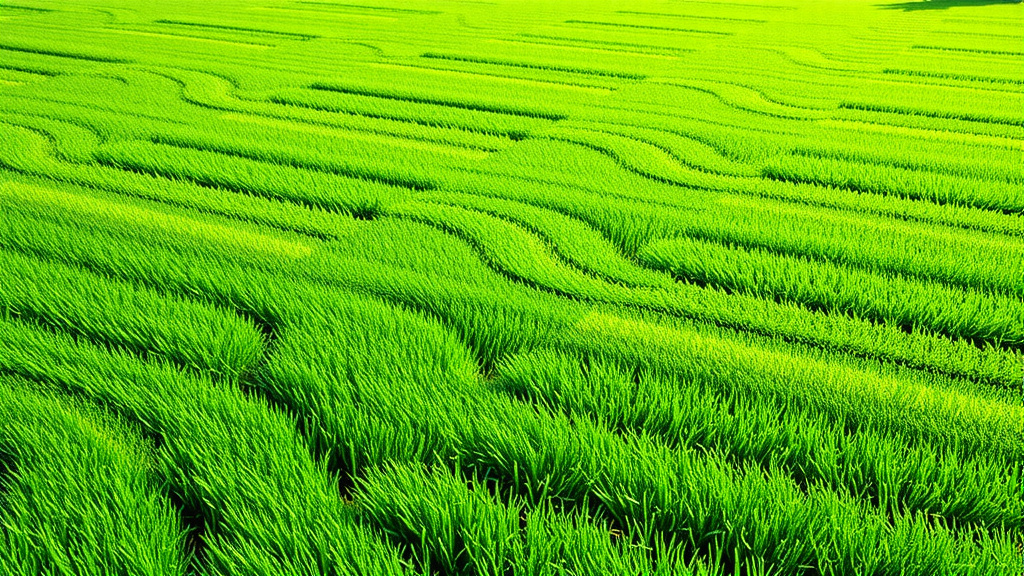
To mow designs in your lawn, you primarily need a mower with a roller kit or a heavy-duty roller attachment, as these tools bend grass blades to create contrasting light and shadow patterns. The key is consistency in your mowing direction, pushing the grass in specific ways to form stripes, checkerboards, or more complex shapes.
You can create stunning visual effects by simply manipulating the way light reflects off the bent grass blades. This technique relies on the simple physics of how your mower’s roller flattens the grass, making your lawn a canvas for beautiful patterns.
TL;DR: Mow Amazing Lawn Designs!
- Mowing designs means using a roller to bend grass for light and shadow effects.
- You’ll need a mower with a roller or an attachment for best results.
- Always mow in straight, overlapping lines to start basic patterns like stripes.
- Practice makes perfect; start with simple patterns before trying anything complex.
- Proper lawn care, like sharp blades and ideal grass height, helps your designs stand out.
How To Mow Designs In Your Lawn?
Mowing designs in your lawn transforms a simple chore into an art form. You achieve this by bending grass blades in different directions, causing light to reflect differently off each section. This contrast creates those stunning striped or checkerboard patterns you often see.
Why Bother with Lawn Designs?
Why would you want to mow designs in your lawn? Well, it adds incredible curb appeal to your home. A patterned lawn shows care and attention, making your yard stand out in the neighborhood. It’s a simple way to express creativity right on your own property.
Beyond Just Stripes
While stripes are popular, you can go beyond them. Imagine intricate patterns that catch the eye of every passerby! It’s about taking pride in your outdoor space and making it truly unique. We often find that a well-maintained, designed lawn can significantly enhance a home’s overall aesthetic.
Getting Started: The Right Tools for Lawn Art
Creating those crisp lines starts with the right equipment. You don’t always need a fancy new mower, but a few key features make a big difference. Think about what your current setup offers and where you might improve.
Mower Type Matters
Different mowers perform differently when it comes to patterning. A reel mower typically offers the best striping potential. Why? Because they naturally push grass forward and often have a built-in roller. Rotary mowers can work too, especially with a roller attachment.
The Magic of a Roller
The secret ingredient to great lawn designs is often a roller. This attachment flattens the grass blades after they’ve been cut. When grass lies flat in one direction, it reflects light differently than grass lying in another direction. This contrast creates the visual pattern. We found that a heavier roller tends to produce more defined and longer-lasting patterns (University of Nebraska-Lincoln Extension).
Understanding the ‘Why’: How Grass Bends
Have you ever wondered why grass stripes appear? It’s not magic, but simple physics! When you mow, the roller on your mower bends the grass blades. Blades bent away from you appear lighter, reflecting more sunlight. Blades bent towards you look darker, absorbing more light.
This play of light and shadow is what gives your lawn its visual texture. The taller your grass, the more dramatic the effect, as taller blades have more surface area to bend and reflect light.
Basic Design Principles: Stripes and Checkerboards
Ready to try your hand at lawn artistry? Starting with simple patterns is the best way to get comfortable. Think of these as your foundational techniques.
The Classic Stripe
To create simple stripes, pick a straight edge in your yard, like a driveway or fence line, for your first pass. Mow a straight line. Then, when you turn, lift your mower deck slightly, move over, and mow parallel to your first stripe but in the opposite direction. Repeat this process across your entire lawn. Consistent, straight lines are what you’re aiming for here.
Creating a Checkerboard
A checkerboard pattern builds on stripes. First, mow your entire lawn in one direction to create parallel stripes. Once that’s done, go back and mow perpendicular to those initial stripes. You’ll essentially create another set of stripes running across the first set. Where the grass crosses, you get that distinct checkerboard look. This two-directional mowing is key.
Advanced Designs: Circles and Beyond
Once you’ve mastered stripes and checkerboards, you might want to try something a bit more adventurous. These designs take more practice and patience, but the results are truly rewarding.
Crafting Circular Patterns
Circles require a different approach. You’ll need to pivot around a central point. Start by mowing a small circle in the middle of your lawn. Then, widen each subsequent circle, slowly spiraling outwards. It’s tricky to keep the circles perfectly even, so take your time. Many experts say a lightweight mower or a zero-turn model helps with these tighter curves.
Beyond the Basics: Waves and Diamonds
With practice, you can experiment with waves, diamonds, or even your initials! These usually involve combining curved and straight lines, sometimes freehand. Consider sketching your design on paper first. This helps visualize the pattern before you start your engine.
Preparation is Key: Setting Up for Success
Before you even start your mower, a little preparation can make a huge difference in how your designs turn out. Don’t skip these crucial steps!
Ideal Grass Height
For prominent patterns, aim for a slightly taller grass height, typically between 2.5 to 3 inches. Shorter grass doesn’t have enough length to bend effectively and create that visual contrast. We found that taller grass allows for more dramatic light and shadow effects.
Blade Sharpness: A Must-Have
A dull mower blade tears grass, leaving ragged edges. This not only harms your lawn’s health but also makes for messy, undefined patterns. Always ensure your blades are razor-sharp. Sharp blades make clean cuts, which leads to crisper lines and healthier grass (Purdue University Extension).
Mowing Techniques for Perfect Patterns
Your technique while mowing is just as important as your equipment. Small adjustments can make a big difference in the quality of your lawn art.
The First Pass: Your Guiding Line
The very first line you mow sets the stage for your entire design. Take your time with it. Choose a straight landmark to follow, like a driveway or walkway. If your first line isn’t straight, none of your subsequent lines will be either. This initial pass is your straight-line anchor.
Making Your Turns
How you turn at the end of each pass matters. For straight patterns, make a wide, gentle turn. Don’t pivot sharply on the spot, as this can damage the grass and leave an unsightly divot or mark. Consider turning on a hard surface if possible, or make a three-point turn on the grass to minimize disturbance. Smooth turns maintain the integrity of your lines.
Overlap for Perfection
Ensure you overlap each pass slightly. About two to four inches of overlap is generally enough. This prevents “striping” or missed areas between your passes, ensuring your pattern is uniform and complete. Consistent overlapping guarantees a polished look.
Troubleshooting Common Issues
Even with the best intentions, you might run into some hiccups. Don’t worry, many common issues are easily fixed.
- Uneven Lines: Often caused by inconsistent speed or not following a clear guide. Slow down and pick a fixed point in the distance to aim for.
- Faded Patterns: Could be grass cut too short, a roller that’s too light, or grass that’s too dry. Try letting your grass grow a bit taller or consider adding weight to your roller.
- Damaged Turns: Pivoting too sharply. Practice wider, more gentle turns.
- Mower Deck Marks: Your mower deck might be too low, scraping the grass. Adjust your deck height.
Maintenance for Lasting Beauty
A beautifully designed lawn needs ongoing care to stay that way. Your mowing efforts are just one part of the equation.
Regular watering helps grass stay pliable, making it easier to bend and hold patterns. Proper fertilization ensures healthy, vibrant grass that stands up better to the rolling process. Also, consider alternating your mowing patterns each week to prevent soil compaction and grass wear in the same spots. Consistent care keeps your designs looking their best.
Checklist for Perfect Lawn Art
- Sharp mower blades
- Mower with a roller or roller attachment
- Grass height set to 2.5-3 inches
- Clear, straight starting point
- Plan your pattern before you begin
- Slow, consistent mowing speed
- Wide, gentle turns
- Slight overlap on each pass
- Regular watering and feeding
Mower Types and Their Design Potential
| Mower Type | Design Potential | Best For | Key Feature for Designs |
|---|---|---|---|
| Reel Mower | Excellent | Crisp, deep stripes; professional look | Built-in roller, precise cut |
| Rotary Mower (with roller kit) | Very Good | Stripes, checkerboards | Versatility, good for average lawns |
| Zero-Turn Mower (with roller kit) | Good to Excellent | Complex patterns, circles | Maneuverability, fast cutting |
| Push Mower (no roller) | Limited | Subtle patterns, very light striping | Basic grass flattening, less distinct |
Conclusion
Creating designs in your lawn is a rewarding way to elevate your yard’s appeal. It’s about more than just cutting grass; it’s about making a statement and enjoying the process. With the right tools, a bit of planning, and some consistent technique, you can transform your everyday lawn into a beautiful, patterned masterpiece. So, fire up your mower and let your creativity shine!
Frequently Asked Questions About Mowing Designs
How long do lawn patterns last?
Lawn patterns typically last for a few days up to a week, depending on several factors. These include how quickly your grass grows, weather conditions like rain or wind, and how defined your initial pattern was. Taller grass and a heavier roller can help patterns last longer.
Do I need a special type of grass for patterns?
While most grass types can show some level of patterning, cool-season grasses with finer blades, like Kentucky bluegrass or fescue, generally produce the most prominent and beautiful designs. Their blades are more pliable and reflect light more distinctly when bent. You can still achieve good results with warm-season grasses with the right equipment and technique.
Can I make a design without a roller?
You can create very subtle designs without a dedicated roller, but they won’t be as dramatic or long-lasting. Even a standard rotary mower pushes grass slightly, creating a faint directional effect. For truly eye-catching stripes and patterns, however, a roller (either integrated or as an attachment) is strongly recommended, as it provides the necessary weight to effectively bend the grass blades.
Does mowing in the same pattern every time harm the lawn?
Mowing in the exact same pattern every time is generally not recommended. It can lead to grass blades bending permanently in one direction, potentially creating bare spots or ruts from repeated tire passes. Many experts suggest varying your mowing pattern each week to promote even growth and prevent soil compaction. Try alternating between horizontal, vertical, and diagonal patterns.
What’s the easiest design for beginners?
For beginners, the easiest and most effective design to start with is simple parallel stripes. It involves fewer complex turns and allows you to practice keeping your lines straight and consistent. Once you’re comfortable with basic stripes, you can easily progress to a checkerboard pattern by simply mowing perpendicular to your initial stripes.
