
How To Put Lawn Mower Together?
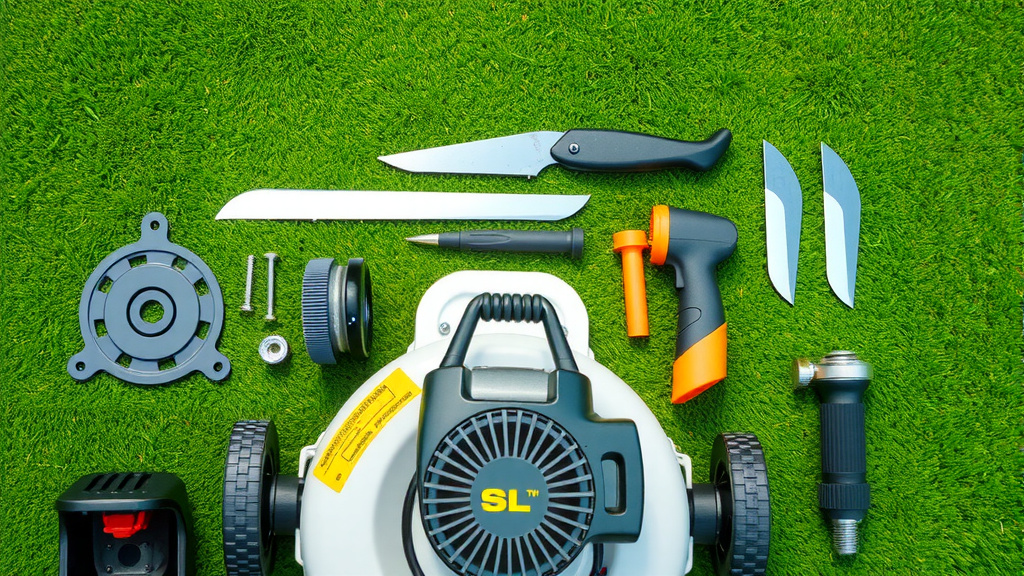
Putting a lawn mower together typically involves attaching the handle, securing the grass bag, adding engine oil, and connecting the spark plug wire.
You can usually put your new lawn mower together in about 15-30 minutes by carefully following the manufacturer’s instructions.
- First, unbox everything and check for all parts.
- Next, attach the handle sections firmly to the mower deck.
- Then, assemble the grass bag and connect it if your model has one.
- Finally, add the correct engine oil and fuel before starting.
- Always consult your owner’s manual for specific steps for your model.
Congratulations on your new lawn mower! That fresh machine smell is exciting, isn’t it? Many people feel a bit overwhelmed looking at a box of parts, but assembling a lawn mower is often much simpler than you think. It’s really just a few straightforward steps, and we’re here to walk you through it. Think of it like a fun, quick DIY project. We found that most lawn mowers arrive in a similar state of “disassembly,” making this guide very helpful for nearly all models.
How To Put Lawn Mower Together?
Assembling your new lawn mower means connecting the main parts to get it ready for its first cut. This typically involves securing the handle, attaching the grass collection system, and preparing the engine for operation. It’s an easy process if you take it one step at a time.
Getting Started: What’s In The Box?
Before you even think about attaching anything, open that box! Lay out all the components on a clean, flat surface like your garage floor. Check the packing list against the items you’ve unpacked. You’re looking for the mower deck, handle pieces, wheels (if not pre-attached), a grass bag, and any small hardware like bolts or nuts. Make sure everything is accounted for before you begin. This prevents mid-assembly frustration.
Essential Tools You’ll Need
You won’t need a huge toolbox for this job. Most lawn mowers come with the few specialized tools you might need, like a spark plug wrench. However, we found that having a few basics nearby can make things smoother. You’ll want a pair of pliers, a Phillips head screwdriver, and maybe a small adjustable wrench. These simple tools are often enough.
Unboxing Your New Mower
Carefully remove the mower from its packaging. Sometimes, the wheels might need attaching, or the handle might be folded flat. Take a moment to remove all the protective cardboard and plastic wrap. Make sure no small parts are accidentally discarded with the packaging. Many experts say to keep the box until you’re sure everything works. (Consumer Reports)
Assembling The Handle (First Key Step)
The handle is often the first and most noticeable part you’ll need to attach. It usually comes in two or three pieces that connect. Don’t worry if it looks tricky; it’s designed to fit together easily. This step gives your mower its steering and control. Getting this right ensures safe and comfortable operation.
Connecting Lower Handles
The lower handle sections typically attach to the main mower deck. Look for bolts or knobs that secure these pieces. You might need to align holes and insert bolts, then tighten them by hand or with a wrench. Make sure these connections are very secure; a wobbly handle is no good. We often find these are the largest bolts.
Attaching Upper Handles
Once the lower handles are on, you’ll connect the upper handle. This piece usually slides into the lower sections or bolts onto them. Pay close attention to the orientation—you want the control levers to face you when you’re pushing the mower. Many models use quick-release clamps or knobs here. Push buttons might also be present for easy attachment.
Securing The Control Cables
With the handle in place, you’ll likely have control cables for starting, stopping, or self-propel functions. These usually clip onto the handle or route through designated guides. Ensure they are not pinched or stretched too tightly. Proper cable routing is vital for mower safety and function. It prevents wear and tear.
Installing The Grass Bag Or Mulching Plug
Your mower probably came with either a grass collection bag or a mulching plug. If it has both, you’ll choose which one to install based on your preference. The grass bag collects clippings for disposal, while the mulching plug keeps them under the deck to be finely cut and returned to the lawn. It’s a bit like choosing your outfit for the day.
Assembling The Grass Bag (If Needed)
Some grass bags come flat and require a bit of assembly. This might involve stretching the fabric bag over a frame. It can feel a bit like wrestling a pillow into a tight case. Once assembled, the bag usually hooks onto the back or side of the mower deck. Ensure it’s secure to prevent clippings from escaping. A snug fit is important.
Adding Engine Oil And Fuel
This step is absolutely critical. Do NOT try to start your mower without adding engine oil! Running a dry engine can cause immediate and severe damage. It’s like trying to drive your car without oil – a recipe for disaster. Always refer to your manual for the correct type and amount of oil and fuel. (Manufacturer Guidelines)
Checking Oil Levels
Most mowers come with a small bottle of oil specifically designed for them. Locate the oil fill cap, usually marked with an oil can symbol. Pour the oil in slowly, checking the dipstick as you go. The oil level should be between the “add” and “full” marks. Do not overfill! Too much oil can be just as bad as too little. This is a common oversight.
Fueling Up Safely
Once the oil is in, it’s time for fuel. Use fresh, unleaded gasoline, usually 87 octane. Avoid old or stale fuel, as it can cause starting problems and engine issues. Always fuel your mower outdoors and away from any ignition sources. Spilled gas is a fire hazard. We recommend using a funnel for a cleaner pour. Also, remember to wipe up any spills.
Final Checks Before First Start
Before you pull that starter cord, take a moment for a quick run-through. It’s like a pilot’s pre-flight checklist. We found that a thorough final check prevents many common first-time issues. Your diligence here pays off. It’s just a few quick glances.
Here’s a quick checklist:
- Are all bolts and fasteners tight?
- Is the grass bag or mulching plug securely attached?
- Have you added the correct engine oil?
- Is the fuel tank filled with fresh gasoline?
- Is the spark plug wire firmly connected?
- Are there any tools or loose items near the blades?
Safety Precautions To Remember
Always wear appropriate safety gear, including closed-toe shoes and eye protection. Never fuel a hot engine. Keep children and pets a safe distance away when starting or operating the mower. Remember, a lawn mower has fast-moving blades that can cause serious injury. Treat it with respect. Safety is always first.
Troubleshooting Common Assembly Issues
Even with careful steps, you might run into a small snag. Don’t let it get you down! Here are a few common issues and their quick fixes. We found these situations happen often. A little patience goes a long way here.
| Issue | Possible Cause | Quick Fix |
|---|---|---|
| Handle feels wobbly | Loose bolts or clamps | Tighten all fasteners on the handle. |
| Grass bag won’t fit | Incorrect assembly of bag frame | Re-read manual for bag assembly, ensure frame is right-side up. |
| Engine won’t start | No oil or fuel, spark plug wire loose | Check oil/fuel levels, connect spark plug wire firmly. |
| Cables are snagged | Improper routing or pinching | Carefully reroute cables, ensure they move freely. |
When To Call For Help
If you’ve followed all the steps and still face difficulties, don’t hesitate to consult your owner’s manual. It often has a dedicated troubleshooting section. If problems persist, contacting the manufacturer’s customer service or taking it to a certified service center is a good idea. Sometimes, a professional touch is needed. There’s no shame in seeking assistance.
Conclusion
Putting your new lawn mower together is a straightforward process that sets the stage for a beautifully maintained lawn. By taking your time, following the instructions, and performing those vital safety checks, you’ll be ready to mow in no time. It’s a satisfying feeling to assemble something yourself and then see the results in your yard. Enjoy the fresh air and your freshly cut grass!
How do I know if I have enough oil in my new lawn mower?
Most new lawn mowers require you to add oil before the first start. You can check the oil level using the dipstick, typically found near the oil fill cap. The oil should be between the “add” and “full” marks on the dipstick when it’s fully inserted.
Can I use any gasoline in my lawn mower?
No, you should use fresh, unleaded gasoline with an octane rating of 87 or higher. Avoid using E85 or any fuel with more than 10% ethanol, as this can damage the engine over time. Always check your mower’s manual for specific fuel recommendations.
What if my lawn mower handle feels wobbly after assembly?
If the handle feels wobbly, it likely means that some bolts or quick-release clamps are not fully tightened. Go back and re-check all the connection points where the handle attaches to the mower deck and where the handle sections connect to each other. Tighten everything securely.
Is it normal for a new lawn mower to smoke on its first start?
A small amount of smoke on the very first start can sometimes happen if a little oil was spilled during filling or if some factory-applied protective coating burns off. However, if smoking continues for more than a few minutes or is heavy, shut off the mower and consult your manual or a service center.
Where should I store my lawn mower’s owner’s manual?
It’s best to keep your owner’s manual in a safe, dry place, like a drawer in your garage or a plastic binder. You’ll want easy access to it for maintenance schedules, troubleshooting, and ordering replacement parts in the future. It’s an important reference document for your mower.
