
How To Remove Bearings From Lawn Mower Spindle?
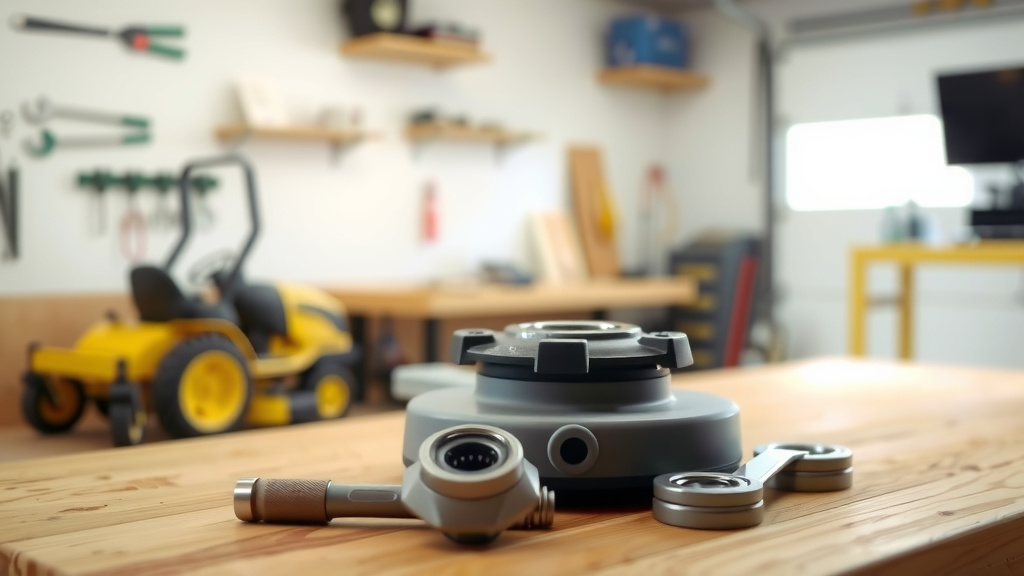
To remove bearings from a lawn mower spindle, you first need to remove the spindle assembly from the deck.
Then, using a bearing press, appropriate sockets, or a punch, carefully tap or press the old bearings out of the spindle housing.
Here’s the quick rundown for removing lawn mower spindle bearings:
- Safety First: Always disconnect the spark plug and wear protective gear before starting.
- Remove Spindle: Detach the entire spindle assembly from the mower deck.
- Clean Up: Thoroughly brush away any dirt, grass clippings, or debris from the spindle housing.
- Press Out Bearings: Use a bearing press, a large socket, or a sturdy punch to carefully drive out the worn-out bearings.
- Inspect & Replace: Check the spindle housing for damage before installing fresh, new bearings.
How To Remove Bearings From Lawn Mower Spindle?
Removing bearings from a lawn mower spindle typically involves detaching the spindle assembly, cleaning it thoroughly, and then carefully pressing or tapping out the worn bearings using appropriate tools.
This process ensures your mower blade spins smoothly, helping your lawn get a clean and even cut.
Why Replace Lawn Mower Spindle Bearings?
Worn-out spindle bearings can cause a lot of trouble for your lawn mower. They are critical for the smooth rotation of your mower blades.
Many experts say that ignoring bad bearings leads to poor cut quality and even further machine damage (Consumer Reports).
Signs of Failing Bearings
How do you know if your spindle bearings are giving up the ghost? We found several common indicators.
Listen for unusual noises, feel for vibrations, or check for blade wobble.
Here’s a simple table to help you identify the signs:
| Sign | What It Means |
|---|---|
| Loud grinding or squealing | Bearings are dry or corroded. |
| Excessive blade wobble | Loose or damaged bearings allow too much play. |
| Vibration during mowing | A common symptom of unbalanced or worn components. |
| Difficult blade rotation | Bearings might be seizing up, creating friction. |
Safety First: Your Essential Preparations
Before you get started, remember that safety is paramount. You are working with sharp blades and moving parts.
Treat your mower with respect, and it will treat you well.
Pre-Removal Checklist
Always go through these steps before touching anything:
- Disconnect the spark plug: This prevents any accidental engine starts.
- Remove the key: If it’s a riding mower, take the key out of the ignition.
- Wear protective gloves: Blades are sharp, and components can have sharp edges.
- Use eye protection: Flying debris or rust particles are a real risk.
- Work on a flat surface: This keeps your mower stable and safe.
Tools You’ll Need For Bearing Removal
Having the right tools makes all the difference. Think of it like a chef in a kitchen; the right knife makes the job easier.
Here’s what you’ll want to gather:
- Wrench set (for bolts)
- Socket set (for nuts and pressing bearings)
- Rubber mallet or hammer
- Bearing press (ideal, but not always necessary)
- Punch or drift (if not using a press)
- Wire brush or scraper (for cleaning)
- Penetrating oil (for stubborn bolts)
- Safety glasses and gloves
Step-by-Step Guide: Removing Spindle Bearings
Alright, let’s get down to business. Follow these steps carefully, and you’ll have those old bearings out in no time.
It’s a straightforward process, but it does require some patience and precision.
1. Remove the Mower Deck and Blade
First things first, you need access. For most mowers, this means taking the deck off.
Then, carefully remove the blade from the bottom of the spindle. Many experts recommend bracing the blade with a block of wood to prevent it from spinning (Popular Mechanics).
2. Detach the Spindle Assembly
The spindle assembly is usually held to the mower deck by several bolts.
Loosen and remove these bolts, and then lift the spindle assembly away from the deck.
3. Clean the Spindle Housing
Before you try to remove the bearings, clean the area thoroughly. Dirt and debris can make the job harder.
Use a wire brush or scraper to remove any caked-on grass or rust.
4. Press or Tap Out the Bearings
This is the main event! The goal is to push the old bearings out of the spindle housing.
We found that a few methods work effectively.
Using a Bearing Press
If you have a bearing press, it’s the cleanest way. Position the spindle and use the press to evenly push the old bearing out.
This method applies even pressure, reducing the chance of housing damage.
Using a Socket or Punch and Hammer
Many homeowners don’t have a bearing press, and that’s perfectly fine! You can use a socket that’s slightly smaller than the outer diameter of the bearing.
Place the socket on the inner race of the bearing, then gently tap with a hammer until the bearing starts to move.
Continue tapping evenly around the bearing until it comes out. You might need to flip the spindle and repeat for the second bearing.
5. Inspect the Spindle Housing
Once the old bearings are out, take a good look at the spindle housing itself.
Check for any cracks, burrs, or corrosion that could new bearings.
Smooth out any rough spots with a file or sandpaper if needed.
Dealing with Stubborn Bearings
Sometimes, bearings can be very stuck due to rust or long-term use. Don’t force it with excessive hammering.
Apply penetrating oil and let it sit for a while, perhaps even overnight. Gently heating the housing with a heat gun can also help expand the metal slightly, making removal easier (Machinery’s Handbook).
Installing Your New Bearings (Briefly)
Once the old ones are out, installing new bearings is often the reverse process.
We found it beneficial to place the new bearings in a freezer for a bit before installation, as the cold can shrink them slightly, making them easier to fit.
Common Mistakes to Avoid
When removing bearings, there are a few pitfalls to watch out for.
Avoid excessive force, which can damage the spindle housing.
- Using the wrong size socket: This can damage the bearing or the housing.
- Uneven tapping: Tapping only on one side can cause the bearing to get stuck at an angle.
- Skipping the cleaning step: Debris can obstruct removal and installation.
- Not inspecting the housing: Damaged housing will quickly ruin new bearings.
Conclusion
Removing bearings from a lawn mower spindle might seem like a daunting task at first, but with the right tools and a careful approach, it’s a manageable DIY project.
By taking your time and following these steps, you’ll restore your mower’s performance and achieve a perfectly manicured lawn once again.
Remember, a well-maintained mower not only cuts better but also lasts longer, saving you time and money in the long run.
Frequently Asked Questions
How often should I replace lawn mower spindle bearings?
The frequency depends on usage and conditions, but many experts say to inspect them annually. If you notice grinding noises, vibrations, or blade wobble, replace them immediately, typically every few years for average home use.
Can I lubricate old spindle bearings instead of replacing them?
Generally, no. Most sealed spindle bearings are not designed for re-lubrication. Once they start failing, the internal components are likely worn or damaged beyond simple lubrication, and replacement is the only reliable solution.
What happens if I don’t replace bad spindle bearings?
Ignoring bad bearings can lead to severe issues, including excessive vibration that causes uneven cuts, further damage to the spindle housing or shaft, and even blade detachment in extreme cases, creating a dangerous situation.
Are all lawn mower spindle bearings the same size?
No, spindle bearings come in various sizes and specifications, depending on the mower make and model. Always check your mower’s manual or the existing bearing numbers to ensure you purchase the correct replacement parts.
Is it better to replace one bearing or both if only one is bad?
If one bearing in a spindle assembly has failed, it’s generally a good practice to replace both bearings within that spindle. They likely have similar wear, and replacing both ensures balanced performance and longer life for the repair.
