
How To Reupholster A Lawn Mower Seat?
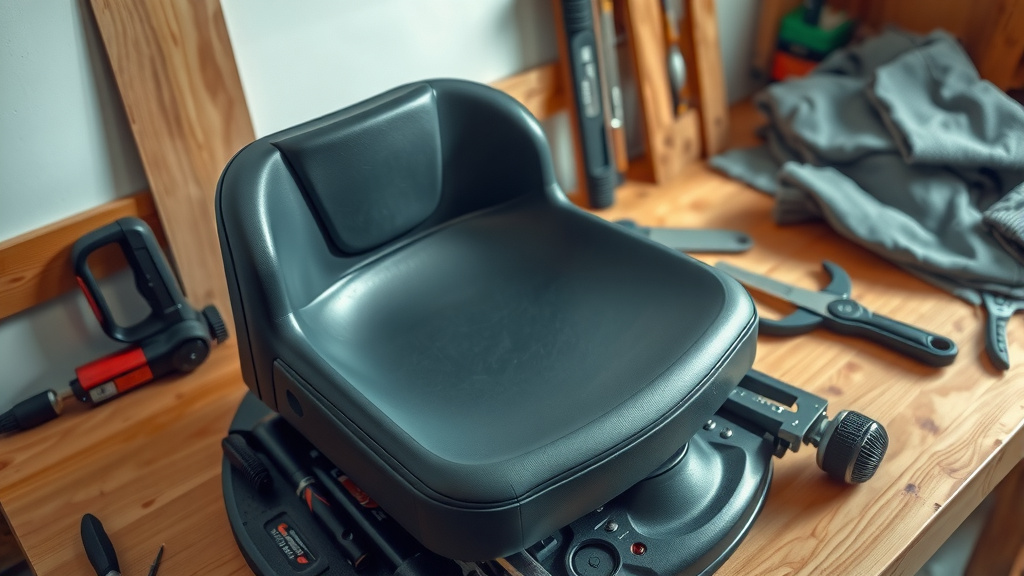
To reupholster a lawn mower seat, you will typically remove the old fabric, clean the frame, cut new vinyl or marine-grade fabric, and then carefully staple or glue the new material into place. This process can give your seat a fresh, comfortable look.
The basic steps to reupholster a lawn mower seat involve detaching the seat, stripping the worn cover, preparing the foam, applying fresh upholstery, and securing it before reattaching the seat back to your mower.
Here’s a quick summary of what you’ll find in this guide:
- Give your worn-out lawn mower seat a brand-new, comfortable feel.
- Learn exactly what tools and materials you’ll need for this DIY project.
- Follow our simple, step-by-step instructions from start to finish.
- Discover handy tips to avoid common mistakes and make your reupholstering last.
- Find out when it’s better to replace your seat rather than repair it.
How To Reupholster A Lawn Mower Seat?
You can reupholster a lawn mower seat by carefully removing the old cover, prepping the foam, and then stretching and securing new durable fabric onto the seat pan. It brings back comfort and extends your seat’s life.
Why Bother Reupholstering Your Mower Seat?
Is your mower seat looking rough? Perhaps it has tears, cracks, or faded spots. Reupholstering isn’t just about looks; it’s about comfort and protection. A new cover can shield your foam from further damage.
Think of it like giving your favorite armchair a facelift. A fresh seat makes long mowing sessions much more enjoyable. Plus, it can save you money compared to buying a completely new seat assembly.
Gathering Your Supplies: What You’ll Need
Before you dive in, let’s make sure you have everything ready. Nothing is worse than stopping mid-project for a forgotten tool, right? We’ve found that having all your supplies beforehand makes the job smoother.
Here’s what you should have on hand:
- New upholstery fabric (marine-grade vinyl is excellent)
- Heavy-duty staple gun and staples (1/4 to 3/8 inch)
- Screwdrivers or socket wrench (to remove the seat)
- Utility knife or sharp scissors
- Pliers or staple remover
- Contact adhesive spray (optional, for foam repair)
- Rubbing alcohol and a clean cloth
- Marker or chalk
Your Step-by-Step Guide to a Better Seat
Ready to transform that tired old seat? Let’s walk through it together. Take your time, and you’ll be sitting pretty in no time!
Removing the Old Seat
First things first, get that seat off the mower. It’s usually held on by a few bolts or screws underneath. Many experts say to take photos of the connections before you start. This helps when you put it back.
Once the seat is off, move it to a clean workspace. Use your pliers or staple remover to carefully pry out all the old staples holding the fabric. Peel away the old, damaged material.
Assessing the Foam and Base
Now that the old fabric is gone, look at the foam cushion. Is it squishy, torn, or crumbling? If it has minor tears, a little contact adhesive can hold it together (Michigan State University Extension).
For significant damage, you might need to add new foam. You can cut a piece of high-density foam to fill gaps or even replace the entire cushion. Make sure the foam is dry and free of debris.
Choosing Your New Fabric
This is where you get to pick the new look! You’ll want something durable. We found that marine-grade vinyl or heavy-duty outdoor fabric works best. These materials stand up to sun, rain, and constant use much better than regular upholstery fabric.
Consider a color that matches your mower or one that you just like. Remember, darker colors absorb more heat, but they often hide dirt better. It’s a personal choice!
Cutting the New Fabric
Lay your old seat cover flat on the new fabric. This is your pattern! If the old cover is too damaged, lay the seat base itself on the fabric. Trace around it, leaving a generous margin of 3-4 inches all around. This extra material gives you plenty to grab onto when stapling.
Use your sharp scissors or utility knife to cut out the new fabric. Be precise but don’t worry about perfection. The edges will be hidden anyway.
Attaching the New Fabric
Center your seat pan, foam side up, on the wrong side of your new fabric. Start by stapling the fabric on one side, perhaps the front. Pull the fabric taut, then staple the opposite side (the back).
Next, do the same for the remaining two sides. Imagine you’re wrapping a gift; you want it tight and smooth. Pull the fabric firmly but don’t overstretch it to avoid tearing.
Securing the Edges and Corners
Now, work your way around the seat, stapling every inch or so. Pay special attention to the corners. You may need to snip the fabric slightly or fold it neatly, creating a pleat. The goal is a smooth, wrinkle-free finish on the visible side.
Research often connects proper tension with durability (Textile Research Journal). Ensure there are no loose spots that could catch or tear later. Trim any excess fabric once all staples are in place.
Reinstalling the Seat
With your new cover securely in place, it’s time to put the seat back on your mower. Refer to those photos you took earlier, if needed. Tighten all bolts and screws until the seat is stable and safe.
Give it a little wiggle test. Does it feel secure? Great! You just gave your lawn mower a wonderful upgrade.
Common Mistakes to Avoid
Like any DIY project, there are a few pitfalls. Knowing what to watch out for can save you headaches. We’ve seen these issues pop up for many first-timers.
Here’s a quick list to keep you on track:
- Not cleaning the seat base or foam before applying new fabric.
- Using an indoor fabric that isn’t weather-resistant.
- Not pulling the fabric tight enough, leading to wrinkles.
- Overstretching the fabric, causing it to tear during stapling.
- Forgetting to trim excess fabric, which can look messy or interfere with seat movement.
- Using staples that are too short or not heavy-duty enough.
Comparing Fabric Choices
Choosing the right fabric is a big part of how long your reupholstered seat will last. Here’s a quick comparison to help you decide:
| Fabric Type | Pros | Cons |
|---|---|---|
| Marine-Grade Vinyl | Highly water-resistant, UV-resistant, easy to clean, durable. | Can be more expensive, less breathable on hot days. |
| Heavy-Duty Outdoor Fabric | Good water resistance, good UV resistance, varied textures. | May not be as smooth to clean as vinyl, some types fade over time. |
| Standard Vinyl | Cost-effective, relatively easy to work with, decent water resistance. | Less durable than marine-grade, may crack faster with sun exposure. |
Your Reupholstering Checklist
Use this quick list to make sure you’re ready to go and haven’t missed a beat:
- Got all your tools?
- Seat detached from mower?
- Old fabric and staples removed?
- Foam cushion cleaned and repaired?
- New fabric cut with ample margin?
- Fabric stretched tight and stapled securely?
- Corners neat and tidy?
- Excess fabric trimmed?
- Seat reattached and stable?
Maintenance Tips for Your New Seat
You’ve put in the work, now help your new seat last! We found that a little regular care goes a long way. Keeping it clean prevents dirt from embedding into the fabric.
Simply wipe it down with a damp cloth after each use. For tougher grime, a mild soap solution works wonders. If your mower is stored outside, consider a cover to protect it from the elements. This extends the life of your upholstery significantly.
When to Replace Instead of Repair
Sometimes, even with the best intentions, reupholstering might not be the answer. If the seat pan itself is cracked, rusted, or severely damaged, a new cover won’t fix the underlying issue. Similarly, if the foam is completely disintegrated and hard to replace, buying a new seat might be more practical.
Consider the cost and time. If the price of new fabric and supplies approaches the cost of a new seat, or if the damage is structural, replacement could be the wiser choice. Many experts suggest doing a cost-benefit analysis before starting (Consumer Reports).
Conclusion
Reupholstering your lawn mower seat is a rewarding project that can bring new life and comfort to your equipment. With the right tools, a bit of patience, and these straightforward steps, you can tackle this DIY task with confidence. Enjoy your improved ride and the satisfaction of a job well done!
What kind of fabric is best for a lawn mower seat?
Marine-grade vinyl is widely considered the best fabric for lawn mower seats. It offers superior resistance to water, UV rays, and general wear and tear, ensuring your seat lasts longer outdoors.
How much fabric do I need to reupholster a mower seat?
For most standard lawn mower seats, a piece of fabric about 36 inches by 36 inches (one yard) is usually sufficient. Always measure your existing seat and add a generous margin of 3-4 inches on all sides to be safe.
Can I use household staples for reupholstering?
No, you should use heavy-duty staples, typically 1/4 to 3/8 inch in length, designed for a staple gun. Household staples are often too small and lack the strength to securely hold the fabric to the seat base over time and use.
Is it difficult to reupholster a lawn mower seat for a beginner?
Reupholstering a lawn mower seat is a manageable project for most beginners. The key is to take your time, pull the fabric taut, and staple securely. There are no highly complex techniques involved, making it a great entry-level upholstery task.
How do I prevent wrinkles when installing new fabric?
To prevent wrinkles, consistently pull the fabric firmly and evenly as you staple. Start by stapling the front, back, and then sides, pulling outwards each time. Work your way around, smoothing the fabric as you go, and carefully pleating corners if necessary.
