
How To Take Apart A Lawn Mower?
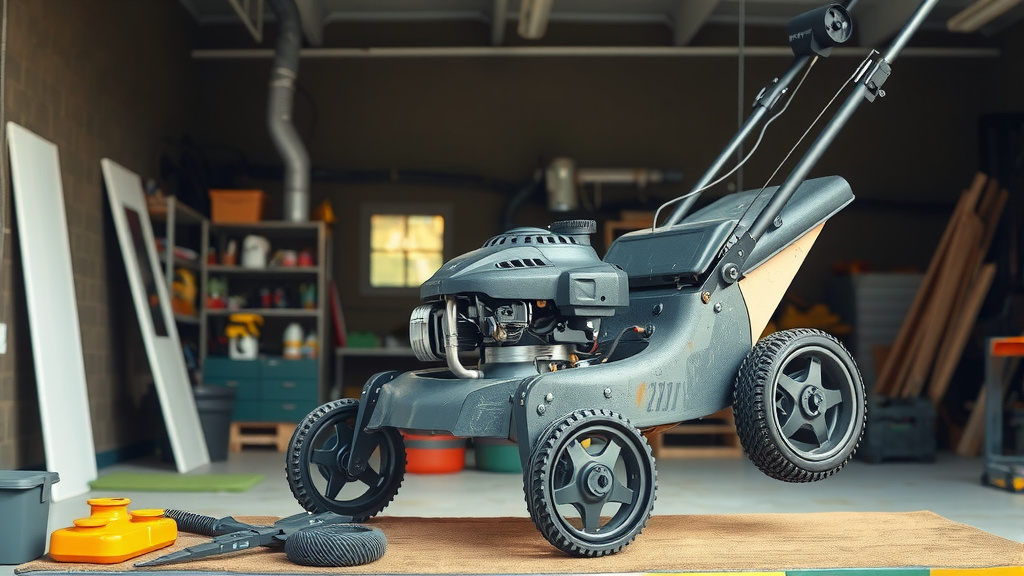
To take apart a lawn mower, you generally start by prioritizing safety. Disconnect the spark plug wire and drain all fuel and oil before you touch any other components.
Then, you can systematically remove the blade, wheels, and various engine components like the carburetor or starter assembly, depending on your goal.
For a quick overview of how to take apart a lawn mower, here’s the gist:
- Always begin with safety: unplug the spark plug and drain liquids.
- Start with exterior parts like the blade and wheels.
- Proceed to engine components like the carburetor or muffler if needed.
- Have your tools ready and work in a clear, well-lit area.
- Take photos as you go to help with reassembly later.
How To Take Apart A Lawn Mower?
Taking apart a lawn mower involves a series of careful steps focused on safety and systematic removal. You’ll generally work from the outside in, addressing the blade and then the engine’s various parts.
Why Disassemble Your Lawn Mower?
Why would you want to take your trusty lawn mower apart? It’s a fair question! People do this for many reasons. Sometimes it’s for repair, other times it’s for a good deep clean.
Cleaning and Maintenance
Over time, grass clippings and dirt build up, causing problems. A thorough cleaning helps your mower run smoother. Many experts say that regular maintenance extends your mower’s lifespan (Consumer Reports).
Repairing Specific Parts
Perhaps your carburetor is clogged or the recoil starter needs attention. You can’t fix these things unless you can access the troubled component. Disassembly makes targeted repairs possible.
Preparing for Storage
At the end of the season, you might want to break down your mower. This can save space, especially if you have a small shed. It also allows for winterizing the engine parts properly.
Safety First: Your Most Important Step
Before you grab any wrenches, stop and think about safety. A lawn mower can be dangerous even when off. We found that ignoring safety steps leads to preventable injuries (NIH).
Disconnecting the Spark Plug
This is non-negotiable. Pull the spark plug wire off the plug. This prevents the engine from accidentally starting. You might even want to remove the spark plug entirely for extra peace of mind.
Draining Fuel and Oil
You don’t want gasoline spilling everywhere. It’s flammable and messy. Drain the fuel tank into an approved container. Then, tilt the mower to drain the engine oil. This prevents unwanted leaks during work.
Tools You’ll Need for the Job
Having the right tools makes a big difference. Gather these items before you start. It saves you trips back and forth to your toolbox.
- Socket wrench set
- Wrenches (open-end or adjustable)
- Screwdrivers (flathead and Phillips)
- Pliers
- Wire brush for cleaning
- Block of wood or jack stand
- Safety gloves and eye protection
- Shop rags
Removing the Blade: Handle With Care
The blade is often the first major component you’ll tackle. It’s also one of the most dangerous. Always wear heavy-duty gloves. We found that protecting your hands is crucial when dealing with sharp edges.
Tip the mower onto its side, ensuring the air filter and carburetor face up to prevent oil leaks. Use a wooden block to secure the blade. Then, use a socket wrench to remove the blade nut.
Taking Off the Wheels and Deck
Once the blade is off, you might want to remove the wheels. This can make the mower easier to maneuver. Most wheels have a bolt or nut in the center. Simply unscrew these and pull the wheels off.
The mower deck itself might be removable, especially on riding mowers. On push mowers, the deck is usually integrated. Check your owner’s manual for specific deck removal instructions.
Working on the Engine Components
This is where things get a bit more detailed. The engine has several parts you might need to access. Remember to take photos as you go to help with reassembly.
The Carburetor
A clogged carburetor is a common issue. It usually sits on the side of the engine. You’ll need to remove the air filter housing first. Then, disconnect the fuel line and throttle linkages. The carburetor is held by a couple of bolts or nuts.
The Starter Assembly
Is your pull cord not working? The starter assembly might be the culprit. It’s often at the top of the engine. Remove the housing bolts, and the entire assembly should lift off. Be careful not to damage the recoil spring inside.
The Muffler
The muffler reduces engine noise. It’s typically bolted directly to the engine block. You’ll usually see two or three bolts holding it in place. Removing these will free the muffler. Be aware that mufflers can be hot if the engine ran recently.
A Quick Comparison: What to Remove First
Deciding which parts to tackle first depends on your goal. This table gives you a general idea of the sequence for common tasks. Remember that safety steps are always first.
| Task | Primary Parts to Remove Early | Secondary Parts (if needed) |
|---|---|---|
| Blade Sharpening | Blade | None |
| Carburetor Cleaning | Air filter, fuel lines | Carburetor bolts, linkages |
| Starter Repair | Starter housing bolts | Engine shroud (sometimes) |
| Engine Swap | Blade, throttle cable, fuel line | Engine mounting bolts |
Reassembly Tips: Putting It Back Together
Once you’ve done your repair or cleaning, you’ll need to put it all back. This is where those photos you took come in handy. Many experts recommend tightening bolts to their correct torque specifications (Briggs & Stratton).
Here’s a small checklist for putting things back together:
- Refer to your photos for correct part placement.
- Ensure all gaskets and seals are in good condition.
- Tighten bolts firmly, but do not overtighten.
- Double-check all connections, especially fuel lines.
- Re-connect the spark plug wire only when ready.
Conclusion
Taking apart a lawn mower might seem daunting, but it’s a manageable task with the right approach. Prioritize safety, gather your tools, and work systematically. Whether you’re cleaning, repairing, or storing, you can successfully disassemble your mower. Just remember those photos for an easier reassembly!
How do I safely remove a lawn mower blade?
To safely remove a lawn mower blade, first disconnect the spark plug wire. Then, tip the mower on its side with the carburetor facing up. Use a block of wood to brace the blade against the deck, preventing it from turning. Finally, use a socket wrench to loosen and remove the nut holding the blade.
What tools are essential for disassembling a lawn mower engine?
Essential tools for disassembling a lawn mower engine typically include a socket wrench set, various sized wrenches, screwdrivers (Phillips and flathead), pliers, and often a wire brush for cleaning. Safety gear like gloves and eye protection is also vital.
Can I disassemble my lawn mower if I’m not a mechanic?
Yes, many basic disassembly tasks, like removing the blade or carburetor for cleaning, are achievable for a non-mechanic. However, for complex engine repairs, consulting a professional or a detailed service manual is often a good idea. Always follow safety instructions closely.
How do I prevent fuel and oil spills when taking the mower apart?
To prevent spills, always drain the fuel tank completely into an approved container before starting any work. Similarly, drain the engine oil from the crankcase. When tilting the mower, ensure the carburetor and air filter are facing upwards to minimize residual fluid leaks.
Is it better to take pictures during the disassembly process?
Absolutely! Taking pictures at various stages of disassembly is highly recommended. These photos serve as a visual guide for reassembly, helping you remember the exact placement of parts, wires, and hoses, making the process much smoother.
