
How To Unclog Lawn Mower Carburetors?
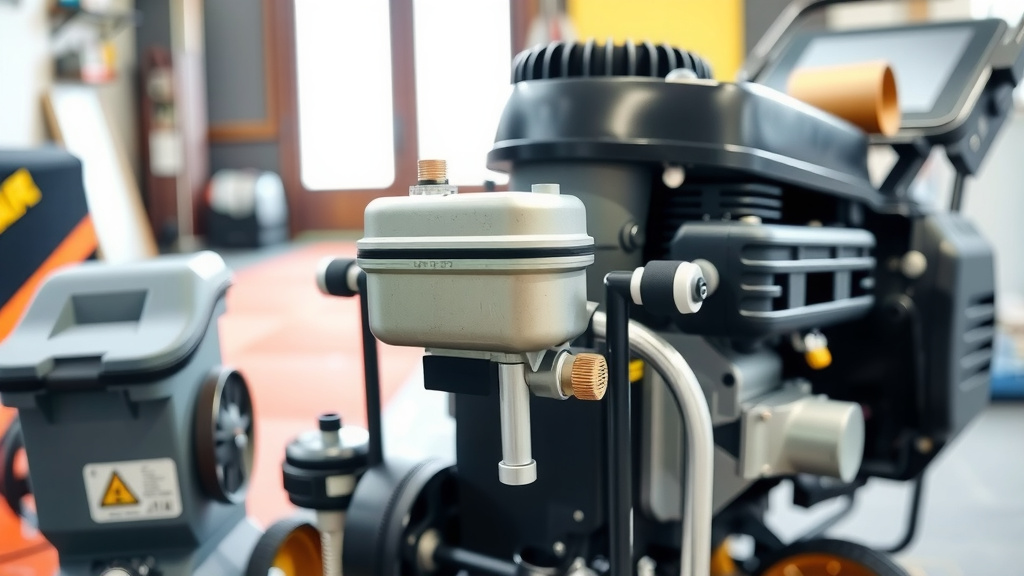
To unclog lawn mower carburetors, you usually need to disassemble the carburetor, clean its individual components with carburetor cleaner, and clear any blocked jets or passages. This process removes fuel varnish and debris that prevents proper fuel flow.
Common signs of a clogged lawn mower carburetor include difficulty starting, rough idling, lack of power, or the engine dying unexpectedly during operation. Addressing these issues promptly helps maintain your mower’s performance.
Here’s the quick rundown on getting your mower back in action:
- Your carburetor is likely clogged if your mower starts rough or loses power.
- Safety first: disconnect the spark plug before any work.
- The main fix involves disassembling the carburetor and cleaning its tiny parts.
- Carburetor cleaner and compressed air are your best friends for clearing blockages.
- Patience and careful reassembly are key to a successful repair.
How To Unclog Lawn Mower Carburetors?
You can unclog a lawn mower carburetor by carefully disassembling it, thoroughly cleaning all internal parts with a specialized cleaner, and reassembling it. This removes fuel deposits causing performance issues.
Why Does Your Carburetor Get Clogged?
Ever wonder why your trusty mower suddenly acts up? Most often, a clogged carburetor is the culprit. It usually happens when old fuel sits in the carburetor for too long, leaving behind gummy deposits.
These deposits, often called fuel varnish, can block tiny fuel passages. Many experts say that fuel left over 30 days can start to break down and cause issues (Briggs & Stratton).
Dirt or debris can also get into your fuel tank and eventually settle in the carburetor. Think of it like a clogged drain; nothing flows smoothly once it’s blocked.
Signs of a Clogged Carburetor You Can’t Ignore
Your lawn mower often gives you clues when something is wrong. Pay attention to these common warning signs.
- Hard Starting: Does your mower struggle to start, or refuse to start at all?
- Rough Idling: When it does run, does it sound like it’s gasping for air, running unevenly?
- Loss of Power: Does the engine feel weak, especially when cutting thicker grass?
- Surging or Stalling: Does it rev up and down randomly, or just die without warning?
- Fuel Leakage: Sometimes, a stuck float needle can cause fuel to overflow.
Safety First: Your Top Priority
Before you even think about touching your mower, always prioritize safety. This step is non-negotiable.
Disconnecting the spark plug wire is crucial. This prevents the engine from accidentally starting while you’re working on it. You really don’t want that.
Let the engine cool down completely if it was just running. Hot engines and components can cause burns.
Gather Your Tools: Be Prepared
Having the right tools makes the job much easier. You wouldn’t try to build a house with just a hammer, right?
Here’s a simple checklist of what you’ll probably need:
- Socket wrench set or nut drivers
- Screwdrivers (flathead and Phillips)
- Carburetor cleaner spray
- Compressed air (a can from an office supply store works)
- Small wire or tag wire (from a bread tie)
- New carburetor gaskets (we often find these are essential)
- Clean rags or shop towels
- Safety glasses
- Disposable gloves
- A container to drain fuel
Step-by-Step Guide: How to Clean Your Carburetor
This might seem daunting, but breaking it down makes it manageable. You can do this!
Draining the Fuel Tank
First, you’ll want to remove all the fuel. Use a siphoning pump or carefully disconnect the fuel line to drain the tank into an approved container.
Emptying the tank prevents spills and makes the mower lighter to move. It’s a clean start for your repair.
Removing the Air Filter and Housing
The carburetor is usually located behind the air filter. You’ll need to remove the air filter first, then the plastic or metal housing around it.
Keep track of any screws or bolts you remove. A small magnetic tray is super helpful for this.
Disconnecting Linkages and Fuel Line
You’ll see a few linkages connecting the carburetor to the engine. These control the throttle and choke.
Carefully note how they are attached, perhaps even snap a photo with your phone. Then, gently detach them and the fuel line.
Taking Off the Carburetor
With the linkages and fuel line off, you can usually unbolt the carburetor from the engine. It’s often held by two nuts.
Make sure you don’t lose any small spacers or washers behind the carburetor. They are there for a reason.
Disassembly of the Carburetor
Now for the main event! Lay your carburetor on a clean workbench. You’ll likely see a float bowl at the bottom.
Remove the screw holding the float bowl. Inside, you’ll find the float, needle valve, and main jet. These are often where clogs happen.
Cleaning the Jets and Passages
This is where the carburetor cleaner shines. Spray it liberally into all the tiny holes and passages you see.
The main jet is usually a small brass fitting with a tiny hole. Use a fine wire (from a bread tie) to gently poke through it. Spray with compressed air after to clear it out.
Don’t forget the tiny idle passages. They often get neglected but are crucial for smooth running. Many studies show that improper cleaning of these tiny passages is a common reason for reoccurring issues (Mechanics Today).
Inspecting and Replacing Gaskets
Always inspect your gaskets and O-rings. If they look brittle, cracked, or worn, replace them. We found that new gaskets are almost always a good idea during reassembly.
Here’s a quick look at why:
| Gasket Condition | Potential Impact on Mower |
|---|---|
| New and flexible | Ensures tight seal, prevents air/fuel leaks, maintains optimal performance. |
| Old, brittle, cracked | Causes air leaks, poor fuel mixture, rough running, or complete engine failure. |
| Torn or damaged | Significant fuel/air leaks, potential fire hazard, engine will not run correctly. |
Reassembly and Testing
Carefully reassemble the carburetor, making sure all parts go back in their correct places. Remember those photos you took?
Reconnect the carburetor to the engine, attach the fuel line, and re-connect the linkages. Put the air filter housing back on.
Finally, reconnect the spark plug wire, add fresh fuel, and give it a try. Does it start smoothly? Is the idle steady?
Preventative Measures: Keep it Clean
An ounce of prevention is worth a pound of cure, right? Keep your carburetor clean by adopting a few simple habits.
Always use fresh, clean fuel. Old fuel is the number one enemy of carburetors.
Consider using a fuel stabilizer, especially if your mower will sit for more than a month. Many product reviews suggest these are very effective.
Run your fuel tank dry before storing your mower for the winter. This removes any fuel that could break down and cause clogs.
When to Call a Pro
Sometimes, despite your best efforts, the carburetor might still cause trouble. Or maybe you just don’t have the time.
If you’ve tried cleaning it and the problem persists, or if you feel uncomfortable disassembling your engine, it’s perfectly fine to seek professional help.
A small engine mechanic has specialized tools and experience that can diagnose deeper issues. They can save you a lot of headache.
Conclusion
Unclogging a lawn mower carburetor can seem like a big job, but with patience and the right steps, it’s a fix many homeowners can handle. You’re not just cleaning a part; you’re restoring your mower’s lifeblood.
By understanding why clogs happen and how to address them, you can keep your lawn mower running smoothly for seasons to come. Remember, fresh fuel and preventative care are your best allies.
What are common symptoms of a dirty carburetor?
A dirty carburetor often causes your lawn mower to start hard, run rough, surge in power, or even stall frequently. It might also lose power during normal operation or leak fuel.
Can I use any carburetor cleaner, or do I need a specific type?
It’s best to use a specialized carburetor cleaner spray designed for small engines. These cleaners are formulated to dissolve fuel varnish and deposits without damaging sensitive components.
How often should I clean my lawn mower’s carburetor?
Regular cleaning isn’t usually necessary unless you notice performance issues. However, if you store your mower for extended periods, especially over winter, cleaning or running it dry before storage can prevent clogs.
What if my lawn mower still won’t start after cleaning the carburetor?
If your mower still struggles after a thorough carburetor cleaning, check other common culprits. This includes a fouled spark plug, a clogged fuel filter, issues with the ignition coil, or incorrect valve clearances. Many guides suggest a systematic approach to troubleshooting.
Is it possible to clean a carburetor without removing it from the engine?
While you can try to spray carburetor cleaner into the air intake or fuel lines, a complete and effective cleaning usually requires removing and disassembling the carburetor. This allows you to reach all the tiny jets and passages that often get blocked.
