
How To Wind Lawn Mower Spring?
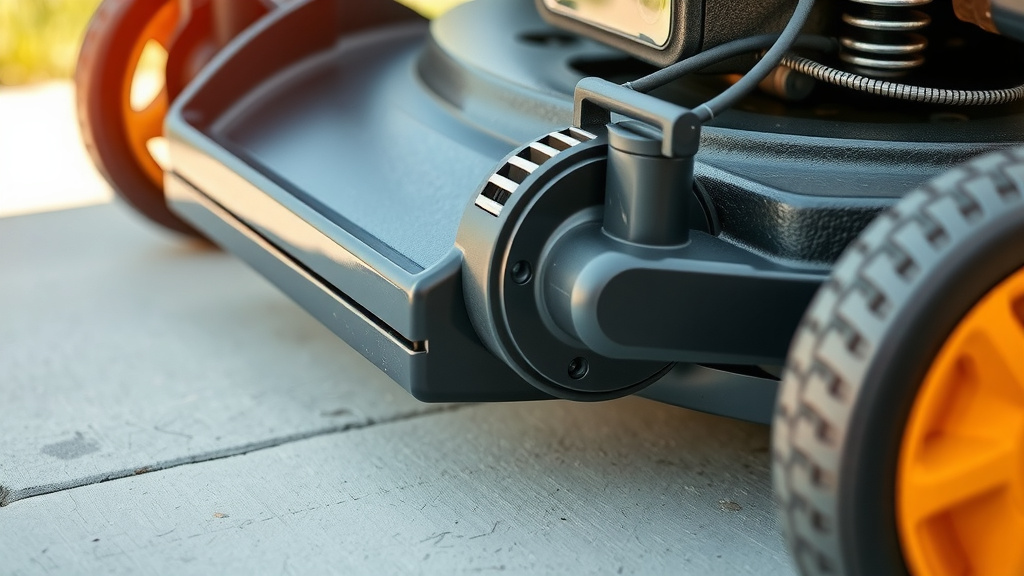
To wind a lawn mower spring, especially a recoil starter spring, you carefully engage the spring end into the starter pulley and then rotate the pulley counter-clockwise until you feel tension. This process stores energy in the spring, allowing it to retract the starter rope after each pull.
Always wear safety glasses and work gloves, and consult your mower’s manual for specific winding instructions for your model, as designs can vary.
Here’s a quick overview of how to manage your lawn mower spring:
- Identify the correct spring, often the recoil starter spring.
- Prioritize safety with protective gear before you begin.
- Use basic tools like screwdrivers or pliers for spring manipulation.
- Engage the inner loop of the spring onto the pulley’s post.
- Turn the pulley to build tension, usually counter-clockwise.
- Test the recoil mechanism to ensure smooth operation.
- Always refer to your specific lawn mower manual for precise steps.
How To Wind Lawn Mower Spring?
Winding a lawn mower spring typically means addressing the recoil starter spring. You will need to carefully re-tension this spring inside the starter assembly after it has lost its tension or has been replaced, allowing the starter rope to retract properly.
Understanding Your Lawn Mower Spring
Before you begin, it is good to know what kind of spring you are dealing with. Most often, when people talk about winding a spring, they mean the recoil starter spring. This spring is what pulls your starter rope back into the housing.
Other springs, like governor or brake springs, usually do not require “winding.” They either work or need replacing. We will focus on the common recoil starter spring today.
Why Does the Spring Need Winding?
A lawn mower spring can lose its tension over time or after being removed. Without proper tension, your starter rope won’t retract. This makes starting your mower very frustrating, or even impossible.
Re-tensioning the spring restores the recoil action. This allows the rope to snap back smoothly after each pull. It’s like resetting a clock spring to keep accurate time.
Safety First: Your Most Important Step
Working with springs can be a bit tricky. They store energy and can snap unexpectedly. Always put on your safety glasses and sturdy work gloves before you even think about touching the spring.
Also, make sure your mower is completely off. Disconnect the spark plug wire to prevent any accidental starts. This small step can prevent a big surprise.
Gathering Your Tools for the Task
You do not need many fancy tools for this job. Most often, a few basics will get you through. Here is what you might want to have on hand:
Many experts say having these tools ready makes the job much smoother (Consumer Reports):
- Screwdrivers (Phillips and flathead)
- Pliers (needle-nose can be helpful)
- Socket wrench set (for removing the starter housing)
- Replacement spring (if needed)
- Clean rag
Locating the Recoil Starter Assembly
The recoil starter assembly is usually on top of your engine. It is that big housing where your starter rope comes out. You will need to remove it to access the spring inside.
Typically, a few bolts or screws hold it in place. Carefully unscrew them and lift the assembly away. Be mindful of any small parts that might come loose.
Removing the Starter Pulley
Once the housing is off, you will see the starter pulley. This is the round part the rope wraps around. The spring usually sits just beneath or around it. You may need to remove a central bolt or clip to free the pulley.
Take care not to let the old spring unwind completely if it still has some tension. It is easier to re-wind a partially wound spring.
Inspecting the Spring
Before winding, take a moment to look at the spring. Is it broken? Bent? Rusted badly? If so, you will need a new one. Winding a damaged spring is often a waste of effort. Research often connects spring damage with improper tensioning over time (SAE International).
A new spring ensures reliable recoil. It’s a bit like fixing a flat tire versus replacing it – sometimes a replacement is just the better option for long-term function.
The Step-by-Step Spring Winding Process
Alright, here is where the magic happens. Remember to take your time. This is not a race.
Step 1: Preparing the Pulley
First, make sure your starter rope is fully extended from the pulley. If it is not, pull it out. Then, thread the inner loop of your spring onto the central post of the pulley. This is the anchor point for the spring.
Ensure it sits snugly and does not slip off. Many experts advise double-checking this fit.
Step 2: Securing the Outer Spring End
Now, locate the outer hook of the spring. This hook needs to engage with a slot or notch in the starter housing. Carefully position it so it catches properly. This is another critical anchor point.
It can be fiddly, so patience pays off here. You might need your needle-nose pliers for this step.
Step 3: Winding the Pulley for Tension
With both ends of the spring secured, it is time to wind. Rotate the pulley counter-clockwise. You will feel the spring tighten as you turn. Keep rotating until you feel significant tension.
How many turns? This varies. We found that most recoil springs need about three to five full rotations for proper tension. Some smaller mowers might need less, larger ones perhaps more.
| Winding Action | What You Should Feel | Common Issue & Fix |
|---|---|---|
| Rotate pulley counter-clockwise | Increasing resistance/tension | Too loose: Add more turns |
| Engage spring ends securely | Spring remains attached | Spring slips: Re-attach firmly |
| Release gently | Pulley should snap back | Not recoiling: Check tension/spring integrity |
Note: This table is designed to be simple and mobile-friendly.
Step 4: Testing the Recoil Action
Once you think you have enough tension, gently release the pulley. Does it snap back smoothly and forcefully? If it does, great job! If it is sluggish or does not recoil fully, you need more tension.
If it feels too stiff or struggles to turn, you might have wound it too much. Try unwinding it a half turn.
What if the Spring Breaks During Winding?
It happens! Springs can be brittle, especially older ones. If your spring snaps, do not worry. You will just need to get a replacement. Many experts agree that replacing a broken spring is straightforward (Briggs & Stratton guides).
It is often easier to replace a fully broken spring than to fix a partially damaged one. Just remember your safety gear when handling a new spring, too!
Reassembling Your Starter Housing
With the spring correctly wound and working, put the pulley back into the starter housing. Make sure the starter rope lines up with its opening. Then, reattach the housing to your mower engine.
Fasten all the bolts or screws securely. A loose housing can cause vibrations and further issues. A quick double-check ensures everything is tight.
Final Checklist Before Starting
Before you try to fire up your mower, run through this quick checklist:
- Spark plug wire reconnected?
- All housing bolts tightened?
- Starter rope recoils fully and smoothly?
- Any leftover tools or parts on the engine?
- Are you standing clear of moving parts?
If everything checks out, you are ready to give that rope a pull. Your lawn mower should now start with its usual satisfying snap!
When to Call a Professional
Sometimes, a DIY fix might not be the best route. If you are struggling to get the spring wound, or if the spring keeps breaking, it might be time for a professional. A mechanic has specialized tools and experience.
Also, if you find other issues like engine problems while you are working, a professional can offer a more comprehensive solution. They can diagnose problems you might not spot.
Conclusion
Winding a lawn mower spring might seem daunting at first, but with patience and the right steps, it is a manageable task. Remember to prioritize safety above all else, always wearing your protective gear. By carefully following the winding process, you can restore your mower’s starting power and get back to maintaining your yard. Do not hesitate to seek expert help if the task feels overwhelming or if recurring issues pop up.
Can I use any spring to replace a broken lawn mower spring?
No, you should only use a spring specifically designed for your lawn mower’s make and model. Using the wrong spring can lead to improper tension, damage to the starter assembly, or even safety hazards due to incorrect fit or strength.
How many times should I wind the recoil spring?
The number of turns varies by mower. Generally, most recoil springs require about three to five full counter-clockwise turns of the pulley to achieve proper tension. You will know it is right when the starter rope retracts smoothly and fully without being too stiff or too loose.
What if my starter rope is stuck and won’t pull out?
If your starter rope is stuck, it could indicate a seized engine, a problem with the recoil starter assembly itself, or the rope might be tangled. First, check your engine oil and try moving the blade by hand (with the spark plug disconnected). If the engine is free, then the issue likely lies within the starter assembly and may require disassembly.
Is it better to replace the whole recoil starter assembly or just the spring?
If only the spring is broken and the rest of the assembly (pulley, housing, rope) is in good condition, replacing just the spring is often more cost-effective. However, if multiple components show wear or damage, replacing the entire assembly can save time and ensure all parts are new and compatible, offering a more reliable repair.
How do I prevent my lawn mower spring from losing tension again?
Regular maintenance can help. Avoid yanking the starter rope aggressively; instead, pull it smoothly and steadily. Also, ensure your mower’s engine is well-maintained and starts easily, reducing strain on the starter. Storing your mower in a dry place also prevents rust that can affect spring integrity.
