
How To Wire Headlights On A Lawn Mower?
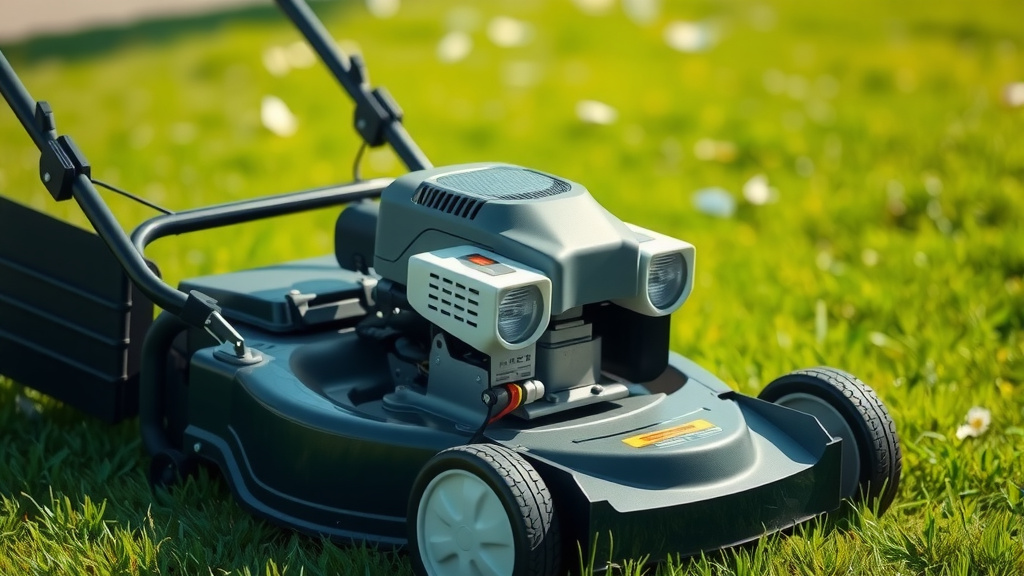
Wiring headlights on a lawn mower typically involves connecting the lights to the mower’s 12-volt electrical system, usually through the ignition switch or a dedicated toggle switch. This process provides essential illumination for safe operation during dim conditions, often requiring basic electrical tools and a clear understanding of your mower’s wiring diagram.
You can wire headlights on a lawn mower by tapping into the battery, adding a switch, and ensuring proper grounding, significantly improving visibility and extending your mowing hours. Always disconnect the battery first to prevent electrical shorts and ensure your safety.
Here’s a quick overview of what we’ll cover to get your mower glowing:
- Understand your mower’s electrical system.
- Gather the right tools and parts.
- Install the lights and run the wires carefully.
- Connect everything securely to the power source.
- Test your new headlights for proper function.
How To Wire Headlights On A Lawn Mower?
Wiring headlights on your lawn mower means adding new lights to your existing 12-volt system. You’ll connect them to the battery, often through the ignition switch or a separate power switch. This setup allows you to turn the lights on and off when you need them.
Why Bother with Lawn Mower Headlights?
You might wonder, “Do I really need headlights on my mower?” Well, we found that many homeowners appreciate the added visibility. It’s not just for nighttime mowing. Headlights help during dawn, dusk, or even on overcast days. They make your work safer and allow you to finish tasks a bit later. Imagine those last few strips of grass as daylight fades, suddenly made visible. It’s a genuine help (Consumer Reports).
Getting Ready: Tools and Materials You’ll Need
Before you start, gathering everything makes the job smoother. Think of it like a chef preparing ingredients before cooking. Here’s what you’ll likely need:
- New 12-volt headlights (LEDs are efficient).
- Wire (16- or 18-gauge, stranded automotive wire).
- Wire strippers and crimpers.
- Electrical tape or heat-shrink tubing.
- Assorted wire connectors (ring terminals, spade connectors).
- Toggle switch (if not using the ignition switch).
- In-line fuse holder with appropriate fuse (5-10 amp).
- Multimeter or test light.
- Screwdrivers and wrenches.
- Safety glasses and gloves.
Understanding Your Mower’s Electrical System
Your lawn mower has a pretty straightforward electrical system, much like a car, but simpler. It uses a 12-volt battery to crank the engine. Once the engine runs, an alternator or stator charges the battery. Your new headlights will draw power from this system. We found that most mowers have enough spare capacity for a couple of small LED lights without issue.
Identifying the Power Source
You have a couple of main options for where to get power. You can connect directly to the battery, which is always live. Or, you can connect to a switched power source, often found near the ignition. Many experts suggest using a switched source so your lights don’t drain the battery if left on (Small Engine Mechanic Association). This also ensures they only work when the mower is running.
Reading Your Mower’s Wiring Diagram
If you have your mower’s owner’s manual, check for a wiring diagram. This diagram is like a roadmap for your mower’s electricity. It shows where wires go and what they do. We found that even a quick glance can save you a lot of guesswork later.
Step-by-Step Wiring Process for Your Headlights
Ready to get your hands a little dirty? Let’s walk through the wiring process. Remember, safety first!
Disconnecting the Battery for Safety
This is arguably the most critical step. Always disconnect the negative terminal from your lawn mower’s battery before doing any electrical work. This prevents accidental shorts and sparks. Just loosen the nut with a wrench and lift the cable away. Think of it like turning off the main breaker in your house before working on an outlet.
Mounting Your Headlights Securely
Find good spots for your headlights. The front of the hood or deck is common. Make sure they won’t interfere with steering or grass collection. Use appropriate bolts, nuts, and washers to secure them. A solid mounting point prevents vibrations from damaging the lights over time.
Running the Wires Neatly and Safely
Now, run the positive (+) and negative (-) wires from your headlights. Route them along the mower’s frame, away from hot engine parts or moving belts. Use zip ties to keep the wires neat and secure. We found that leaving a little slack in the wires helps prevent tension if the mower vibrates.
Installing the Switch (Optional, but Recommended)
If you want a dedicated on/off switch for your lights, now’s the time. Mount it in an accessible but protected location on your mower’s dash. This switch will interrupt the positive power line to the lights. It gives you complete control over when your lights are on.
Adding an In-Line Fuse for Protection
Never skip this step! An in-line fuse protects your wiring and headlights from power surges. Install the fuse holder on the positive (+) wire, close to where you draw power from the battery or switched source. Use a fuse rated for your lights, often 5 or 10 amps. This is like a miniature circuit breaker for your new lights.
Making the Electrical Connections
Here’s where it all comes together. Use your wire crimpers and connectors to make secure connections.
- Connect the positive (+) wire from the lights to one terminal of your switch (if using one).
- Connect the other terminal of the switch to the in-line fuse holder.
- Connect the other side of the fuse holder to your chosen 12-volt power source (battery positive or switched ignition wire).
- Connect the negative (-) wire from your headlights directly to the mower’s frame (a good ground point) or back to the battery’s negative terminal.
Ensure all connections are tight and insulated with electrical tape or heat-shrink tubing to prevent corrosion and shorts.
Testing Your New Headlights
Once everything is connected, it’s time for the moment of truth! Reconnect the negative battery terminal. Start your mower and flip the switch (if you installed one). Do your headlights glow brightly? If so, great job! If not, don’t worry, we’ll troubleshoot that next.
Troubleshooting Common Headlight Wiring Issues
Sometimes things don’t go perfectly on the first try. That’s okay! We found that most issues are simple to fix.
| Problem | Possible Cause | Solution |
|---|---|---|
| Lights won’t turn on. | Blown fuse, loose wire, bad ground, switch issue. | Check the fuse, tighten all connections, ensure good ground, test the switch. |
| Lights are dim. | Low battery, undersized wires, poor connection. | Charge battery, use heavier gauge wire, clean connections. |
| Lights flicker. | Loose connection, faulty bulb, vibration. | Secure all wires, check bulb, reinforce mounting. |
Checklist for Troubleshooting
When your lights aren’t working, go through this simple checklist:
- Is the battery fully charged?
- Are all connections tight and clean?
- Is the fuse intact and the correct rating?
- Is there a solid ground connection?
- Does your switch work properly (if installed)?
- Are the light bulbs good? (Test with a multimeter).
Safety Considerations When Working with Electrical Systems
Working with electricity always requires caution. Even a 12-volt system can cause a shock or fire if not handled correctly. Always wear safety glasses and gloves. Disconnect the battery before making or breaking connections. Never work on electrical components in wet conditions. Remember, you’re dealing with power, so treat it with respect.
Conclusion
Wiring headlights onto your lawn mower is a practical project that significantly enhances your mowing experience. By following these steps—from gathering your tools and understanding your mower’s electrical system to careful installation and testing—you can confidently add vital illumination. Remember to prioritize safety at every turn by disconnecting the battery and using a fuse. Now you can extend your mowing time and work with better visibility, ensuring both efficiency and peace of mind. Happy mowing, even after the sun starts to set!
Can I use existing wiring for my lawn mower headlights?
You might be able to tap into existing wiring if your mower already has a small auxiliary power wire or a dedicated connection for accessories. However, always ensure the circuit can handle the extra load of your new headlights without overloading, which could blow a fuse or damage components. Adding a separate switch and fuse is often safer.
What type of lights are best for a lawn mower?
LED (Light Emitting Diode) lights are generally the best choice for lawn mowers. They are very energy-efficient, meaning they draw less power from your battery. LEDs are also durable, long-lasting, and highly resistant to vibrations, which is ideal for the rough environment of a lawn mower.
Do I need a relay to wire lawn mower headlights?
For most standard small LED headlights (usually drawing only a few amps), a relay isn’t strictly necessary. You can wire them directly through a quality toggle switch with an appropriate in-line fuse. However, if you plan to install very powerful lights or multiple sets, a relay might be a good idea to protect your switch from high current draw.
How do I find a good ground point on my lawn mower?
A good ground point on your lawn mower is typically any clean, unpainted metal part of the mower’s frame or chassis that is securely bolted. The engine block or a frame bolt can work well. Ensure the connection is free of rust and paint for optimal conductivity. The battery’s negative terminal is also always a reliable ground.
Can adding headlights drain my lawn mower battery?
Yes, if you wire your headlights directly to the battery without a switch, or if you leave them on for extended periods when the engine isn’t running, they can drain your battery. To avoid this, we recommend wiring them through the ignition switch or a dedicated toggle switch, and always remembering to turn them off when not in use.
