
How To Wire Lights On A Lawn Mower?
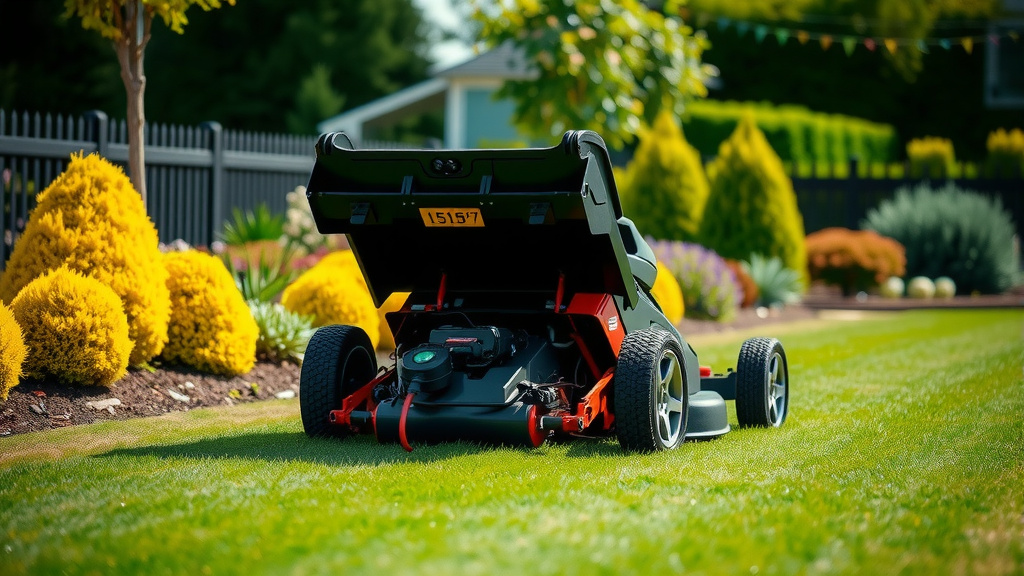
To wire lights on a lawn mower, you generally connect them to the mower’s 12-volt electrical system, often drawing power directly from the battery or the charging circuit.
This process involves mounting the lights, running wires safely, making secure electrical connections, and ensuring proper grounding to avoid electrical issues and ensure functionality.
Here’s a quick overview of what you’ll find in this guide:
- Connecting lights to your lawn mower can extend your mowing hours safely.
- You’ll need basic tools like wire strippers and crimpers for the job.
- Power usually comes from the mower battery or stator for consistent light.
- Always prioritize safety: disconnect the battery before starting any work.
- Testing connections thoroughly helps prevent short circuits and ensures everything works.
How To Wire Lights On A Lawn Mower?
Wiring lights on a lawn mower involves connecting them to the mower’s existing 12-volt power system, ensuring secure mounting and safe electrical pathways. It’s a practical project for extending your working time safely into the evening.
Why Add Lights to Your Lawn Mower?
Have you ever wished you had a few more daylight hours to finish that yard work? Adding lights can extend your productivity. It also significantly improves visibility, making your mowing safer for both you and your surroundings, especially in dim conditions.
Many experts say that enhanced visibility reduces accidents. You can see obstacles better and other people can see you, which is a big win for safety (National Safety Council).
Consider Your Mowing Habits
Think about when and where you mow most often. If you frequently cut grass during early mornings or late evenings, or if your property has shaded areas, lights become exceptionally useful. They illuminate uneven terrain and hidden objects.
Gathering Your Essential Tools and Materials
Before you begin, ensure you have the right gear. A little preparation goes a long way to making this project smooth and efficient.
Tools You’ll Definitely Need
- Wire cutters and strippers
- Crimping tool for connectors
- Multimeter to test voltage and continuity
- Drill and drill bits for mounting
- Screwdrivers and wrenches (appropriate sizes)
- Zip ties or cable clamps for securing wires
- Heat gun or lighter for heat shrink tubing
Materials for the Job
Choosing the right materials ensures your lights last and function correctly. We found that LED lights are a popular choice due to their efficiency.
- 12-volt LED lights (flood or spot, depending on needs)
- Appropriate gauge automotive wire (14-18 gauge is common)
- Inline fuse holder and fuses (e.g., 10-15 amp)
- Electrical connectors (crimp-on type: ring terminals, spade connectors)
- Weather-resistant toggle switch
- Heat shrink tubing or electrical tape
- Mounting brackets for your chosen lights
- Dielectric grease (optional, but recommended for connections)
Choosing Your Power Source
Your lawn mower has a 12-volt electrical system, perfect for powering lights. You generally have two main options for where to draw power.
Direct from the Battery
Connecting directly to the battery is the simplest method. The lights will work even when the engine is off. However, remember that running lights with the engine off can drain your battery. Always use a fuse in this setup.
From the Charging System (Stator)
Many mowers use a stator to generate power when the engine runs. Tapping into this system means your lights will only work when the engine is actively running. This prevents battery drain but requires finding the correct wire, usually after the voltage regulator (Briggs & Stratton guidelines).
We found that connecting to the ignition switch’s “accessories” terminal, if available, provides power only when the key is on, which is a good middle-ground option.
Step-by-Step Wiring Instructions
Let’s get down to the practical steps. Always remember: safety first. Disconnect your mower’s battery before touching any wires.
1. Disconnect the Battery
Locate your mower battery. Using a wrench, disconnect the negative terminal first, then the positive. This prevents accidental short circuits during wiring.
2. Mount Your Lights Securely
Decide where your lights will go. Common spots include the front grille, fenders, or roll bars. Drill any necessary holes and attach the light brackets firmly. Make sure they are aimed effectively for your mowing path.
3. Install the Switch
Find a convenient, weather-protected spot for your toggle switch. Drill a hole, insert the switch, and secure it. This switch will control your lights. Many people prefer to place it near the operator’s seat for easy access.
4. Run the Positive Wire (Fused)
Take a length of automotive wire. Connect one end to the positive terminal of your lights. Run this wire neatly and securely along the mower frame, away from moving parts and heat sources. Install an inline fuse holder close to your power source (battery or accessory wire). Connect the wire through the fuse holder to the positive terminal of your power source.
| Connection Point | Purpose | Key Consideration |
|---|---|---|
| Light’s Positive (+) | Receives power | Connect to switch output |
| Switch Input | Receives fused power | Connect to fuse holder output |
| Fuse Holder Input | Connects to 12V source | Place close to battery/stator |
5. Connect the Negative (Ground) Wire
The negative wire provides the return path for electricity. Connect the negative terminal of your lights to a clean, unpainted metal part of the mower frame. This is your ground. You can also run a wire directly back to the negative terminal of the battery if preferred, ensuring a solid connection.
6. Make All Connections Secure and Weatherproof
Use crimp connectors for strong, reliable connections. After crimping, we found that applying heat shrink tubing over the connections provides excellent weather protection. This prevents corrosion and short circuits, which can be common issues on outdoor equipment (SAE International guidelines).
7. Double-Check and Test
Before reconnecting the battery, perform a final visual inspection. Are all wires secured? Are connections tight? Is the fuse in place? Reconnect the battery (positive first, then negative). Turn the key to your accessory position or start the engine, then flip your new light switch. Do they glow? Fantastic!
8. Tidy Up Your Wiring
Once everything works, use zip ties or cable clamps to secure all wires neatly. This prevents them from snagging on branches, getting caught in moving parts, or becoming damaged. A tidy job looks professional and adds to the longevity of your setup.
Important Safety Considerations
Working with electricity always requires caution. Don’t skip these steps.
- Always disconnect the battery before starting any wiring.
- Use an inline fuse to protect your circuit from overloads.
- Ensure wires are the correct gauge for the power draw to prevent overheating.
- Route wires away from heat sources like the muffler or engine block.
- Keep wires clear of moving parts like belts, pulleys, and blades.
- Use weather-resistant connectors and seal them well.
Troubleshooting Common Issues
Sometimes, things don’t work right away. Don’t worry, many problems are simple fixes.
If your lights aren’t coming on, the first thing to check is the fuse. A blown fuse often indicates a short circuit. Use your multimeter to check for power at various points in the circuit. Ensure you have a good ground connection too; a poor ground is a common culprit (Electrical Engineering Portal).
Conclusion
Wiring lights onto your lawn mower is a practical project that significantly enhances usability and safety. By following these steps, choosing the right components, and prioritizing safety, you can enjoy extended mowing hours with clear visibility. It’s a rewarding upgrade that genuinely makes a difference to your lawn care routine.
Can I use any 12-volt lights for my lawn mower?
Yes, you can use most 12-volt lights. However, LED lights are highly recommended because they draw less power, are brighter, and typically last longer than traditional incandescent or halogen bulbs, making them ideal for battery-powered equipment.
Do I need a relay to wire lights on a lawn mower?
For simple light setups with low amperage draw, a relay is usually not necessary if you are using a good quality switch rated for the light’s current. However, if you are adding multiple powerful lights with a high amperage draw, a relay is a good idea to protect the switch from overload and ensure consistent power.
What gauge wire should I use for lawn mower lights?
For most lawn mower light applications (LEDs), 16 or 18 gauge automotive wire is sufficient. If you are running longer wire lengths or connecting higher-wattage lights, consider using a slightly thicker 14 gauge wire to prevent voltage drop and ensure optimal performance.
How do I prevent my lawn mower battery from draining when using lights?
To prevent battery drain, connect your lights through a switch that powers off when the ignition is off, or tap into a circuit that only provides power when the engine is running (like after the voltage regulator). Always turn off the lights when the engine is not running for extended periods.
Is it safe to wire lights on a riding lawn mower myself?
Yes, it can be safe to wire lights yourself if you follow proper electrical safety guidelines, use the correct tools and materials, and understand basic wiring principles. Always disconnect the battery before starting work and use an inline fuse to protect the circuit.
