
How to Charge a Robot Lawn Mower?
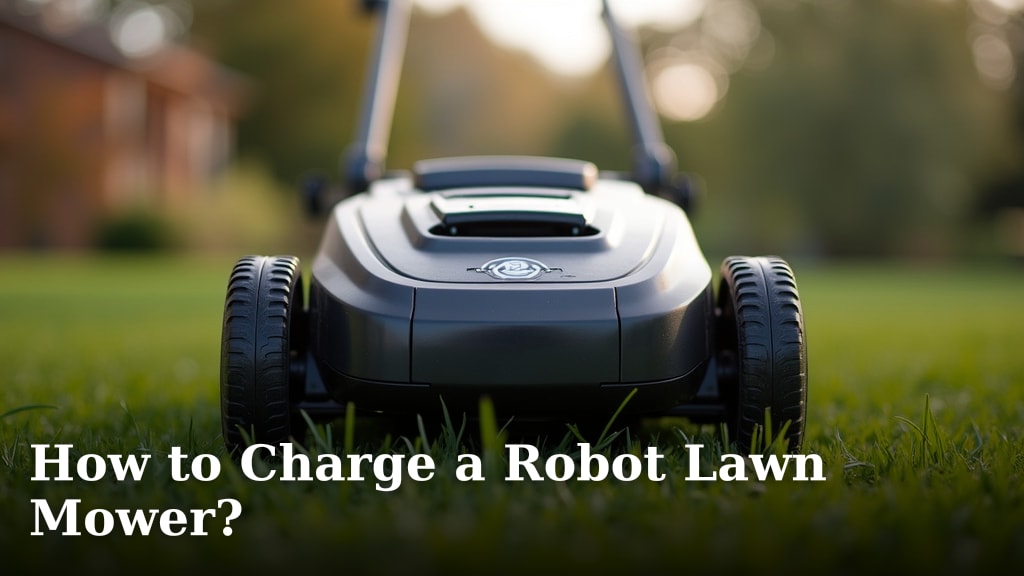
To charge a robot lawn mower, you generally just need to ensure its charging station is plugged in and that the mower can return to its base automatically. Most models are designed to find their way back to the charger when the battery is low, making the process mostly hands-off for you.
You might be wondering if there’s more to it, like specific steps or tricky setups. Thankfully, charging your robotic helper is usually among the easiest parts of owning one. We found that most owners appreciate the simple, automated charging process.
TL;DR
- Robot mowers charge themselves automatically.
- Ensure the charging station is plugged into an outdoor outlet.
- Verify your mower can easily return to its base.
- Check for good wire connections and clear paths.
- A fully charged battery means a happy, mowing robot.
Let’s walk through exactly how this works and what you need to do to keep your autonomous lawnmower powered up and ready to go.
Powering Up Your Robotic Lawn Mower
Charging your robot lawn mower is mostly an automatic process. Think of it like your phone returning to its dock at night, but for your yard. Your mower intelligently finds its way back to its designated charging station when its battery runs low. It then connects itself to recharge, all without you lifting a finger.
The Charging Station: Your Mower’s Home Base
The charging station is the heart of your robot mower’s power system. This is where it lives when not mowing and where it recharges its batteries. It’s usually a small, weatherproof unit that sits at the edge of your lawn.
Where to Place Your Charging Station
Choosing the right spot for the charging station is key. We found that most manufacturers recommend placing it on level ground. Make sure it’s in an area with good access to a power outlet. It should also have enough clear space around it for the mower to approach and leave easily. Avoid direct sunlight if possible, as this can sometimes affect battery performance.
Connecting the Power Supply
The charging station needs electricity. You’ll connect it to an outdoor GFCI (Ground Fault Circuit Interrupter) outlet. This ensures safety against electrical shocks, which is very important for outdoor electronics. Make sure the cables are properly secured and hidden to prevent accidental damage or tripping hazards (Occupational Safety and Health Administration).
Automated Charging: The Magic Behind the Mow
The real beauty of a robot lawn mower is its autonomy. It handles its own charging schedule. You set the mowing times, and it takes care of the rest. This automation is a huge time-saver.
How Your Mower Finds Its Way Back
Your robot mower uses a combination of technologies to find its way home. Most models use a boundary wire installed around your lawn. This wire creates a signal that tells the mower where to mow and where the boundaries are. It also helps the mower navigate back to the charging station when its battery needs a boost. Some advanced models also use GPS or vision systems for even more precise navigation.
Battery Management for Optimal Performance
Robot lawn mowers are smart about their batteries. They typically don’t run their batteries completely dry. Instead, they monitor their charge level and head back to the station before they run out of juice. This strategy helps to prolong the battery’s lifespan. We found many manufacturers advise against letting the battery completely discharge repeatedly (Battery University).
Manual Charging: When Automation Needs a Little Help
While automation is wonderful, there might be times you need to intervene. Perhaps you’re moving the mower to a different lawn zone or storing it for the winter. In these cases, you might initiate a manual charge.
-
Placing it on the Dock: You can pick up your mower and physically place it onto the charging contacts of the station. Make sure the charging pins align correctly.
-
Troubleshooting Connection: If your mower isn’t docking properly, a manual placement helps you see if the connections are working.
-
Off-Season Storage: Before storing your mower for the winter, it’s best to give it a full charge. This keeps the battery healthy during its downtime.
Understanding Your Mower’s Battery
Most robot lawn mowers use Lithium-Ion (Li-ion) batteries. These are the same types of batteries found in your smartphone or laptop. They offer a good balance of power, weight, and lifespan.
Battery Life Expectancy
The lifespan of a robot mower battery varies. We found that many factors influence it, including usage frequency, climate, and how well you maintain it. On average, a well-maintained Li-ion battery can last anywhere from 2 to 5 years. Replacing it is usually a straightforward process when the time comes.
Charging Times and Indicators
How long does a full charge take? It depends on your mower’s model and battery capacity. Most robot mowers fully charge in about 60 to 90 minutes. Your mower will usually have indicator lights on the charging station or itself to show its charging status. A solid green light often means fully charged, while a flashing light might indicate it’s currently charging or has an issue.
Troubleshooting Common Charging Issues
Sometimes, your robot mower might face a hiccup with charging. Don’t worry, many problems have simple solutions. We’ve compiled some common issues and what you can do about them.
|
Issue |
Solution |
|
Mower isn’t docking correctly. |
Check for obstacles near the charging station. Clean charging contacts on both the mower and station. |
|
Charging station has no power. |
Verify the power cable is firmly plugged into the outlet and the station. Check the GFCI outlet; it might need to be reset. |
|
Mower shows a charging error. |
Consult your user manual for specific error codes. Sometimes, a simple restart of the mower or station can help. |
|
The boundary wire is cut. |
A cut wire prevents the mower from navigating. Look for breaks and repair them with a waterproof connector kit. |
Keeping Your Mower’s Battery Healthy
Proper battery care extends your robot mower’s life and performance. A little attention goes a long way. Think of it as preventative maintenance for better, longer autonomous mowing.
Seasonal Storage Tips
When the mowing season ends, prepare your mower for storage. We found that most experts recommend storing the battery with a partial charge, typically around 40-60% (Consumer Reports). Store it in a cool, dry place. Avoid extreme temperatures. Disconnect the battery if your manual recommends it. This prevents deep discharge over months of inactivity, which can be damaging.
Cleaning Charging Contacts
Over time, dirt, grass clippings, or corrosion can build up on the charging contacts. We recommend inspecting these contacts regularly. Use a fine-grit sandpaper or a small brush to gently clean them. This ensures a solid electrical connection every time your mower docks. A poor connection means no charge, and a disgruntled robot!
Checklist for Optimal Charging
Want to ensure your robot mower always charges smoothly? Use this quick checklist:
- Ensure the charging station is always plugged in and receiving power.
- Keep the charging contacts on both the mower and station clean and free of debris.
- Make sure there are no obstacles blocking the mower’s path to the charging station.
- Regularly check the boundary wire for any breaks or disconnections.
- Consult your mower’s manual for specific battery care and maintenance tips.
Conclusion
Charging your robot lawn mower is designed to be simple and largely automatic. By ensuring your charging station is correctly placed and powered, you set your mower up for success. Remember to keep the contacts clean and address any minor issues promptly. Following these straightforward steps will help you enjoy a perfectly mowed lawn, all thanks to your self-sufficient robotic helper.
Frequently Asked Questions
Can I leave my robot mower charging all the time?
Yes, most robot mowers are designed to remain on their charging station. They will automatically top up their battery as needed. This prevents deep discharge and prolongs battery life.
How do I know if my robot mower is charging properly?
Typically, your mower or its charging station will have indicator lights. A solid green light often means it’s fully charged. A flashing light usually indicates it’s actively charging or has encountered a minor issue.
Does extreme weather affect battery charging?
Yes, extreme heat or cold can impact battery performance and charging efficiency. We found it’s best to store your mower in a sheltered spot during very hot or freezing conditions. Always follow your manufacturer’s weather guidelines.
What if my charging station is too far from an outlet?
You can use a heavy-duty, outdoor-rated extension cord. Make sure it’s a GFCI-protected cord for safety. Always ensure the connections are waterproof and secured to prevent hazards.
How often should I clean the charging contacts?
We recommend inspecting the charging contacts every few weeks, or more often if your lawn is very dusty or muddy. Regular cleaning prevents build-up that could hinder proper charging.
