
How to Set Up a Robot Lawn Mower Boundary Wire?
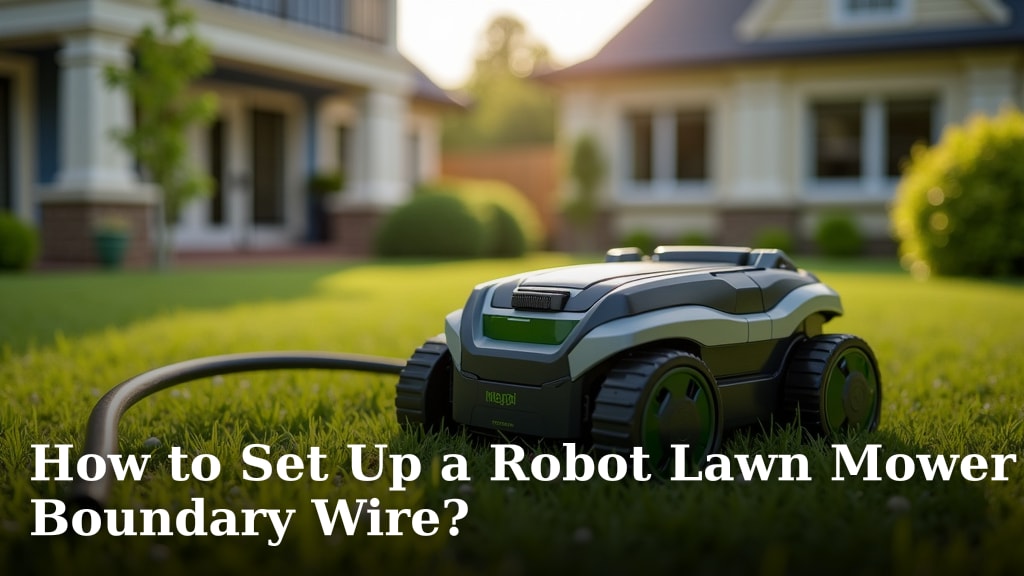
To set up a robot lawn mower boundary wire, you need to first plan your layout. You will then lay the wire around your mowing area, connect it to the charging station, and test the signal. This wire tells your mower exactly where to cut and where to stop.
A properly installed boundary wire is the secret to a well-behaved robot lawn mower. It creates an invisible fence, keeping your mower on task and out of trouble. Without it, your mower might decide to explore the neighbor’s yard or, worse, your rose bushes.
- Plan your lawn mower’s route carefully.
- Lay the wire securely around the lawn.
- Connect the wire to the charging station.
- Test the signal to ensure it works.
Let’s walk through exactly how to set up a robot lawn mower boundary wire, step by step, so you can achieve a perfectly trimmed lawn.
Laying the Groundwork for Your Robot Mower’s Perimeter
Setting up your robot mower’s boundary wire is less about complex wiring and more about smart planning. It’s like drawing the lines on a soccer field for your tiny robotic athlete.
Understanding Your Yard and Mower’s Needs
Before you unroll a single foot of wire, take a good look at your lawn. Think about where your mower needs to go and, just as important, where it definitely shouldn’t go. Each robot mower has specific requirements for boundary wire placement, which you’ll find in your owner’s manual.
Mapping Out Your Mowing Zones
Grab a pen and paper, or even just visualize it. Where are the flowerbeds? The kiddie pool? The dog’s favorite sunbathing spot? These are all areas you’ll want to either include in the mowing zone or, more likely, exclude. We found that a quick sketch before you start saves a lot of headaches later on (Consumer Reports).
Identifying Obstacles and No-Go Areas
Walk your yard. Are there trees? Shrubs? A garden pond? These are your natural obstacles. The boundary wire will act as an invisible fence around these areas, guiding your mower away from harm. Don’t forget about delicate items like garden gnomes or bird feeders!
Considering Charging Station Placement
Your charging station needs a relatively flat spot with access to power. It’s usually placed against a wall or in a discreet corner. The boundary wire will lead directly to and from this station, so its location impacts your overall wire layout.
Gathering Your Boundary Wire A-Team
You’ll need a few supplies to get this job done right. Most robot mowers come with a basic kit, but sometimes you need a little extra.
- Boundary Wire: This is the star of the show. It’s usually a durable, insulated copper wire.
- Wire Pegs/Staples: These small plastic or metal stakes hold the wire firmly to the ground.
- Connectors: For joining wire sections or connecting to the charging station.
- Measuring Tape: To ensure accurate distances.
- Wire Strippers (Optional): If you need to make custom connections.
- A Comfortable Kneeling Pad (Highly Recommended!): Your knees will thank you.
The Installation Process: Step-by-Step Wire Laying
Now that you’ve planned and gathered your tools, it’s time to get the wire down. Take your time with this step; it’s the foundation of your mower’s effectiveness.
Placing the Charging Station
First, secure your charging station in its chosen spot. Make sure it’s level and that its power cable reaches an outlet without being stretched. The station needs a clear path for the mower to dock smoothly.
Starting the Boundary Wire Run
Connect one end of the boundary wire to the designated terminal on your charging station. Many models have clear markings. Don’t pull it too tight; leave a little slack. This helps prevent damage from ground movement or temperature changes.
Creating the Perimeter Loop
Begin laying the wire outwards from the charging station, following your pre-planned route. The general rule of thumb is to keep the wire a certain distance from edges, typically 8-14 inches, though this can vary by mower model (consult your manual!). Use the wire pegs to secure it every few feet. Think of it like drawing a very long, continuous line with wire.
| Area Type | Recommended Wire Distance from Edge | Why This Distance Matters |
|---|---|---|
| Hard Boundaries (Walls, Fences) | 4-8 inches | Prevents mower from bumping against obstacles. |
| Soft Boundaries (Flowerbeds, Ponds) | 10-14 inches | Keeps mower safely away from delicate areas or water. |
| Driveways/Patios (Flush with Lawn) | 0-2 inches (sometimes directly under) | Allows mower to cut right up to the edge without entering non-mowing areas. |
Navigating Obstacles and Islands
To exclude an obstacle like a tree or a permanent planter, you’ll create an “island.” Lay the boundary wire from the main perimeter to the obstacle, loop it around the obstacle, and then run it back to the main perimeter. The trick here is to run both the outgoing and incoming wires very close together – ideally about 0.5 inches apart. This cancels the signal between the two wires, allowing the mower to cross them without detecting a boundary (Husqvarna, 2023 Guide).
Connecting Back to the Charging Station
Once you’ve completed the full loop around your mowing area and any internal obstacles, bring the wire back to the charging station. Connect the end of the wire to the second terminal on the station. You’ve now completed the circuit!
The Crucial Test: Ensuring a Strong Signal
Before you celebrate, you need to make sure your invisible fence is actually working. This step is super important.
Powering Up and Checking Indicators
Plug in your charging station. Most stations have indicator lights that show the status of the boundary wire signal. A steady green light usually means everything is connected correctly and the signal is strong. A blinking light or a different color often signals a problem, like a break in the wire.
Performing a Trial Run with Your Mower
Place your robot mower inside the boundary. Start it up and observe its behavior. Does it stay within the defined area? Does it avoid the obstacles you’ve looped? Does it return to the charging station when it’s low on power or done mowing? This trial run will tell you a lot.
Troubleshooting Common Wire Issues
What if the light isn’t green, or your mower is acting erratic? Don’t panic! Common issues include a broken wire, loose connections at the charging station, or the wires being too far apart for an “island” run. Go back and check your connections and the entire length of the wire for any damage. You might need a wire repair kit. We’ve seen that most initial problems are due to simple disconnections (Robomow support forums).
Maintaining Your Boundary Wire for Long-Term Success
Once your wire is set up and working perfectly, a little ongoing care goes a long way. It’s like putting a little effort into anything you want to last.
Regular Inspections for Damage
Periodically walk your boundary line. Look for signs of wear, digging animals, or accidental cuts from other garden tools. Even a tiny nick can disrupt the signal.
Managing Growth Over the Wire
Sometimes grass or weeds can grow over the wire, making it harder for the mower to detect it. Keep the area around the wire clear of excessive growth. If your wire is new and just pegged to the surface, it will eventually disappear into the turf as the grass grows over it, making it less visible and more protected.
Protecting Wire During Other Yard Work
When you’re digging in the garden, aerating your lawn, or doing any other activity that disturbs the ground, be mindful of where your boundary wire lies. A little caution can prevent a lot of frustration.
Your Boundary Wire Setup Checklist
- Plan your mowing layout and identify obstacles.
- Secure the charging station in a suitable location.
- Lay the boundary wire at the correct distance from edges.
- Create “islands” for internal obstacles by running wires close together.
- Ensure all wire connections at the charging station are secure.
- Test the boundary signal with indicator lights and a mower trial run.
Conclusion
Setting up your robot lawn mower’s boundary wire might seem like a detailed task, but it’s a one-time effort that pays off big. By carefully planning your layout and following these steps for installation and testing, you create the perfect mowing environment. Your attention to detail now means less hassle later, giving you more time to enjoy your perfectly manicured lawn. Get ready for effortless lawn care!
Frequently Asked Questions
Can I bury the boundary wire instead of pegging it?
Yes, burying the boundary wire is a common and recommended practice for added protection and a cleaner look. You can bury it a few inches deep, typically 1-4 inches, but always check your mower’s manual for specific depth recommendations. This helps protect the wire from damage and makes it less visible.
How do I repair a broken boundary wire?
If your boundary wire breaks, you’ll usually get an error signal from your charging station. Locate the break by slowly tracing the wire. You can then use a waterproof wire connector and a small piece of new boundary wire to splice the broken ends together. Ensure the connection is secure and protected from moisture.
What if my lawn has very steep slopes?
Robot lawn mowers have limits on the坡度 они могут обрабатывать, usually specified in degrees or percentages. If your lawn has very steep slopes beyond your mower’s capability, you might need to exclude those areas with your boundary wire. Placing the wire at the top or bottom of the slope will prevent the mower from entering too challenging terrain.
Can I use the same boundary wire for two different robot mowers?
Generally, no. Each robot lawn mower system operates on its own unique signal frequency, and attempting to use a single boundary wire with two different systems will likely cause interference or malfunction. Each mower needs its own dedicated boundary wire circuit connected to its specific charging station.
How far from a paved driveway should the boundary wire be?
If your driveway is flush with your lawn and the mower can transition smoothly, you can place the boundary wire very close to, or even slightly under, the edge. This allows the mower to cut right up to the pavement. If there’s a significant drop or barrier, you’ll want to keep it a few inches away, following your mower’s manual for optimal distance.
