
How to Sharpen a Chainsaw Chain?
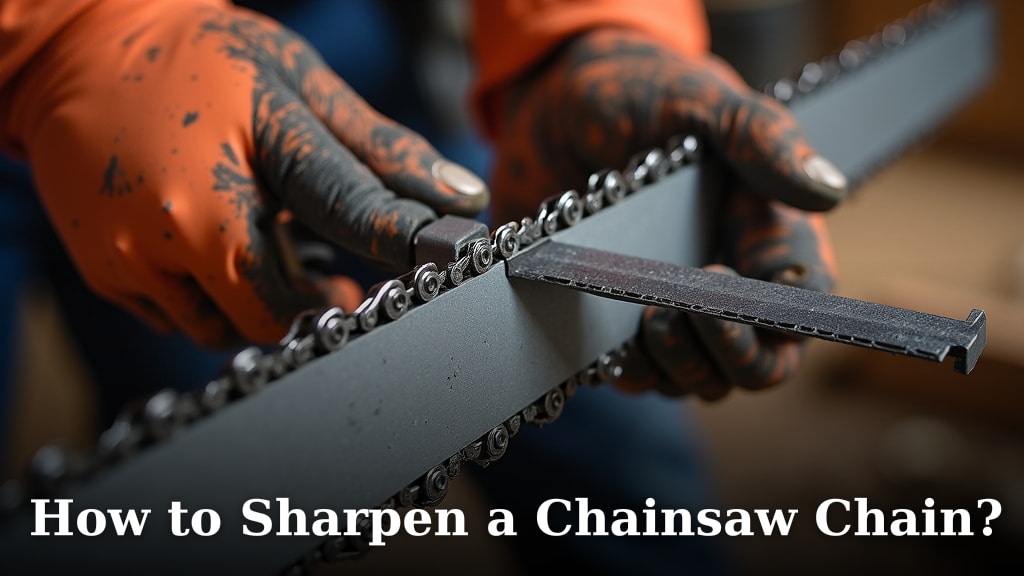
The easiest way to sharpen a chainsaw chain is by using a round file and a filing guide. This method lets you sharpen each tooth precisely. You can restore your chain’s cutting power quickly and safely right at home.
A dull chainsaw chain makes cutting difficult and dangerous. It can cause kickback or strain your saw’s engine. Learning to sharpen your chain saves money and keeps your saw running smoothly. It’s a simple skill that makes a big difference.
- Learn how to tell if your chain is dull.
- Gather the right tools for the job.
- Understand the proper filing angles.
- Sharpen each tooth for optimal performance.
Ready to bring your chainsaw back to life? Let’s walk through exactly how to sharpen your chainsaw chain, step by step.
Assessing Your Chainsaw Chain’s Sharpness
Before you grab your tools, let’s figure out if your chain even needs sharpening. How can you tell if your chain is dull or worn out? It’s often easier than you think. A dull chain won’t cut effectively, and it can be a real hassle to work with.
Signs Your Chain Needs Sharpening
You’ll notice several clear signs when your chainsaw chain is past its prime. Pay attention to how the saw performs. These clues will save you time and frustration.
- Your saw produces fine sawdust instead of nice, coarse chips. Sharp chains create larger, more uniform wood chips.
- You have to push hard to make the saw cut. A sharp chain should pull itself through the wood with minimal effort.
- The saw creates smoke even when cutting green wood. This often means friction from a dull chain is generating heat.
- The saw jumps or vibrates excessively while cutting. This indicates the teeth aren’t gripping the wood properly.
- The saw cuts at an angle or drifts to one side. This can happen if teeth on one side are duller than the other.
If you experience any of these, it’s definitely time to sharpen your chain. Don’t put it off; a dull chain is less safe and less efficient.
Gathering Your Sharpening Tools
You can’t sharpen your chain without the right gear. Having everything ready before you start makes the process smooth and quick. Think of it like cooking: prep work is key!
Essential Sharpening Kit
Here’s what you’ll need for a successful sharpening session. Most of these items are easily found at hardware stores or online.
- Round File: This is the star of the show. Make sure it’s the correct diameter for your chain.
- Filing Guide (File Holder): This tool helps you maintain the correct filing angles. It’s a game-changer for consistency.
- Flat File (Depth Gauge Tool): Used for adjusting the depth gauges, also called rakers.
- Chainsaw Vise or Bench Vise: To hold the guide bar steady. This is super important for safety and precision.
- Work Gloves: To protect your hands from sharp teeth.
- Goggles or Safety Glasses: Eye protection is a must when working with tools.
- Shop Rag or Brush: To clean off debris from the chain.
- Permanent Marker: For marking your starting tooth.
Choosing the Correct Round File Size
Using the right file size is absolutely critical. An incorrect file won’t sharpen properly and can even damage your chain. So, how do you pick the right one?
Most chainsaw chains have the recommended file size stamped on the guide bar or in your chainsaw’s manual. If you can’t find it there, you’ll need to measure your chain’s pitch. Common file sizes include:
| Chain Pitch | Round File Diameter |
|---|---|
| 1/4 inch | 5/32 inch (4.0 mm) |
| .325 inch | 3/16 inch (4.8 mm) |
| 3/8 inch (low profile) | 5/32 inch (4.0 mm) |
| 3/8 inch | 13/64 inch (5.2 mm) or 7/32 inch (5.5 mm) |
| .404 inch | 7/32 inch (5.5 mm) |
When in doubt, check your saw’s manual. It’s the most reliable source.
Prepping Your Chainsaw for Sharpening
A little preparation goes a long way. Before you start filing, take a few minutes to get your chainsaw ready. This ensures safety and makes the sharpening process much easier.
Safety First: Securing Your Chainsaw
You’ll be working with very sharp teeth, so keeping the saw stable is paramount. Imagine trying to sharpen a knife while it’s wobbling around – not safe, right?
- Make sure the chainsaw is turned off and the engine is cool.
- Engage the chain brake. This locks the chain in place and prevents accidental movement.
- Place the guide bar in a bench vise or a specialized chainsaw vise. Clamp it securely so it won’t move while you’re filing.
- For safety, many people also remove the spark plug boot to prevent any chance of accidental starting (Oregon Products).
Cleaning the Chain
A dirty chain makes sharpening difficult and can clog your file. Take a moment to clean off any crud.
Use a stiff brush or a shop rag to wipe away sawdust, dirt, and any caked-on residue from the chain. A clean chain lets you see the cutting edges clearly and helps your file work more efficiently.
Understanding Chainsaw Chain Angles
This is where precision comes in. Chainsaw teeth are designed with specific angles for optimal cutting. Getting these angles right is key to a chain that cuts smoothly and stays sharp longer.
The Three Key Angles
Don’t worry, it’s not as complicated as it sounds. There are three main angles to focus on, and your filing guide will help you maintain them.
- Top Plate Filing Angle: This is the angle at which you file across the top of the tooth. It’s usually 25, 30, or 35 degrees. Your filing guide typically has markings to help you match this.
- Side Plate Angle: This angle is formed by the side of the cutter and the bar. The round file naturally creates this angle if held correctly.
- Down Angle (File Pitch): This refers to how much you tilt the file downwards. A good rule of thumb is to file with about 10 degrees of “downward tilt.” This helps create a sharp point.
Consult your chainsaw manual or the chain manufacturer’s guidelines for the exact recommended angles for your specific chain type. They often vary slightly.
The Step-by-Step Sharpening Process
Now for the main event! Follow these steps carefully, and you’ll have a sharp chain in no time. Take your time, especially if this is your first time.
Sharpening the Cutter Teeth
This is where you’ll use your round file and filing guide. Consistency is key here. You want all your teeth to be equally sharp.
- Mark a Starting Tooth: Use a permanent marker to color one of the cutter teeth. This helps you keep track of where you started and where to stop.
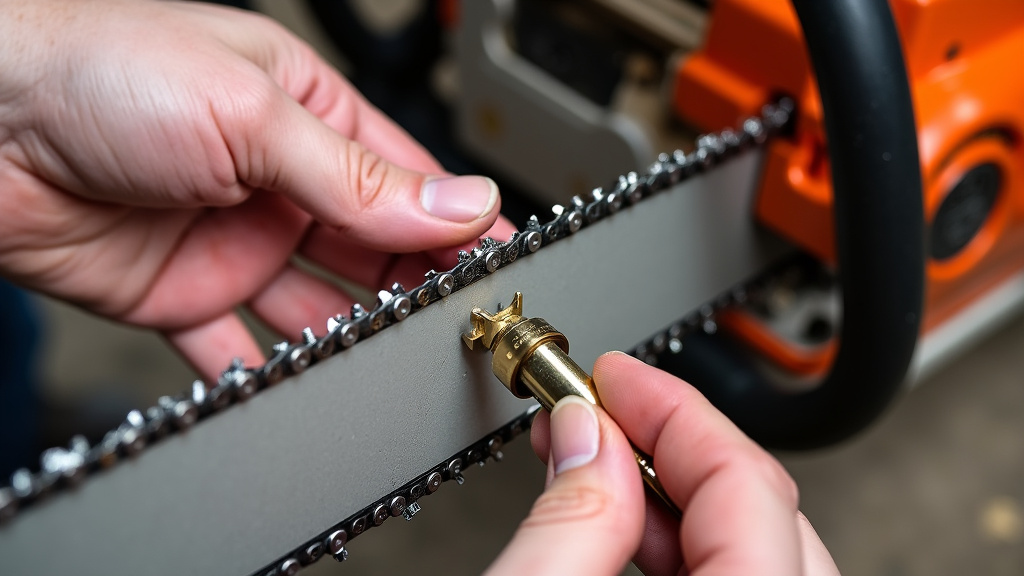
- Position the Filing Guide: Place the filing guide over the marked tooth. The arrows on the guide should point towards the nose of the guide bar. Ensure the guide’s rollers or feet rest firmly on the top plates of adjacent teeth.
- Insert the Round File: Place the round file into the filing guide, resting it against the marked tooth. The guide will help you set the correct top plate and down angles.
- File with Consistent Strokes: Using both hands, push the file through the tooth in a single, smooth, forward stroke. Lift the file completely off the tooth on the return stroke. Filing on the return stroke will dull your file and damage the tooth (Husqvarna).
- Count Your Strokes: Use the same number of strokes for each tooth on one side. Typically, 3-5 strokes are enough for a moderately dull tooth. The goal is to remove metal until a shiny, sharp edge appears.
- Check for a “Burr”: As you file, you might feel a tiny burr, or curl of metal, on the back edge of the tooth. This indicates you’ve created a new sharp edge.
- Repeat for All Teeth Facing One Direction: Sharpen every other tooth – the ones facing the same direction as your marked starting tooth.
- Flip the Saw/Reposition: Once you’ve sharpened all the teeth facing one way, unclamp the saw, rotate it, and clamp it back down.
- Sharpen the Remaining Teeth: Now, sharpen the teeth facing the opposite direction. Again, use the same number of strokes as before to ensure even sharpness.
Remember, the goal is to make all cutter teeth the same length and sharpness. This ensures your chain cuts straight and efficiently.
Adjusting the Depth Gauges (Rakers)
The depth gauges (also known as rakers or “chipper limits”) control how deep the cutter tooth bites into the wood. If they’re too high, the saw won’t cut effectively. If they’re too low, the saw will vibrate excessively and be prone to kickback.
- Locate the Depth Gauge: This is the small hump in front of each cutter tooth.
- Use the Depth Gauge Tool: Place the depth gauge tool (often a small metal plate with a slot) over the chain so it rests on the top plates of two adjacent teeth.
- File Down the Raker: If the depth gauge protrudes through the slot in the tool, use your flat file to gently file it down until it’s flush with the tool.
- Create a Rounded Edge: After filing, gently round off the leading edge of the depth gauge with a couple of light strokes from the flat file. This helps prevent the raker from snagging the wood.
- Repeat for All Depth Gauges: Go through and adjust every depth gauge on the chain.
Properly set depth gauges are critical for safe and efficient cutting. Neglecting them is like having a sharp knife with a dull tip; it just doesn’t work right.
Post-Sharpening Checklist and Tips
You’re almost done! A few final checks will ensure your chainsaw is ready to perform. Think of it as a quality control step.
Final Inspection and Maintenance
Before you get back to cutting, give your freshly sharpened chain a quick once-over.
- Check All Teeth: Visually inspect each tooth. Are they all shiny and sharp? Do they appear to be roughly the same length?
- Examine Depth Gauges: Are all rakers filed to the correct height and slightly rounded?
- Lubricate the Chain: Ensure your chainsaw’s chain oil reservoir is full. A well-lubricated chain lasts longer and performs better.
- Run the Saw Briefly: Before cutting wood, start the saw and let it run for a few seconds to distribute oil.
Tips for Extending Chain Life
Sharpening your chain is a skill you’ll use often, but some habits can help reduce how frequently you need to do it.
- Avoid Contact with Dirt/Rocks: Even a brief touch can dull a chain instantly.
- Use Proper Cutting Techniques: Don’t force the saw; let the chain do the work.
- Keep it Clean: Regularly clean your chain and guide bar to prevent buildup.
- Store Properly: When not in use, store your chainsaw in a clean, dry place.
- Have a Spare Chain: It’s always a good idea to have a backup chain ready to go, especially for bigger jobs.
By following these steps, you’ll not only sharpen your chainsaw chain effectively but also maintain it for a longer, safer working life. Happy cutting!
Conclusion
You’ve now got the knowledge to keep your chainsaw chain razor-sharp. No more struggling with dull blades or pushing your saw too hard. By understanding the signs of a dull chain and mastering the sharpening technique, you’ll extend your chain’s life and work more safely.
Remember to always use the correct tools and maintain those critical angles. Your efforts will pay off with smoother, faster cuts and less strain on both you and your equipment. Grab your file and bring your chainsaw back to peak performance today.
Frequently Asked Questions
How often should I sharpen my chainsaw chain?
You should sharpen your chain whenever it shows signs of dullness, like producing fine sawdust instead of chips or requiring extra force to cut. Many professionals will touch up their chain every time they refuel. If you accidentally hit dirt or rocks, sharpen it immediately.
Can I sharpen a chainsaw chain too much?
While you want a sharp chain, excessive filing will shorten the life of your chain. Each sharpening removes a small amount of metal from the teeth. Over-sharpening or using too much pressure can wear down the teeth too quickly, making the chain unusable sooner than necessary.
What’s the difference between sharpening and filing a chain?
“Sharpening” is the overall process of restoring the chain’s cutting edge. “Filing” is the specific action you perform with a file to achieve that sharpness. So, filing is a key part of sharpening your chain, making the teeth keen and effective again.
Will sharpening fix a chipped or broken chain tooth?
No, sharpening can only restore the edge of an intact tooth. If a tooth is chipped, bent, or broken, sharpening won’t repair it. For such damage, you’ll need to replace the entire chain to ensure safe and effective operation.
Is it better to sharpen by hand or use an electric sharpener?
Hand sharpening with a file and guide offers excellent control and precision, especially for minor touch-ups. Electric sharpeners can be faster, but they often remove more material and require careful setup to avoid overheating the teeth. For most homeowners, hand sharpening is sufficient and teaches valuable skill.
