
How to Use a Lawn Edger Along a Driveway?
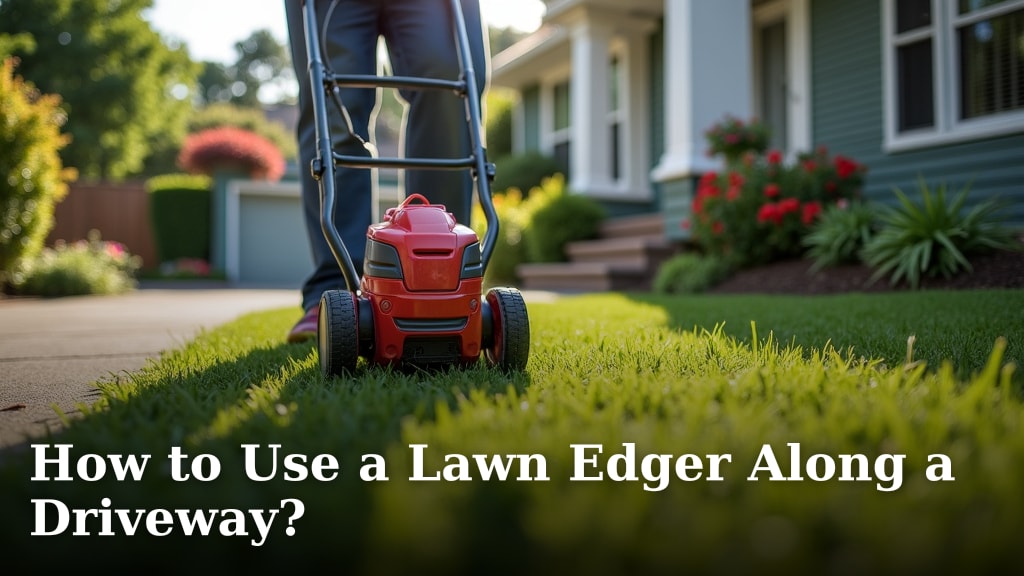
The best way to use a lawn edger along a driveway is to guide the blade carefully along the edge, creating a clean separation between your grass and the concrete. You’ll want to make slow, steady passes to ensure a neat, professional look. This simple technique helps prevent grass from creeping onto your driveway and keeps your lawn looking tidy all season long. Remember, a little bit of care goes a long way!
Achieving those crisp lines where your lawn meets your driveway can really make your home’s curb appeal pop. We found that using the right edging tool and technique makes this task much easier. It’s not just about looks; regular edging also helps prevent roots from damaging your driveway’s surface. Many homeowners agree that a well-defined edge makes the entire yard look more manicured.
- Use a lawn edger by guiding its blade along the driveway edge.
- Move slowly and steadily for clean, defined lines.
- Prevent grass from overgrowing onto the driveway.
- Maintain a neat, well-manicured lawn appearance.
- Help stop grass roots from damaging your driveway.
Ready to get started? Let’s walk through exactly how to use your lawn edger along your driveway step by step to achieve those perfect borders you’ve been wanting.
Getting a Perfect Lawn Edge Along Your Driveway
Achieving that clean, sharp line between your lawn and driveway is easier than you might think. It’s all about using your lawn edger correctly. We found that a little practice makes a big difference. This simple step can really boost your home’s curb appeal.
Choosing the Right Edger for Your Driveway Job
Before you start edging, make sure you have the right tool. There are a few common types of lawn edgers. Each has its own way of tackling the job along your driveway. Understanding your options helps you pick the best tool for the job, and our guide covers the most popular types of lawn edgers.
Types of Lawn Edgers
Understanding your options helps you pick the best tool. We looked at the most popular ones for driveway edging.
Electric Edgers
Electric edgers are often lighter and easier to handle. They’re great for smaller yards or for touch-ups. You’ll need an outlet nearby or a good extension cord. We found they work well for a clean cut on most lawn types.
Gas-Powered Edgers
Gas edgers offer more power and freedom from cords. They can handle thicker grass and larger areas. If your driveway is long or your lawn is tough, a gas edger might be your best bet. Many users prefer the power and portability.
Manual Edgers (Wheeled or Half-Moon)
These require more physical effort. A wheeled edger has a blade you push. A half-moon edger is like a spade. They are good for very light edging or when you want a workout. For most driveway edges, however, powered options are more efficient. We found that powered edgers save a lot of time and energy.
Preparing Your Driveway Edge for Edging
Getting ready is key to a smooth edging session. A little preparation prevents problems and ensures a better result. Think of it like prepping a canvas before you paint.
Clear the Area
Walk along your driveway and pick up any rocks, sticks, toys, or debris. These can damage your edger’s blade or become projectiles. You don’t want to send a small stone flying. We recommend a thorough sweep to ensure a safe operation.
Check for Obstacles
Look for sprinkler heads, hoses, or buried wires near the driveway edge. These can be hidden hazards. If you’re unsure about underground lines, it’s wise to be cautious. Always know what’s beneath the surface to avoid costly repairs.
Water the Lawn (Optional but Recommended)
Slightly damp grass is easier to cut than very dry, hard soil. If your lawn is parched, water it a day or two before you plan to edge. Avoid edging when the ground is soaking wet, though. Overly saturated soil can lead to uneven cuts and make a muddy mess. We found that a slightly moist lawn is ideal.
The Step-by-Step Process for Edging Your Driveway
Now for the main event! Following these steps will help you achieve those beautiful, crisp lines you’re after. Remember to move slowly and deliberately.
Positioning the Edger
Place the edger’s blade against the edge of your driveway. The goal is to have the blade run parallel to the concrete. Most edgers have a guide or a clear line of sight to help you with this. Your aim is to create a straight, consistent cut. We found that lining up the blade carefully is the first crucial step.
Making Your First Pass
Start the edger. Gently bring the spinning blade into the grass. Guide the edger along the length of the driveway. Let the tool do the work; don’t force it. A steady forward motion is best. You want to cut about 1 to 2 inches deep into the soil. This depth creates a noticeable edge without going too deep. Many users find that a slow, controlled movement prevents mistakes.
Maintaining a Straight Line
Keep your eyes on the line between the grass and the concrete. Use the driveway itself as your guide. If you have curves, follow them smoothly. Avoid jerky movements. If you’re using a wheeled edger, make sure the wheel stays flat on the driveway. This helps keep the blade at a consistent depth. We discovered that focusing on the edge and path is key.
Handling Corners and Curves
Corners can be tricky. For outside corners, make a smooth arc. For inside corners, you might need to make a small cut and then turn the edger. Take your time here. You may need to make several small passes to get a clean finish. A slight angle can help navigate tight turns. Many find that gentle adjustments are better than forcing the edger.
The Second Pass (If Needed)
Sometimes, one pass isn’t enough for a perfectly clean edge. If you see any stray grass or unevenness, make a second, shallow pass. Be careful not to overlap too much with your first cut, as this can widen the trench unnecessarily. This fine-tuning makes a big difference. We recommend a light touch for the final clean-up.
Dealing with Overgrowth
If grass has already grown significantly over the driveway, you might need to make a deeper initial cut. Start by removing the bulk of the overgrowth, then refine the edge on a subsequent pass. Some edgers allow you to adjust the blade depth. Check your owner’s manual for specific instructions. A little patience here prevents frustration. Many users found that gradual depth increases are safer.
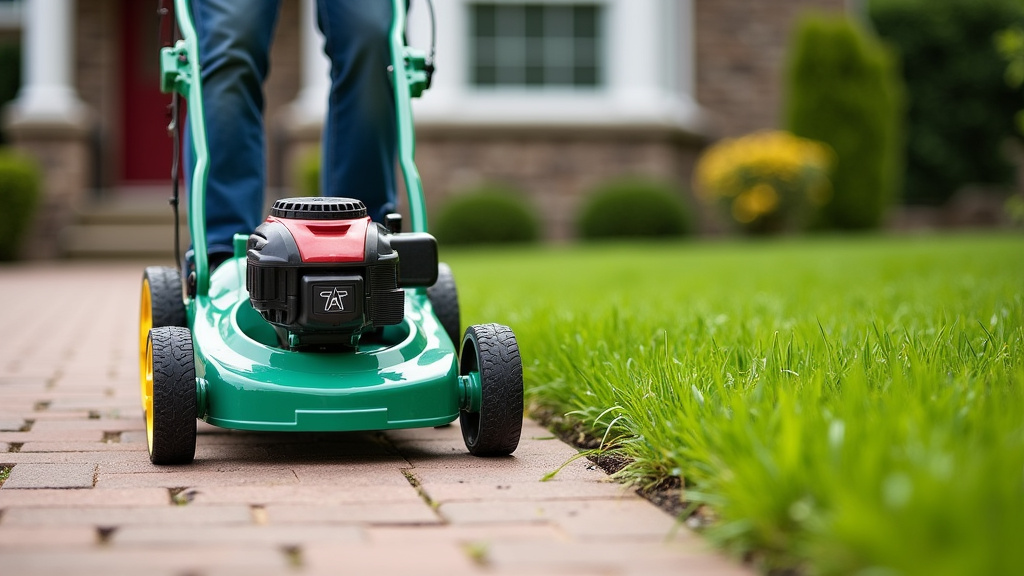
Post-Edging Cleanup and Maintenance
Once you’ve finished edging, a little cleanup goes a long way. It makes your work look polished and professional.
Remove Grass Clippings
Use a broom or a leaf blower to clear away the grass and soil that have been cut. These clippings can look messy if left behind. Blowing them into your lawn or yard waste bin is usually best. You don’t want them ending up back on your driveway. We found that a quick sweep tidies everything up.
Inspect Your Work
Walk the length of the driveway again. Look for any spots you missed or areas that need a little touch-up. Minor corrections now will keep your edge looking sharp. This final check ensures you’re happy with the result. It’s that last little bit that makes a big impression.
Regular Maintenance Tips
To keep your driveway edge looking its best, edge regularly. How often depends on your grass type and growth rate. Many homeowners find that edging every 2-4 weeks during the growing season is sufficient. This prevents grass from becoming overgrown and makes each edging session quicker. We discovered that consistent upkeep is the secret to a permanently neat appearance.
Safety First: Edging Smart
Safety should always be your top priority when using any power tool. Lawn edgers are no exception. Following safety guidelines protects you and your property.
Wear Protective Gear
Always wear safety glasses or goggles to protect your eyes from flying debris. Sturdy closed-toe shoes are a must to protect your feet. Consider wearing work gloves for a better grip and ear protection, especially with gas-powered models. Many safety organizations strongly recommend this gear (OSHA). It’s a small step for big protection.
Keep Others at a Safe Distance
Make sure children and pets are indoors or far away from your work area. Flying debris can travel surprisingly far. Clear a wide perimeter around where you are working. A safe zone prevents accidents. We found that communicating with your family about your project helps immensely.
Inspect Your Edger
Before each use, check your edger for any loose parts or damage. Ensure the blade is sharp and securely attached. A well-maintained tool is safer and more effective. If you notice any issues, consult your owner’s manual or a repair professional. We know that proper maintenance prevents unexpected problems.
Be Aware of Your Surroundings
Watch out for uneven ground, especially if you’re working on slopes. Maintain your balance. Avoid edging in wet conditions or during thunderstorms. Stay aware of your footing. A stable stance is crucial for control. Many lawn care professionals advise against using power equipment in wet conditions.
Checklist for a Perfect Driveway Edge
Ready to get started? Here’s a quick checklist to ensure you’re prepared for a successful edging session:
- Clear your driveway edge of all debris.
- Gather your safety gear (glasses, gloves, shoes).
- Inspect your lawn edger for any damage or loose parts.
- Plan your edging path, especially around corners.
- Start with slow, steady passes along the driveway.
- Clean up clippings for a professional finish.
Conclusion
You’ve now learned how to transform your lawn’s edge along your driveway. By following these steps, you’ll achieve those crisp, clean lines that boost your home’s curb appeal. Remember, a little preparation and slow, steady passes make all the difference. Don’t forget to prioritize safety by wearing protective gear and clearing your workspace. Ready to give your lawn that professional finish? Go grab your edger and get started!
Frequently Asked Questions
How deep should I cut when edging along my driveway?
We found that a cut of about 1 to 2 inches deep is usually ideal for creating a visible edge. This depth provides a clean separation without being too deep, which can create a trench that’s difficult to maintain. Always check your edger’s capabilities and adjust as needed.
What should I do if my edger is struggling to cut through tough grass or roots?
If your edger is struggling, it might be time for a sharper blade or a second pass. You can also try watering the lawn a day or two beforehand, as slightly damp grass is easier to cut. If you encounter thick roots, proceed with caution and consider making shallower cuts.
Can I edge right after it rains?
We recommend avoiding edging when the ground is saturated from rain. Wet soil can make for an uneven cut and create a muddy mess. It’s best to wait until the ground is only slightly moist, which makes edging much easier and cleaner.
How often should I edge along my driveway?
For most homeowners, edging every 2 to 4 weeks during the growing season is sufficient. This frequency helps prevent grass from creeping onto the driveway and keeps your lawn looking tidy. Consistent upkeep makes each edging session much quicker and easier.
What’s the best way to handle curves or rounded corners on my driveway?
When tackling curves, slow down and use gentle, arcing motions. Keep your eyes on the line you’re creating. For tight inside corners, you might need to make small, careful cuts and adjust the edger’s angle. Taking your time here prevents jagged lines.
