
How to Use a Dethatcher on a Lawn?
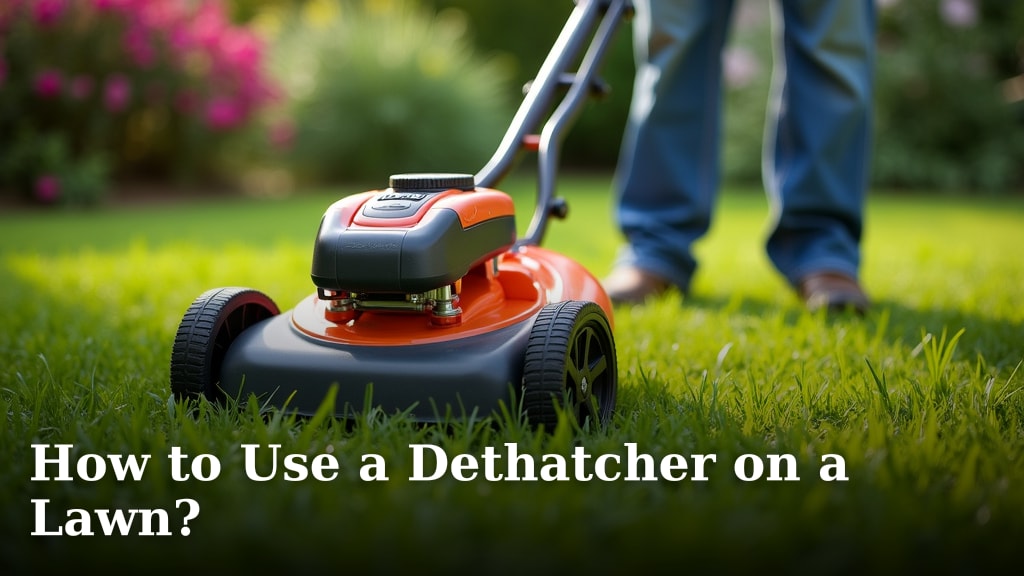
Using a dethatcher on your lawn is a great way to remove thatch buildup and improve its health. You can easily use a manual dethatcher with a rake-like tool or a power dethatcher for larger areas. Both methods remove dead grass and debris, allowing water and nutrients to reach the soil more effectively. A well-maintained lawn starts with knowing how to use this essential tool.
Thatch is that spongy layer of dead grass between your turf and the soil. Too much thatch can choke your grass. Using a dethatcher helps prevent these problems. We found that regular dethatching leads to a thicker, greener lawn. It’s a key step for healthy turf.
- Dethatching removes built-up thatch.
- This allows water and nutrients to reach roots.
- Use a manual or power dethatcher.
- Timing is important for best results.
Ready to give your lawn some much-needed attention? Let’s walk through exactly how to use a dethatcher step by step to get your grass looking its best.
Getting Your Lawn Dethatched Like a Pro
Dethatching your lawn might sound like a chore, but it’s truly a game-changer for turf health. You’re essentially giving your grass a spa day. This process clears out that thick, matted layer of dead grass, roots, and debris. This layer, called thatch, builds up over time. If it gets too thick, it acts like a barrier. It stops water, air, and nutrients from reaching your grass’s roots. We found that a healthy lawn depends on good soil contact for its roots.
When Should You Reach for Your Dethatcher?
Timing is everything when it comes to dethatching. Doing it at the wrong time can actually stress your lawn. Most lawn care experts agree that the best times are during active growth periods. This means spring and fall are usually your prime windows.
Spring Dethatching: The Reawakening
Spring is a fantastic time to dethatch. Your lawn is just waking up from winter dormancy. It’s ready to put on a show of growth. Dethatching now removes any winter damage and thatch buildup. This allows spring rains and fertilizers to penetrate deeply. We found that a spring dethatch can kickstart vigorous new growth.
Fall Dethatching: The Preparation for Rest
Fall is another excellent window. Your grass is still growing, but it’s preparing for winter. Dethatching in the fall helps remove fallen leaves and other debris. This prevents disease from setting in over winter. It also ensures good air circulation. Many horticultural resources suggest fall dethatching helps winterize your lawn properly.
What to Avoid
You’ll want to avoid dethatching when your grass is dormant or stressed. This includes the peak heat of summer. It also means avoiding times when the lawn is actively growing but recovering from drought or extreme cold. We found that dethatching stressed grass can lead to more harm than good.
Choosing Your Dethatching Tool: Manual vs. Power
There are two main types of dethatchers. Your choice depends on your lawn size and your energy levels. Both aim to achieve the same goal: thatch removal.
Manual Dethatchers: The Classic Approach
Manual dethatchers are essentially heavy-duty rakes. They have stiff, sharp tines designed to dig into the thatch layer. They are great for smaller lawns or for targeted problem areas. They require physical effort, but they offer precise control.
- Pros: Affordable, no power needed, good for small areas, great exercise!
- Cons: Labor-intensive, slow for large lawns, can be tiring.
Power Dethatchers: The Efficient Solution
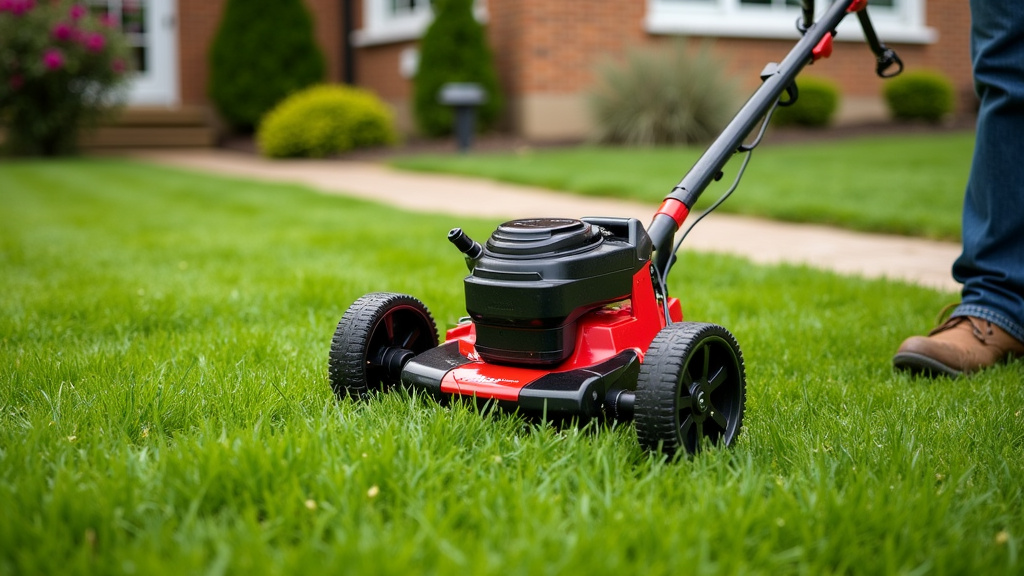
Power dethatchers, also called dethatching machines or scarifiers, are motorized. They use rotating tines or blades to rip through the thatch. They are much faster and more efficient for larger lawns. You can rent these from garden supply stores. We found that power dethatchers can cover a lot of ground quickly.
- Pros: Fast, efficient for large areas, less physical strain.
- Cons: More expensive to buy or rent, requires power (gas or electric), can be aggressive if not used carefully.
Step-by-Step: Using Your Dethatcher Effectively
Now that you know when and what to use, let’s get to the how-to. Following these steps will ensure you get the best results from dethatching.
Step 1: Prepare Your Lawn
Before you start, make sure your lawn is ready. First, mow your grass to about half its normal height. This makes it easier for the dethatcher to reach the thatch. Remove any toys, rocks, or debris from the lawn. This protects your dethatcher and prevents damage to your grass.
Step 2: Adjust Your Dethatcher Settings
If you’re using a power dethatcher, you’ll need to set the depth. For a manual dethatcher, you control the depth by how hard you push and pull.
Initial Pass: Light Touch
For your first pass, set the dethatcher to a shallow depth. You want to lightly scarify the surface. This removes loose thatch without digging too deep. We found that starting gently prevents unnecessary stress on the grass.
Subsequent Passes: Deeper Penetration
If your thatch layer is thick, you may need to go deeper. Make a second or even a third pass. Adjust the dethatcher to dig a bit more into the thatch. You’ll see more debris being pulled up. Many lawn care guides suggest not to cut into the soil itself, just the thatch.
Step 3: Dethatching Technique
How you move the dethatcher matters. For manual dethatchers, use a strong raking motion. Pull the tool towards you to lift and remove thatch. For power dethatchers, simply guide the machine across the lawn. Go in straight, overlapping lines. Work systematically over the entire area. We found that overlapping passes ensure you don’t miss any spots.
Step 4: Clean Up the Thatch
This is a big step! All that removed thatch needs to go. You can use a rake, a leaf blower, or your lawn mower with a collection bag. Collect all the debris. You can compost healthy thatch if you have a good composting system. We found that efficient cleanup is key to seeing improvement.
Step 5: Post-Dethatching Care
Your lawn will look a little rough after dethatching. This is normal! Now is the perfect time to help it recover and thrive.
Fertilize
Apply a balanced fertilizer. This gives your grass the nutrients it needs to bounce back. Check the fertilizer bag for the correct application rate. Many guidelines recommend a fertilizer with a good amount of nitrogen for green growth (NC State Extension).
Water
Water your lawn thoroughly. Dethatching opens up the soil, allowing water to reach the roots more easily. Keep the soil consistently moist, but not waterlogged, as your grass recovers.
Overseed (Optional)
If you have bare patches, now is a great time to overseed. The exposed soil and reduced competition from thatch make it ideal for new seed germination. We found that overseeding after dethatching is highly effective.
Tips for a Healthier Lawn Post-Dethatching
After your dethatching session, there are a few more things you can do. These will help your lawn stay healthy and vibrant.
- Aeration: If your soil is heavily compacted, consider aerating after dethatching. This further improves air and water penetration. If your soil is heavily compacted, consider aerating after dethatching to further improve air and water penetration.
- Proper Mowing: Continue to mow at the correct height for your grass type. Avoid cutting too much at once.
- Consistent Watering: Ensure your lawn gets adequate water, especially during dry spells.
- Weed Control: Address any weeds promptly to give your grass the best chance.
Dethatching is a vital step in lawn care. By following these steps, you’ll help your lawn breathe, absorb nutrients, and grow thicker and greener. It’s a bit of work, but the results are undeniably worth it for a beautiful, healthy lawn.
Conclusion
You’ve learned how to effectively dethatch your lawn, a crucial step for ensuring its long-term health and vibrancy. Remember, dethatching clears away that suffocating layer of thatch, allowing your grass to breathe and absorb vital nutrients and water. Whether you chose a manual rake or a power unit, the process is straightforward. By timing your dethatching sessions during active growth periods in spring and fall, and following the recommended steps for preparation, technique, and post-care, you’re setting your lawn up for success. Give your lawn the attention it deserves and enjoy a thicker, greener carpet of grass this season!
Frequently Asked Questions
How do I know if my lawn needs dethatching?
You can tell your lawn needs dethatching if it feels spongy when you walk on it. Another sign is if you can’t easily see your grass blades when looking down. A quick way to check is by digging a small plug of turf; if the thatch layer is more than half an inch thick, it’s time to dethatch.
Can I dethatch my lawn in the summer?
It’s generally best to avoid dethatching during the peak heat of summer. Your lawn is already stressed by the heat, and the additional activity could harm it. Stick to the active growing seasons of spring and fall for the healthiest results.
Will dethatching damage my grass?
Dethatching can make your lawn look a bit rough immediately after, but it shouldn’t cause lasting damage if done correctly. The process is designed to remove dead material. Overly aggressive dethatching or doing it during the wrong season can cause stress, so always follow the recommended guidelines.
What should I do immediately after dethatching?
After you’ve finished dethatching and cleaning up the debris, it’s important to help your lawn recover. Applying a balanced fertilizer will provide needed nutrients. Watering thoroughly is also essential, as dethatching opens up the soil for better absorption.
How often should I dethatch my lawn?
The frequency of dethatching depends on your lawn type and conditions. Most established lawns benefit from dethatching once every one to two years. Lawns that grow rapidly or are prone to heavy thatch buildup may need it annually, while others might only need it every few years.
