
How To Make A Lawn Mower Striping Kit?
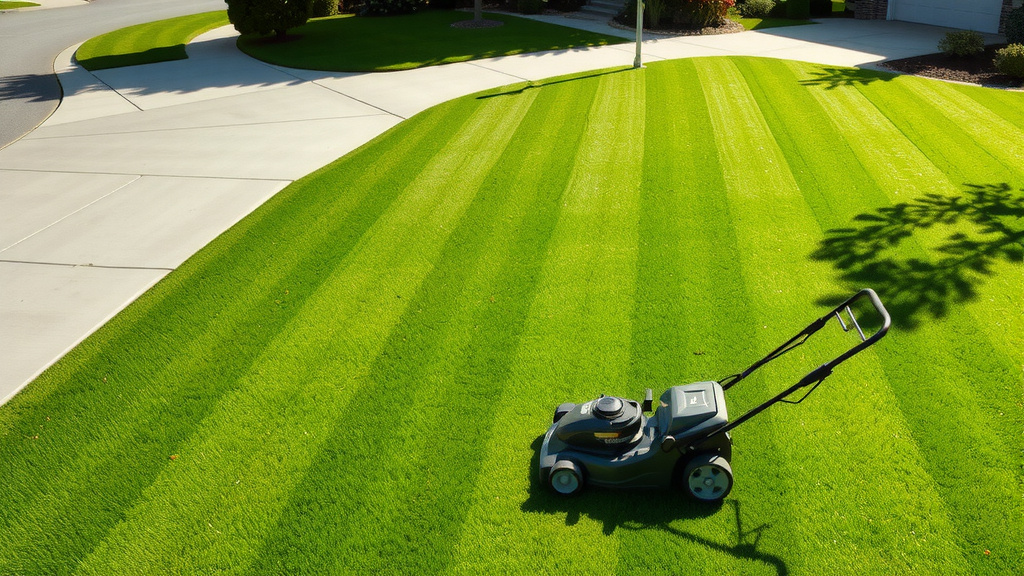
To make a lawn mower striping kit, you typically need a weighted roller that attaches to the rear of your mower, bending the grass blades to create the striped effect.
You can craft a DIY lawn mower striping kit using materials like PVC pipe, concrete, or even old tires, ensuring it’s heavy enough to press the grass down effectively.
- You can create stunning lawn stripes with a simple DIY kit.
- The core idea is to add a weighted roller to the back of your mower.
- Materials like PVC pipe, concrete, or even rubber mats work well for this.
- Building your own saves money and lets you customize the weight.
- A well-made striping kit helps you achieve that professional golf course look.
How To Make A Lawn Mower Striping Kit?
Making a lawn mower striping kit involves building or adapting a weighted roller that smooths your grass blades. This action creates the visible light and dark stripes across your lawn. It’s a project many homeowners can tackle with basic tools and materials.
Why Bother with Striping Your Lawn?
You might wonder, why go through the effort? A striped lawn simply looks amazing. It adds a touch of professional polish to your home’s exterior. We found that it significantly enhances curb appeal, making your yard stand out in the neighborhood.
The Science Behind the Stripes
It’s not magic, it’s light! When you bend grass blades, some reflect more light towards you, appearing lighter. Others bend away, creating darker shades. This optical illusion gives your lawn that iconic striped pattern (University of Nebraska-Lincoln Extension).
Essential Materials for Your DIY Striping Kit
Before you begin, gather your supplies. You’ll need items for the roller, the frame, and fasteners. Many experts say that using sturdy, weather-resistant materials ensures your kit lasts a long time.
Here’s a quick checklist of what you might need:
- PVC pipe or metal tubing for the roller body
- Caps or end pieces for the roller
- Weight material (sand, concrete, rocks)
- Sturdy metal or wood for the frame
- Bolts, nuts, and washers for attachment
- Measuring tape and saw
- Drill and bits
Choosing Your Roller Material
Your roller is the star of the show. Many people choose a large-diameter PVC pipe because it’s affordable and easy to work with. Others might use a steel tube for extra durability. The main goal is a smooth, heavy cylinder.
Some inventive folks even use old rubber tires as rollers. They offer good weight and are often free! Remember, the heavier the roller, the more pronounced your stripes will be.
Building the Roller Itself
This is where your striping kit truly takes shape. First, cut your chosen pipe to the desired width for your mower. Most homeowners aim for a roller that is slightly narrower than their mower deck. This helps prevent the kit from snagging.
Next, cap both ends of the pipe. You can use PVC caps, or for metal, you might weld end plates. Now, it’s time to add the weight. Pour sand, gravel, or even concrete mix into the pipe. The heavier, the better for those deep stripes!
Adding the Weight Just Right
When filling your roller, ensure the weight is evenly distributed. This helps the roller perform consistently across your lawn. Research often connects a consistent, balanced weight with sharper striping results (Purdue Extension).
If you’re using concrete, let it cure fully before moving on. For sand or gravel, make sure the caps are sealed tightly. You don’t want your weight escaping onto your pristine lawn!
Constructing the Frame for Attachment
The frame connects your weighted roller to your lawn mower. Think of it as the bridge. It needs to be strong and stable. Angle iron or sturdy wooden beams are common choices. You’ll want two arms extending from your mower to hold the roller.
Measure carefully to ensure the frame attaches securely to your mower’s rear. It should allow the roller to spin freely. Many frames attach using existing holes in your mower, or you might need to drill a few new ones. Be cautious when drilling into your mower’s chassis.
Attaching the Roller to the Frame
Now, connect your heavy roller to the frame. You’ll need a bolt or rod that runs through the center of the roller. This rod will then pass through holes in your frame’s arms. Make sure to use washers to reduce friction and allow for smooth rotation.
Tighten the nuts just enough so the roller spins freely but doesn’t wobble. A free-spinning roller is key for even striping. If it drags, it could damage your lawn or the mower itself.
| Material Type | Pros | Cons |
|---|---|---|
| PVC Pipe | Inexpensive, easy to cut, lightweight before filling | May require internal weighting, less durable than metal |
| Steel Tube | Very durable, heavier, often provides deeper stripes | More expensive, harder to cut/weld, can rust |
| Rubber Mats/Tires | Cost-effective (often free), good weight, flexible | Can be harder to form into a perfect cylinder, might wear unevenly |
Attaching the Kit to Your Lawn Mower
This is the final step before you can start striping. Depending on your mower model, you might attach the frame using a hitch pin or bolts. Ensure it’s firmly secured. You don’t want your new striping kit bouncing off during a mow.
Double-check that the roller doesn’t interfere with your mower’s operation. It should clear the ground slightly when the mower deck is raised. When the deck is lowered, the roller should make good contact with the grass.
Testing Your New Striping Kit
Take your mower for a test run on a small section of lawn. Observe how the kit performs. Are the stripes appearing? Is the roller dragging? You might need to adjust the weight or the frame’s height for optimal results.
Don’t be afraid to make minor tweaks. Fine-tuning your setup is a normal part of any DIY project. Remember, patience is a virtue when seeking that perfect striped lawn.
Tips for Achieving the Best Stripes
Having the kit is one thing, but using it correctly is another. For the most dramatic stripes, mow in straight, overlapping lines. Many homeowners prefer to mow in alternating directions (up and down, then down and up).
Consider the height of your grass. Longer grass bends more easily, leading to clearer stripes. So, don’t cut your lawn too short if you’re aiming for that grand stadium look.
Maintenance for Your Striping Kit
Just like your lawn mower, your striping kit needs a little care. After each use, knock off any grass clippings. Check the bolts and connections periodically to ensure everything is tight. This simple maintenance extends the life of your kit.
If you used metal components, consider a coat of rust-resistant paint. This protects against the elements and keeps your kit looking good. A little care goes a long way.
Conclusion
Creating your own lawn mower striping kit is a rewarding project that allows you to transform your yard into a showcase. With a bit of ingenuity and some basic materials, you can achieve those crisp, professional-looking stripes without breaking the bank. Remember, patience with assembly and a few test runs will help you perfect your technique. Enjoy the compliments on your beautifully manicured lawn!
How much does a DIY lawn striping kit cost?
The cost of a DIY lawn striping kit can vary widely, but it’s often much cheaper than buying a commercial one. You might spend anywhere from $20 to $70, depending on whether you use salvaged materials or buy new components like PVC pipe and angle iron.
Can I use a striping kit with any type of lawn mower?
Most DIY striping kits are designed to attach to walk-behind push mowers or riding lawn mowers. The key is finding a secure mounting point on the rear of your specific mower model. Some zero-turn mowers might require a slightly different frame design.
How long do lawn stripes last?
Lawn stripes typically last until the grass blades naturally spring back upright, which can be a few hours to a day or two, depending on the grass type and weather conditions. Frequent mowing with the striping kit helps maintain the pattern.
What is the ideal weight for a lawn striping roller?
The ideal weight for a lawn striping roller depends on your grass type and personal preference, but generally, heavier rollers create more defined stripes. A good starting point for a DIY kit is to aim for a roller filled with sand or concrete that feels substantial without making your mower difficult to maneuver.
Will a striping kit damage my lawn?
When properly built and used, a lawn striping kit should not damage your lawn. It simply bends the grass blades. Ensure your roller is smooth and free of sharp edges, and that it spins freely to avoid tearing or scalping the grass.
