How To Make Lawn Mower Discharge Chute?
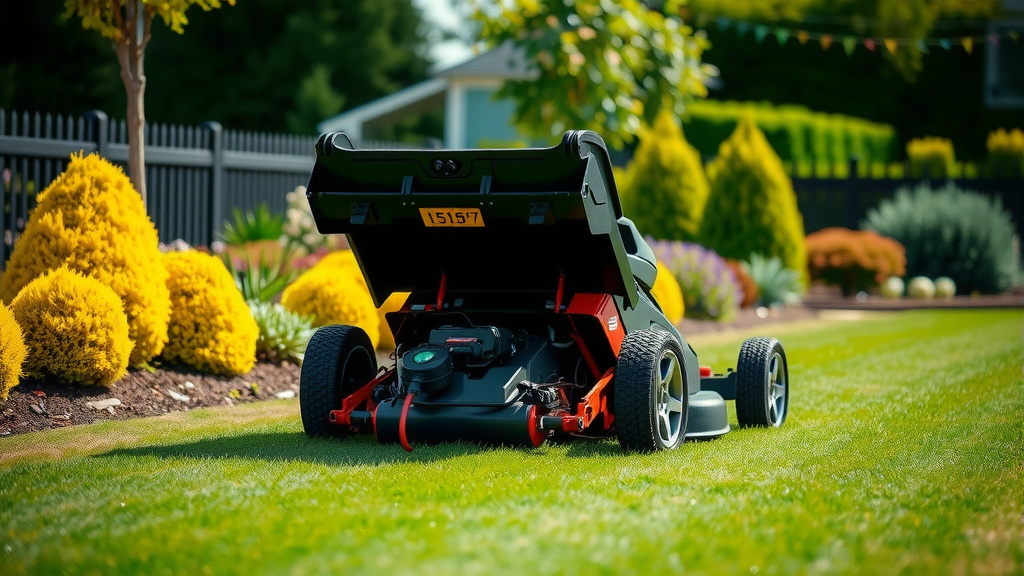
To make a lawn mower discharge chute, you generally create a custom deflector using durable sheet metal or thick plastic, attaching it securely to the mower deck where clippings exit.
This DIY project aims to redirect grass clippings safely and efficiently, preventing them from scattering unevenly or causing damage to your surroundings.
- A custom discharge chute can greatly improve mowing safety and yard cleanliness.
- You will need materials like sheet metal or sturdy, weather-resistant plastic.
- Accurate measurement of your mower’s existing discharge opening is essential for a good fit.
- Securely fastening the new chute with bolts or rivets ensures it stays in place during use.
- Always prioritize safety by disconnecting the spark plug before you begin any work.
Ever wish your lawn mower would just send those grass clippings exactly where you want them? Maybe your old chute broke, or you have a specific mulching need. Well, you’re not alone! Many homeowners find themselves wanting a bit more control over their grass clippings. We understand that feeling of frustration when clippings fly everywhere.
How To Make Lawn Mower Discharge Chute?
Making a lawn mower discharge chute involves designing and fabricating a component that channels grass clippings from the mower deck, often from materials like sheet metal or robust plastic. This custom chute helps manage grass dispersal effectively.
Why Consider a Custom Discharge Chute?
Creating your own discharge chute offers a few neat benefits. Perhaps your current one is missing or damaged. Maybe you want to direct clippings into a specific area, or improve your mulching capabilities. A custom chute gives you that specific control.
Many lawn care enthusiasts find that a well-designed chute helps prevent clumps of grass. It also keeps clippings from spraying onto flowerbeds or pathways. This saves you extra clean-up time later, which is always a win!
Safety First: Before You Begin
Before touching anything on your mower, safety is your top priority. Always disconnect the spark plug wire. This prevents accidental starting, protecting your fingers and hands. Treat your mower with the respect it deserves, even when it’s off.
We also advise wearing sturdy gloves and eye protection. You’ll be working with sharp tools and potentially sharp metal edges. Think of it like a chef preparing a meal; safety gear is part of the uniform.
Gathering Your Materials
Getting the right materials ready makes the project smooth. You wouldn’t build a house without lumber, right? The same goes for your chute. A little planning here saves you headaches later on.
Essential Tools You’ll Need
You’ll need a few common tools from your garage. A measuring tape, marker, and tin snips or a hacksaw are basic. A drill with appropriate bits for metal or plastic is also vital. A file or grinder will help smooth any rough edges.
For securing the chute, you might need a rivet gun or a wrench set for bolts and nuts. Having a vice or clamps can make cutting and shaping much easier. It’s like having the right brush for a painting job.
Choosing the Right Material
When it comes to material, durability is key. Galvanized steel or aluminum sheet metal are popular choices. They resist rust and can withstand impacts. We found that 18-gauge steel works well for strength and flexibility.
Another option is thick, high-density polyethylene (HDPE) plastic. It’s lighter and often easier to cut than metal. Many experts suggest using material at least 1/8 inch thick for good resistance to wear and tear. What works best for you might depend on your mower’s power and grass type.
Step-by-Step Guide to Crafting Your Chute
Let’s break down the process into manageable steps. Think of it like following a recipe; each step builds on the last. You’ll be proud of your custom creation.
Measuring Your Mower Deck Opening
This is arguably the most critical step. Measure the exact dimensions of the discharge opening on your mower deck. Measure the width, height, and any curves or angles. Precision here ensures a snug fit, like tailoring a suit for your mower.
Don’t just measure once! Double-check your measurements to avoid costly mistakes. A poorly fitting chute won’t work correctly and could even be a safety risk.
Template Creation and Cutting Your Material
First, create a paper or cardboard template based on your measurements. This allows you to test the shape and fit without wasting your main material. You can trim and adjust the template until it’s just right.
Once your template is perfect, transfer the design onto your chosen material. Use tin snips for metal or a utility knife for plastic. Cut slowly and carefully. Remember those safety gloves!
Shaping the Chute for Optimal Flow
The goal is to create a funnel shape that directs clippings smoothly. You’ll need to bend the material to form the sides of the chute. For metal, you might need a vice and a hammer or a sheet metal brake. For plastic, heat can help with shaping, but be careful not to melt it.
The chute should gently guide grass away, not force it. A smooth, gradual curve usually works best. We found that avoiding sharp angles helps prevent clogging. Imagine how water flows through a pipe.
Attaching the Chute to Your Mower
This step makes your custom chute a permanent (or semi-permanent) part of your mower. You’ll need to drill holes in both your chute and the mower deck. Line them up precisely. Many users choose rivets or bolts with lock nuts for a secure hold.
Consider using flat washers to distribute the pressure and prevent the fasteners from pulling through the material. Some people even prefer quick-release pins for easy removal when mulching. Make sure the attachment is very firm; you don’t want it rattling loose.
Important Considerations for Design
Beyond the basic shape, a few design elements can make a big difference in performance and lifespan. Thinking ahead here can save you future modifications.
Angle and Length Matters
The angle at which the chute directs clippings is quite important. Too steep, and clippings might shoot out too far. Too flat, and they could clump. Many experts recommend an angle that gently guides grass downwards and outwards. Experiment with your template.
The length of your chute also affects how far clippings travel. A shorter chute keeps clippings closer to the mower, ideal for mulching. A longer one projects them further. Consider your yard size and grass type when deciding on length.
Reinforcement for Longevity
Your discharge chute will take a beating from flying grass and occasional debris. Adding a reinforcement strip along the edges or at the attachment points can greatly extend its life. This is especially true for plastic chutes.
We found that adding a simple metal brace along the top edge of a plastic chute helps it maintain its shape. Think of it like reinforcing the spine of a book. It adds structural integrity where it’s needed most.
Testing Your New Discharge Chute
Once installed, don’t just jump into a full yard mow! A test run is essential to ensure everything works as intended. This is your chance to fine-tune your creation.
Observing Grass Flow
Start your mower in a safe, open area with some grass to cut. Pay close attention to how the clippings exit the chute. Are they spreading evenly? Is there any clogging? Is the direction correct?
Walk slowly and observe from a safe distance. Note any issues. This feedback is incredibly useful for making adjustments. You are looking for a smooth, consistent discharge pattern.
Making Adjustments
Based on your observations, you might need to make some tweaks. Maybe the angle needs a slight change. Perhaps you need to trim a little off the length. Small adjustments can yield big improvements in performance.
It’s common to go back and forth a couple of times. Don’t be discouraged if it’s not perfect on the first try. That’s the beauty of a DIY project; you can customize it until it fits your exact needs.
Common Challenges and Quick Fixes
Even with careful planning, you might encounter a few hiccups. Don’t worry, most issues have straightforward solutions. We’ve all been there!
Clogging Issues
If your chute frequently clogs, it might be too narrow or have too sharp an angle. Ensure the opening is wide enough for your mower’s output. Sometimes, a quick clean-out is all it needs. Cutting grass when it’s dry also helps prevent clogs (Mayo Clinic).
Another reason could be that your cutting deck is set too low for the grass height. Raising the deck slightly can improve flow. It’s often a simple adjustment, not a major rebuild.
Loose Attachments
If your chute feels wobbly, the fasteners might not be tight enough. Re-tighten all bolts and nuts. If using rivets, ensure they are properly set. Over time, vibrations can loosen things up.
Adding more attachment points or using larger washers can sometimes provide a more secure fit. Remember, a loose chute can be dangerous. Always check its stability before mowing.
Here’s a quick checklist to help you stay on track:
- Disconnect spark plug for safety.
- Measure discharge opening accurately.
- Create a cardboard template first.
- Select durable, weather-resistant material.
- Cut and shape material carefully.
- Drill precise attachment holes.
- Securely fasten the chute to the mower.
- Test the chute’s performance thoroughly.
You can even compare materials and their benefits using a simple table:
| Material Type | Pros | Cons |
|---|---|---|
| Galvanized Steel | Very strong, rust-resistant, good impact resistance. | Heavier, harder to cut and shape without specialized tools. |
| Aluminum Sheet | Lighter than steel, rust-proof, easier to work with. | Less impact resistant than steel, can bend more easily. |
| HDPE Plastic | Lightweight, very easy to cut and shape, inexpensive. | Can crack with heavy impacts, less durable long-term without reinforcement. |
Conclusion
Making your own lawn mower discharge chute is a rewarding DIY project. It gives you precise control over grass clippings, making your mowing more efficient and your yard cleaner. Remember, careful planning, safety measures, and accurate measurements are your best friends throughout this process. You’re not just building a part; you’re enhancing your lawn care experience. Enjoy your improved mowing!
Frequently Asked Questions
Is making a DIY discharge chute truly safe for my lawn mower?
Yes, it can be safe if done correctly. Always prioritize disconnecting the spark plug and wearing safety gear. Ensure the chute is securely attached and does not interfere with moving parts. A well-made custom chute can actually improve safety by directing clippings away from people and objects.
What thickness of sheet metal should I use for durability?
For most lawn mowers, 18-gauge galvanized steel or aluminum sheet metal offers a good balance of strength and workability. Thinner materials may not withstand impacts from debris, while thicker ones can be very difficult to cut and shape without heavy-duty tools.
Can I use PVC pipe or other common plastics for a discharge chute?
While PVC pipe might seem convenient, it’s generally not recommended for discharge chutes. It can be brittle and prone to cracking under the force of ejected grass and small debris. Opt for more flexible and impact-resistant plastics like HDPE (high-density polyethylene) for better results and longevity.
How do I prevent my custom discharge chute from clogging?
To minimize clogging, ensure your chute has a smooth, gradual funnel shape without sharp internal angles. Make sure the opening is generously sized. Cutting shorter amounts of grass at a time and mowing when the grass is dry also significantly reduces clogging issues.
What if my mower deck is curved where the chute attaches?
If your mower deck has a curved discharge opening, you’ll need to account for this in your template. For sheet metal, you can gently hammer and bend the material to match the curve. For plastic, you might need to use controlled heat to shape it accurately. A tight, conforming fit is essential to prevent clippings from escaping around the edges.