
How To Recover Lawn Mower Seat?
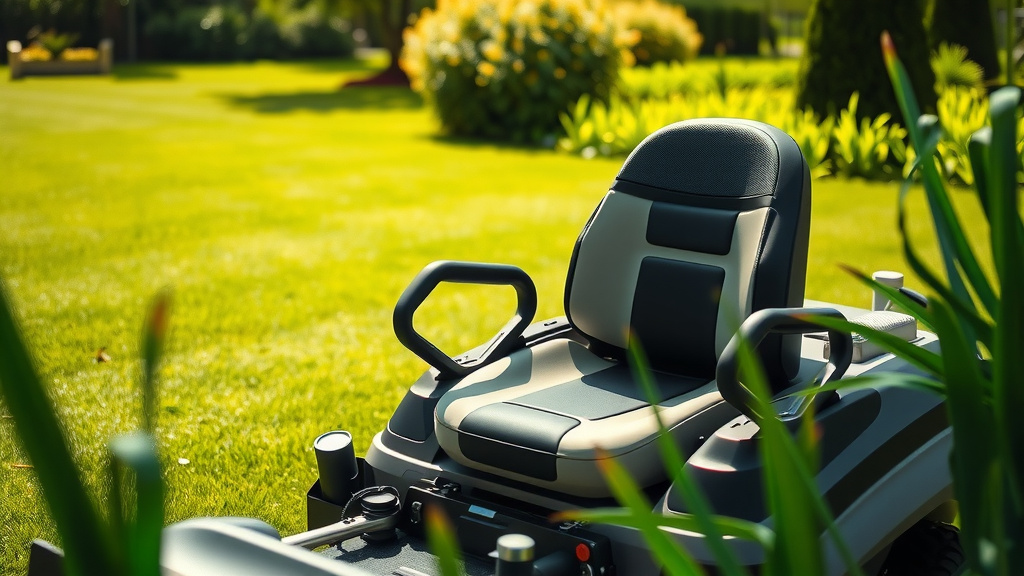
You can recover a lawn mower seat by removing the old cover, repairing any foam damage, and then stretching and stapling new, durable upholstery material securely over the existing seat pan.
To effectively recover your lawn mower seat, gather new marine-grade vinyl, a heavy-duty staple gun, and a heat gun, then meticulously work to achieve a tight, wrinkle-free finish that extends its life and comfort.
Here’s a quick rundown of what you’ll find in this guide:
- First, we’ll help you assess if recovering your seat is the right choice.
- Next, we’ll list all the tools and materials you’ll need for this project.
- Then, we’ll walk you through the entire recovery process, step-by-step.
- Finally, we’ll share tips for making your recovered seat last and address common questions.
How To Recover Lawn Mower Seat?
Recovering a lawn mower seat involves stripping away the old, damaged material, addressing any underlying foam issues, and then carefully attaching a fresh, sturdy cover. This process breathes new life into your worn-out seat.
Why Bother Recovering Your Lawn Mower Seat?
Ever sat on a torn lawn mower seat? It’s not exactly comfortable, is it? Besides the comfort factor, a damaged seat can let moisture seep into the foam, leading to more significant problems. Recovering it yourself can be a smart move.
Think about it: a new seat can cost a good chunk of change. We found that DIY recovery often costs significantly less, saving you money while giving your mower a fresh look. Plus, there’s a certain satisfaction in fixing things yourself!
DIY Recovery vs. Buying a New Seat
Deciding between recovering your current seat and purchasing a brand-new one often comes down to cost, time, and how handy you feel. Let’s weigh the options clearly for you.
| Consideration | DIY Seat Recovery | Buying a New Seat |
|---|---|---|
| Cost | Generally much lower; only materials and some tools. | Higher initial cost for the entire seat assembly. |
| Time | Requires a few hours of hands-on work. | Quick installation, no waiting for materials. |
| Skill Level | Moderate; some patience and basic tool use needed. | Minimal; anyone can bolt on a new seat. |
| Customization | You choose the exact material and color. | Limited to available manufacturer options. |
Assessing the Damage to Your Seat
Before you jump into recovery, take a close look at your seat. Are there small tears, large rips, or crumbling foam? Small tears are often easy fixes, but extensive structural damage might mean a new seat is truly better.
Feel the foam inside. If it’s still firm and supportive, that’s great! If it’s completely disintegrated or soaked, you might need to replace the foam itself, adding a bit more to your project. Many experts say that good foam is key for a successful recovery.
Gathering Your Recovery Toolkit
To start your project, you’ll need a few specific tools. Having everything ready beforehand makes the process much smoother. We’ve found that preparation truly saves time and frustration.
Here’s what you’ll likely need: a heavy-duty staple gun (an air-powered one works best), sharp utility knife or scissors, a flat-head screwdriver or staple remover, a heat gun, and possibly some spray adhesive.
Choosing the Right Upholstery Material
The material you pick is super important for your seat’s longevity. We always suggest choosing a marine-grade vinyl. Why marine-grade? Because it’s designed to withstand sun, rain, and extreme temperatures.
Other options like outdoor fabric might work, but marine vinyl offers superior durability and water resistance. You want something that can handle the elements your mower faces daily. Research often connects these materials with long-lasting outdoor use.
Preparing Your Work Area Safely
Before you begin, set up a clean, well-lit workspace. Protecting your work surface with a tarp or old sheets is a smart idea. Make sure you have plenty of room to move around the seat.
Safety first! Always wear safety glasses when using tools like staple guns or utility knives. A clear workspace also helps prevent accidents and keeps your focus on the task at hand.
Step-by-Step Guide to Seat Recovery
Ready to get started? We’ll break down the recovery process into simple, manageable steps. Just follow along, and you’ll have a refreshed seat in no time.
Removing the Old Seat Cover
The first step is to gently remove your lawn mower seat from the mower itself. Usually, this involves unbolting it from the frame. Keep track of all bolts and washers – a small container works wonders.
Once the seat is off, flip it over. You’ll see staples holding the old cover in place. Use your flat-head screwdriver or staple remover to carefully pry out each staple. Take your time; rushing here can damage the plastic seat pan.
Inspecting and Repairing Foam
With the old cover removed, inspect the foam. Is it crumbling? Has it absorbed water? If the foam is still in good shape, great! If it needs some minor repair, you can use specialized foam adhesive to reattach loose pieces.
For larger missing sections, you might need to cut and glue in new foam pieces. Many experts suggest using a high-density foam that can withstand pressure and moisture. Ensure any repairs are dry and smooth before moving on.
Cutting and Positioning Your New Material
Lay your new upholstery material face down on a clean surface. Place the seat pan on top, roughly centered. Cut the material, leaving plenty of overlap – about 4 to 6 inches beyond the edges of the seat pan is usually enough. You’ll need this extra for stretching and stapling.
Think of it like wrapping a present. You want enough material to pull tightly without running short. This excess will be trimmed later, so don’t worry about being too precise at this stage.
Stapling the New Cover Securely
Now comes the fun part! Start by stapling the new material in the middle of one side, pulling it taut. Then move to the opposite side, pulling the material firm and stapling again directly across from your first staple. This helps keep the material centered.
Continue working your way around the seat, pulling the material tight as you go. Use your heat gun sparingly to warm stubborn areas, making the vinyl more pliable and easier to stretch around curves. This technique helps achieve a smooth, wrinkle-free finish.
Here’s a quick checklist for stapling:
- Start with staples in the middle of opposing sides.
- Pull the material very tight before each staple.
- Use a heat gun for difficult curves, but don’t overheat.
- Work slowly and methodically around the entire seat.
- Ensure staples are fully seated to avoid snags.
- Check for wrinkles and adjust tension as you go.
Trimming and Finishing Touches
Once you’ve stapled all the way around and you’re happy with how tight the material is, it’s time to trim the excess. Use your sharp utility knife or scissors to cut away the extra material close to the staples. Leave about a quarter to half an inch of material beyond the staples to prevent fraying.
Finally, inspect your work. Run your hand over the seat to feel for any loose spots or missed staples. Reattach the seat to your lawn mower, and you’re ready to roll!
Common Mistakes to Sidestep During Recovery
Even seasoned DIYers can make small errors. We found that the most common mistakes include not pulling the material tight enough, which leads to wrinkles, and using too few staples. Remember, more staples mean a more secure cover.
Another pitfall is using the wrong type of material. Always opt for durable, weather-resistant upholstery. Also, rushing through the foam repair can compromise the final comfort and shape of your recovered seat.
Keeping Your Recovered Seat Looking Great
Your newly recovered seat deserves some care to stay in top shape. Regular cleaning is a must. A simple wipe-down with a damp cloth after each use can prevent dirt from embedding itself.
Consider parking your mower under cover or using a mower cover when not in use. This protects the seat from prolonged sun exposure, which can cause vinyl to fade and crack over time. We’ve seen that consistent protection really prolongs material life.
- Wipe down your seat with a damp cloth after each use.
- Store your mower under cover or use a weather-resistant cover.
- Avoid harsh chemical cleaners that can damage vinyl.
- Inspect for minor scuffs and address them promptly.
When Is a New Seat Just Better?
Sometimes, despite your best efforts, a full seat recovery isn’t the most practical solution. If your seat’s plastic pan is cracked, warped, or completely broken, a new seat might be the only safe option. Structural damage is difficult to repair effectively.
Similarly, if the foam is severely deteriorated and beyond simple patching, or if you simply lack the time or tools for the DIY project, buying a new seat saves you hassle. Your safety and comfort are important!
Conclusion
Recovering your lawn mower seat is a rewarding project that can extend the life of your equipment and improve your comfort while mowing. By carefully following these steps, choosing the right materials, and paying attention to detail, you can achieve a professional-looking result.
You’ll not only save money but also gain the satisfaction of giving your trusty lawn mower a well-deserved facelift. So, gather your tools, roll up your sleeves, and get ready to enjoy a much more comfortable ride!
Can I use regular fabric to recover my lawn mower seat?
While you technically can, it’s not recommended for long-term durability. Regular fabric won’t withstand the outdoor elements like UV rays, rain, and dirt as effectively as marine-grade vinyl or other outdoor-specific upholstery materials. It will likely fade, tear, and degrade quickly.
How long does a recovered lawn mower seat typically last?
The lifespan of a recovered seat heavily depends on the quality of the material used and how well it’s cared for. If you use marine-grade vinyl and protect the seat from harsh elements, it can easily last 5 to 10 years, similar to a new factory seat.
Do I need special tools for removing staples from the old seat?
A flat-head screwdriver can work, but a dedicated staple remover tool is far more efficient and less likely to damage the seat pan. These tools are inexpensive and make the removal process much quicker and easier.
What if the foam in my seat is completely ruined?
If your seat foam is beyond repair, you will need to replace it. You can purchase sheets of high-density upholstery foam, cut it to the exact shape and size of your seat pan, and secure it with spray adhesive before applying the new cover. This ensures proper comfort and support.
Is it worth recovering a very old lawn mower seat?
It’s often worth it if the seat pan itself is in good, solid condition. Even a very old mower can benefit from a comfortable, recovered seat. If the structural integrity of the seat pan is compromised, however, investing in a new seat might be a safer and more practical choice.
