How To Restring A Briggs & Stratton Lawn Mower?
To restring a Briggs & Stratton lawn mower, you generally need to remove the old rope, properly tension the recoil spring, feed a new rope through the starter housing, and then tie secure knots.
This repair ensures your pull cord operates smoothly, allowing you to start your mower with confidence every time.
- Safety first: Always disconnect the spark plug before starting any work.
- You will need basic tools: screwdrivers, pliers, and a new starter rope.
- The process involves carefully removing the starter housing and old rope.
- Properly winding the recoil spring is key for the new rope’s function.
- Feeding the new rope and tying strong knots completes the repair.
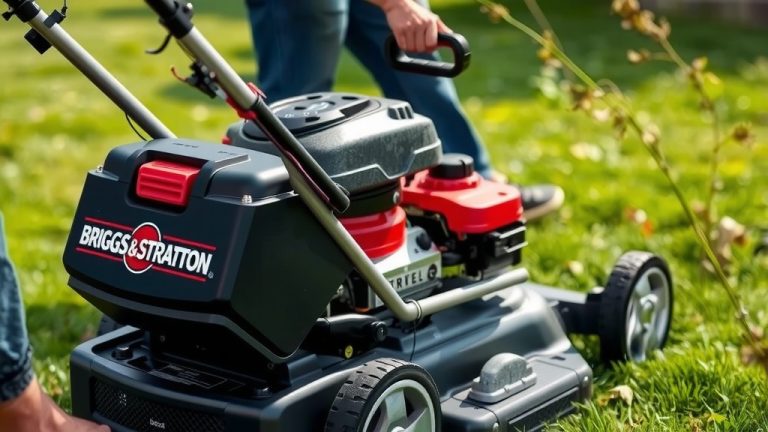
There’s nothing quite like that moment when you’re ready to tackle the yard, pull the starter cord, and it just… comes out. Frustrating, right? Especially when you have a Briggs & Stratton engine, known for its reliability.
A broken starter rope doesn’t mean your trusty mower is done for, though. Restringing it is a common fix, and it’s something you can absolutely do yourself. Think of it as a little bit of weekend warrior work that saves you time and money.
We understand you want your mower back in action quickly. Let’s walk through this process together, step by step. You’ll be back to cutting grass in no time.
How To Restring A Briggs & Stratton Lawn Mower?
Restringing a Briggs & Stratton lawn mower involves removing the starter assembly, carefully managing the recoil spring, installing a new rope, and then reassembling the unit.
It’s a straightforward mechanical task requiring patience and a few simple tools.
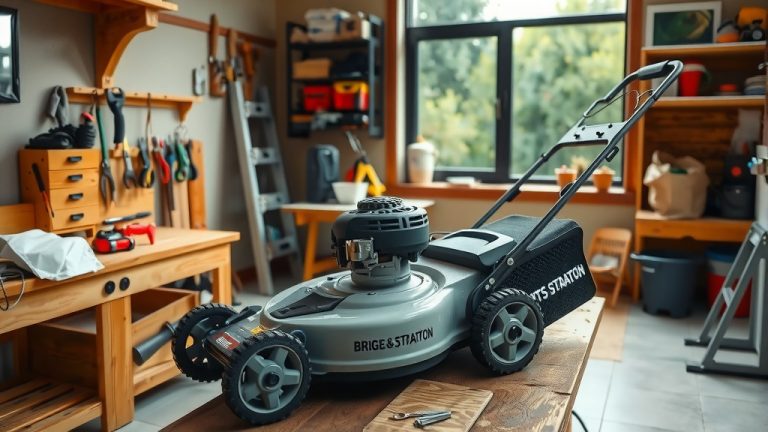
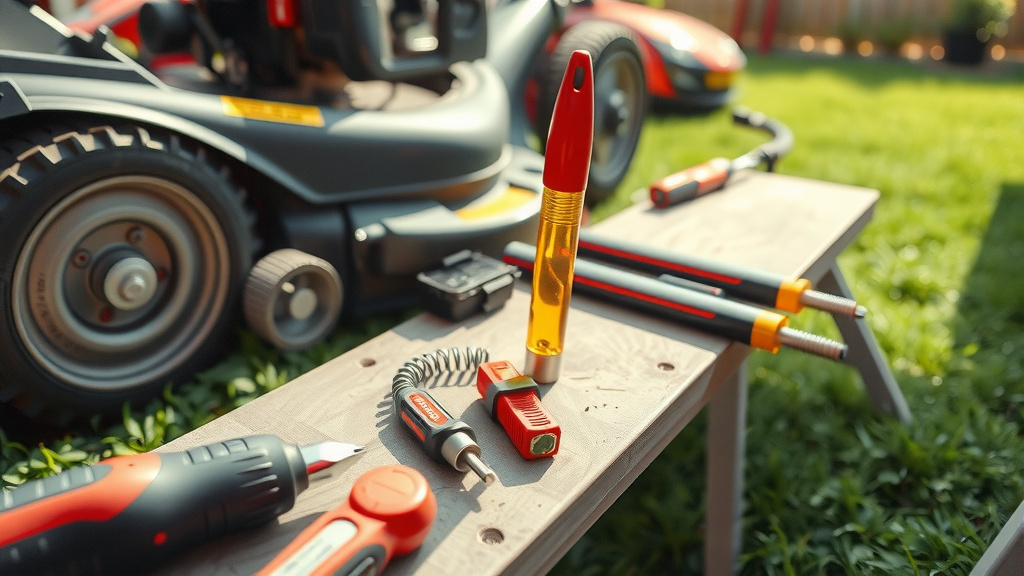
Gathering Your Gear: The Essential Toolkit
Before you begin, make sure you have everything ready. Having your tools close by makes the job much smoother, saving you trips back and forth. You don’t want to be halfway through and realize you’re missing something.
- A new starter rope (check your mower’s manual for the correct diameter and length).
- Screwdrivers (both Phillips and flathead are often needed).
- Pliers (needle-nose work great for knots).
- Work gloves (always a good idea for protection).
- A small pick or awl (helpful for threading rope).
- A vice or clamp (to hold the starter assembly steady, if you have one).
Safety First: Before You Begin
We can’t stress this enough: safety is your top priority. Working with lawn mowers, even for a simple rope replacement, requires caution. It’s like changing a tire – you wouldn’t do it with the car running.
First and foremost, disconnect the spark plug wire. Pull it off the spark plug and tuck it away. This prevents any accidental engine starts while your hands are near moving parts. Many experts agree this is the most critical safety step.
Next, wear your work gloves to protect your hands. Ensure your mower is on a flat, stable surface. We often find that a workbench or even a clear spot on the driveway works well.
Step-by-Step Guide: Restringing Your Mower
Okay, let’s get into the nitty-gritty. This is where you become a lawn mower hero. Take your time with each step; there’s no rush here.
1. Disconnect the Spark Plug
As mentioned, this is crucial. Reach down and firmly pull the rubber boot off the spark plug. Tuck the boot away from the plug so it can’t accidentally reconnect. This ensures the engine cannot start.
2. Access the Recoil Starter Assembly
The recoil starter is usually housed on top of the engine, often under a larger engine shroud. You’ll see a series of bolts or screws holding this shroud in place.
Use your screwdriver to remove these fasteners. Keep them in a small container so they don’t get lost. Carefully lift off the entire shroud, revealing the starter assembly underneath.
3. Removing the Old Rope
If there’s any old rope left, you’ll need to remove it. You might find a small stub of rope still in the starter pulley. Use your pliers or a pick to pull out any remaining rope and untie any knots.
Sometimes, the rope has completely snapped off, making this step easier. Just make sure the rope hole in the pulley is clear.
4. Winding the Recoil Spring (Carefully!)
This is often the trickiest part, but it’s not hard once you understand it. The recoil spring needs tension to pull the rope back in. You’ll see a central pulley where the rope winds.
Turn the pulley counter-clockwise until it stops, feeling the spring tension build. Then, let it unwind one full turn. This creates a little slack to tie your knot, but still keeps enough tension. Many service manuals suggest this method.
5. Feeding the New Rope
Now, take your new starter rope. Burn the ends gently with a lighter to prevent fraying (be careful!). Push one end through the hole in the starter housing where the rope exits.
Next, feed the same end through the hole in the recoil pulley. Use a pick or needle-nose pliers to guide it if needed. This step can feel like threading a needle, so be patient.
6. Securing the Rope and Handle
Once the rope is through the pulley, tie a strong knot on the end that came through the pulley. A simple overhand knot or a figure-eight knot works well. Make sure it’s snug against the pulley.
Allow the pulley to slowly rewind the rope until the handle is near the housing. Then, slide your starter handle onto the other end of the rope and tie another secure knot inside the handle. Pull it tight to prevent slipping.
7. Reassembling and Testing
With the rope installed and secured, carefully place the starter assembly back into the engine shroud. Line up the screw holes and reattach all the fasteners you removed earlier.
Once everything is snug, gently pull the starter rope a few times. It should extend smoothly and retract fully. Then, reconnect the spark plug wire. Give it a proper pull to ensure it starts your mower!
Common Pitfalls: What to Avoid
Even with good instructions, a few things can trip you up. We’ve seen people face these issues before. Forgetting to tension the spring is a common one, leaving you with a floppy rope. Also, using the wrong rope diameter can cause issues, either getting stuck or breaking quickly.
Always double-check your knots; a loose knot can mean starting over. Rushing through the steps often leads to overlooking these details, so take your time.
When to Replace: Signs of Wear
How do you know it’s time for a new rope before it completely snaps? Look for signs of wear and tear. A fraying rope is a huge indicator. If you see individual strands breaking or the rope looks fuzzy, it’s living on borrowed time.
Difficulty pulling the rope, or if it feels “sticky” coming out, might also suggest internal issues with the recoil mechanism, but a worn rope is usually the first suspect. Replacing it preventatively can save you hassle later.
Choosing the Right Rope: A Quick Guide
Not all ropes are created equal! Your Briggs & Stratton mower needs the correct type and size. Using the wrong rope can affect its performance and lifespan. Check your owner’s manual for specific recommendations.
Generally, you’ll find ropes made from nylon or polyester. Diameter is key – too thick, it won’t fit; too thin, it might snap easily. Research shows that slightly thicker ropes offer more durability for heavy-duty use.
| Rope Type | Key Features | Best For |
|---|---|---|
| Nylon | Durable, flexible, common | General use, standard mowers |
| Polyester | Stronger, less stretch, UV resistant | Heavy-duty use, outdoor storage |
Quick Troubleshooting Checklist
Did you restring your mower but it’s still not quite right? Don’t worry, here’s a quick checklist for common issues. Sometimes a small adjustment makes all the difference.
- No Recoil or Weak Recoil? Check the spring tension; you might need one more turn.
- Rope Too Short? Ensure the handle knot is snug against the handle, not too far in.
- Rope Getting Stuck? Verify the rope isn’t rubbing against the housing or pulley edges.
- Rope Snapping Quickly? Make sure you used the correct diameter and a durable material.
- Engine Won’t Turn Over? Double-check the spark plug is reconnected firmly.
Keeping Your Mower Running Smoothly
Restringing your mower is a great step toward regular maintenance. To extend the life of your new rope and the entire starter system, consider a few habits. Avoid yanking the rope too hard; a smooth, steady pull is better.
Keep the starter assembly clean, free from grass clippings and debris. Many experts suggest a little lubrication on the pulley’s pivot point (check your manual for approved lubricants) can help. Regular care can prevent many future problems.
Conclusion
Restringing your Briggs & Stratton lawn mower is a totally achievable DIY project. It might seem daunting at first, but by following these steps, you’ve saved yourself a trip to the repair shop and gained valuable skills. You now understand the basic workings of your mower’s starting system.
Remember, patience and safety are your best tools. Keep an eye on your rope for signs of wear, and you’ll keep your mower running reliably season after season. Congratulations on a job well done!
FAQs
How do I know what size rope my Briggs & Stratton mower needs?
The best way to determine the correct rope size is to consult your Briggs & Stratton owner’s manual. It will specify both the diameter and length needed for your specific engine model. If you don’t have the manual, you can often find this information on the Briggs & Stratton website by looking up your engine model number.
Can I use any kind of rope for my lawn mower starter?
No, you should use a specialized starter rope, typically made from braided nylon or polyester. These ropes are designed to withstand the friction and repeated pulling stress. Regular household rope or twine will fray, stretch, and break quickly, leading to early failure and potentially frustrating starts.
What if my recoil spring unwinds completely when I take the housing off?
If the recoil spring fully unwinds, you’ll need to re-wind it. This can be a bit tricky, as the spring is under tension. Carefully reinsert the spring into its housing, ensuring it sits correctly. Then, use pliers or a screwdriver to slowly wind the spring counter-clockwise to build tension before feeding the rope through the pulley. Be very careful as the spring can snap back.
My new rope pulls out but doesn’t retract fully. What’s wrong?
This usually indicates that the recoil spring doesn’t have enough tension. You likely need to add another turn (or two) to the spring during the winding step. Remember to turn the pulley counter-clockwise until it stops, then let it unwind one full turn before tying the rope. Adjusting this tension is key for proper retraction.
How often should I check my mower’s starter rope?
It’s a good practice to inspect your starter rope at the beginning of each mowing season or every few months if you use your mower frequently. Look for any signs of fraying, cuts, or excessive wear. If the rope feels brittle or looks thin in spots, it’s wise to replace it preventatively rather than waiting for it to break in the middle of a job.