
How to Restring a String Trimmer Head?
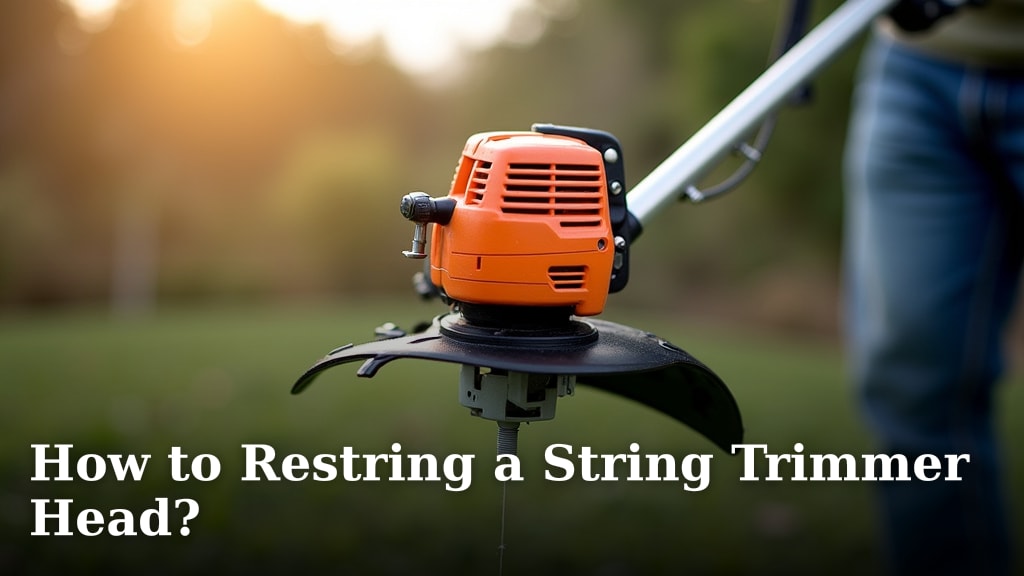
To restring a string trimmer head, you generally need to cut new trimmer line, remove the old line, and then wind the new line onto the spool. You do not need to buy a whole new trimmer head every time your string runs out. It’s a simple fix that saves you money and keeps your yard looking tidy.
You’ve probably faced that moment: your string trimmer runs out of line right in the middle of a job. It’s frustrating, right? We found that knowing how to restring your trimmer head yourself is a vital skill for any homeowner. It ensures you can get back to trimming quickly without a trip to the store or a service call.
- Gather your supplies: new trimmer line, scissors, and your trimmer.
- Find your trimmer head type (fixed, bump, or automatic feed).
- Remove the old, worn-out trimmer line.
- Cut and insert the new line correctly.
- Wind the new line onto the spool following your trimmer’s specific instructions.
Ready to get that trimmer working like new? Let’s walk through the steps together, making sure your string trimmer is always ready for action.
Restringing Your Trimmer Head: A Step-by-Step Guide
Restringing your trimmer head is easier than you might think. We found that understanding your specific trimmer head type is the first key step. This knowledge helps you choose the right method and makes the process much smoother.
Understanding Your Trimmer Head Type
Not all trimmer heads are created equal. You’ll find a few common types, and each has its own way of being restrung. Knowing yours saves you a lot of guesswork and frustration.
Fixed Line Trimmer Heads
These are often found on older or very basic models. With a fixed head, you manually insert individual, pre-cut lengths of trimmer line into small holes. There’s no spool to wind. You simply push the line through until it’s centered.
- No winding needed.
- You insert pre-cut pieces of line.
- Great for quick, simple replacements.
Bump Feed Trimmer Heads
This is probably the most common type you’ll encounter. As the name suggests, you “bump” the head on the ground while the trimmer is running, and more line feeds out. These heads contain a spool where you wind a long length of trimmer line. Most of this guide will focus on these popular bump-feed models.
- Most popular type.
- Line feeds out when you bump the head.
- Requires winding a spool of line.
Automatic Feed Trimmer Heads
These heads are designed for maximum convenience. They automatically feed out new line as the old line wears down. While convenient, they can sometimes be a bit trickier to restring because of their internal mechanisms. Always check your owner’s manual for these.
- Feeds line automatically.
- Can be more complex to restring.
- Always consult your owner’s manual for specific instructions.
Safety First: What You Need Before You Start
Before you begin any work on your string trimmer, safety is your top priority. We found that taking a few moments to prepare can prevent accidents. Always think about protecting yourself.
- Gloves: Protect your hands from grime and sharp edges.
- Safety Glasses: Essential for protecting your eyes from debris, especially when dealing with spring-loaded parts.
- Trimmer Line: Make sure you have the correct diameter for your trimmer. Check your manual or the old line.
- Scissors or Utility Knife: For cutting the new trimmer line cleanly.
Remember, your trimmer is a powerful tool, even when off. Unplug electric trimmers or disconnect the spark plug wire on gas models. This prevents accidental starts. It’s a small step that offers big peace of mind.
Removing the Old Trimmer Line and Head
Getting rid of the old, worn-out line is the first physical step. This process varies slightly depending on your trimmer head, but the goal is the same: clear the way for fresh line.
Disconnecting Power and Securing the Trimmer
First things first: safety. If you have an electric trimmer, unplug it completely from the outlet. For gas trimmers, remove the spark plug wire. This ensures the engine cannot accidentally start while your hands are near the cutting head.
Next, find a stable surface to work on. A workbench is ideal, but even flat ground works. You want the trimmer head to be easily accessible. We found that placing a rag or cardboard under the head can catch any small parts that might drop.
Taking Apart the Trimmer Head
Most bump-feed trimmer heads come apart in a similar fashion. Look for tabs, buttons, or arrows on the side of the head. You usually press these tabs inward or line up arrows to release the cover. Once released, the outer cap will come off, revealing the spool inside.
Carefully lift out the spool. Sometimes, a spring might pop out. Keep track of it! The spring usually sits at the bottom of the spool compartment. Now, remove any remaining old, tangled line from both the spool and the head casing. This is a good time to clean out any dirt or debris that has accumulated inside (University of Georgia Extension).
| Trimmer Head Component | What It Does | Important Note |
|---|---|---|
| Outer Cap | Covers the spool and spring. | Often held by tabs or screws. |
| Spool | Holds the wound trimmer line. | May have separate chambers for two lines. |
| Spring | Pushes the spool up for line feeding. | Don’t lose it! Essential for bump-feed. |
| Eyelets | Guide the line out of the head. | Check for wear or blockages. |
Cutting and Inserting New Trimmer Line
Now for the main event: getting your new line ready. The length and insertion method are crucial for proper function. Don’t just guess; follow these guidelines.
Determining the Correct Line Length
How much line do you need? This is a common question. For most standard trimmers, you’ll need about 15 to 25 feet of line. If your trimmer uses two lines, you’ll cut two equal lengths. We found that checking your owner’s manual is always best, as some larger trimmers might require more. Too much line can cause winding issues or strain your trimmer motor.
Feeding the Line Through the Spool Holes
Look at your spool. You’ll see small holes or slots on the edge. If your trimmer uses a single line, feed one end of your cut line into one of these holes and pull it through until it’s secure. For two-line systems, you’ll often have a divider on the spool. Feed each line into its designated hole. Make sure the ends are even, or at least close to it.
Some newer spools are “arrow-guided.” This means they have arrows showing you which direction to wind. Pay attention to these indicators! It makes a big difference.
Winding the Trimmer Line Onto the Spool
This is where many people get stuck, but it’s straightforward once you know the trick. Proper winding prevents tangles and ensures smooth line feeding. We found that a consistent, tight wind is key.
Direction of Winding
The direction you wind the line is critical. Look for arrows on your spool or the trimmer head itself. Usually, you wind the line clockwise or counter-clockwise. If there are no arrows, many experts say to wind in the direction opposite to the trimmer head’s rotation (which is often counter-clockwise when viewed from the top).
Why does direction matter? If wound incorrectly, the line won’t feed out properly when you bump the head, leading to frustrating stops and starts.
Winding Technique
Start winding the line tightly and neatly around the spool. Make sure each coil sits next to the last, without overlapping or leaving large gaps. If your spool has a divider for two lines, wind each line separately on its side of the divider.
As you wind, leave about 6-8 inches of line sticking out from the last winding hole. These short tails will eventually feed through the eyelets of the trimmer head. Once wound, you might see small notches on the edge of the spool. These are for temporarily holding the line in place before you reassemble the head.
Reassembling Your Trimmer Head
You’re almost there! Putting the head back together correctly ensures everything functions as it should. It’s like solving a small puzzle.
Placing the Spool Back in the Head
First, make sure the spring is properly seated at the bottom of the trimmer head casing. It should stand upright. Now, carefully place the wound spool onto the spring. The small “tails” of trimmer line you left sticking out from the spool need to be aligned with the eyelets on the trimmer head casing. Gently pull these tails through the eyelets.
Sometimes you need to give the spool a slight turn to make the line ends line up with the eyelets. Don’t force anything. It should sit comfortably.
Securing the Outer Cap
With the spool and line tails in place, reattach the outer cap. Align the tabs or grooves and press firmly until you hear a click or feel it lock into place. Give it a gentle tug to ensure it’s secure. If it feels loose, double-check that the cap is fully seated and the internal components are correctly aligned.
Finally, inspect the newly strung line. Does it extend evenly from both sides? Does it look ready for action? You’ve just restrung your trimmer head!
Checklist for Success
To make sure you didn’t miss anything, here’s a quick checklist to review after you’ve restrung your trimmer head. This ensures you’re ready to get back to trimming safely and effectively.
- Power disconnected? (Unplugged or spark plug wire removed)
- Old line completely removed?
- New line cut to the correct length?
- Line wound tightly and in the correct direction?
- Spring correctly seated?
- Line tails threaded through the head’s eyelets?
- Outer cap securely attached?
Conclusion
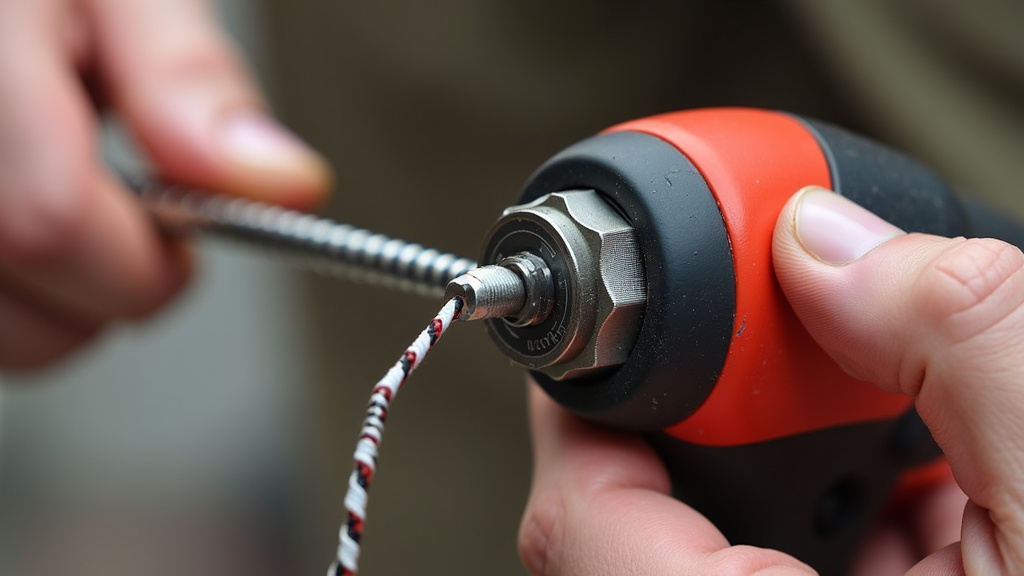
You now have the knowledge to tackle a common yard work headache. We’ve walked through identifying your trimmer head, gathering supplies, and the step-by-step process of removing old line, winding new line, and reassembling your tool. Remember, safety always comes first, so disconnect power before you begin. You’ll save money and avoid interruptions during your yard work.
By taking a few minutes to restring your trimmer, you ensure it’s always ready to keep your lawn looking sharp. Go ahead, give it a try next time your line runs out!
Frequently Asked Questions
How often should I replace my trimmer line?
You should replace your trimmer line whenever it runs out or becomes too short to effectively trim. We found that heavily used trimmers might need new line every few uses, while occasional users might go weeks or months. Inspect your line before each use to ensure it’s in good condition.
Can I use any type of trimmer line in my trimmer?
No, you need to use the correct diameter of trimmer line for your specific model. Using line that is too thick can strain your trimmer’s motor, while line that is too thin will break easily. Always check your trimmer’s manual or the specifications on the trimmer head itself for the recommended line diameter.
What causes trimmer line to break frequently?
Frequent line breakage can be due to several factors. We found that using the wrong line diameter, hitting hard surfaces like concrete or rocks, or having a dull or damaged cutting head can all cause line to snap. Also, old, brittle line can break more easily, so keep your line fresh.
My new trimmer line isn’t feeding out. What did I do wrong?
If your line isn’t feeding, first check the winding direction. If wound incorrectly, it won’t feed. Also, ensure the line isn’t tangled on the spool or stuck in the eyelets. Sometimes, debris inside the head can prevent smooth feeding. We recommend taking it apart and checking for any obstructions.
Is it better to use pre-wound spools or bulk trimmer line?
This depends on your preference and frequency of use. Pre-wound spools are convenient and save time, but they can be more expensive in the long run. Buying bulk trimmer line is generally more cost-effective if you use your trimmer often, as you can cut and wind the exact amount you need.
