
How to Stripe a Lawn with a Mower?
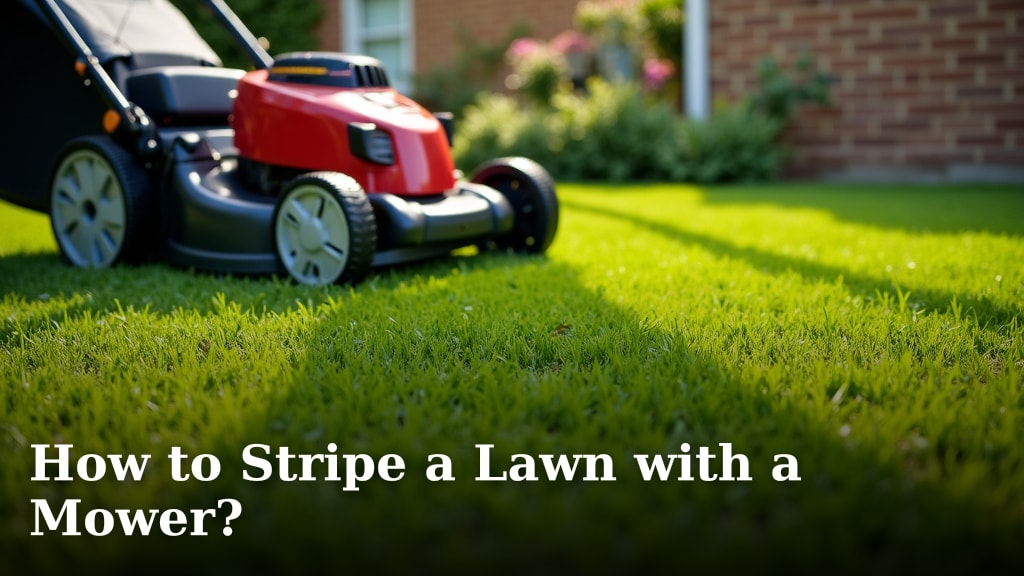
To stripe a lawn with a mower, you need to bend the grass blades in alternating directions. This creates a visually appealing pattern. Light reflects differently off the bent grass. This makes some stripes appear darker than others.
You can achieve this effect with almost any walk-behind or riding mower. The key is to use a striping kit or roller attachment. Many homeowners desire this professional look. It can significantly enhance your yard’s curb appeal.
- Mowers bend grass for stripes.
- Light reflection causes the striped look.
- Use a striping kit or roller.
- Alternating directions is crucial.
- Enhances lawn appearance.
Ready to give your lawn that striking, manicured look? We’ll show you exactly how to stripe your lawn, step by step.
Achieving Perfect Lawn Stripes with Your Mower
You can create those crisp, alternating stripes on your lawn. It’s all about training your grass blades. We’ll guide you through the process, step by step.
Think of it like combing your hair. You’re simply brushing the grass in different directions. The sun then does the rest, highlighting your efforts.
Understanding the Striping Magic
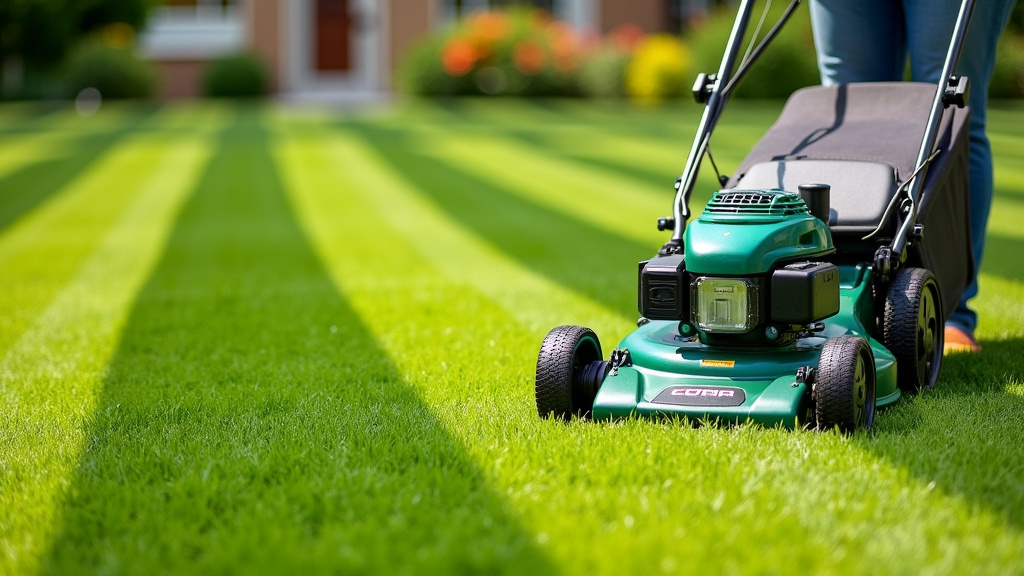
Why do lawn stripes look so good? It’s a trick of light. When grass blades bend away from you, they reflect less sunlight. This makes them appear darker.
When blades bend towards you, they reflect more sunlight. This makes them appear lighter. It’s a simple optical illusion, but very effective.
The Science Behind the Stripes
This phenomenon is called “specular reflection.” It’s the same reason a calm lake can look like a mirror. The smooth surface bounces light back uniformly.
Bent grass acts like tiny mirrors. They angle sunlight differently. This creates the contrast that defines your stripes.
What You’ll Need for Striping Success
Getting started is easier than you think. You likely already own most of what’s necessary. A few additions can make a big difference.
Preparation is key. Gather your tools before you begin. This saves time and frustration.
Essential Equipment Checklist
- Your lawn mower (walk-behind or riding)
- A striping kit or roller attachment
- A full tank of gas or a fully charged battery
- Sharp mower blades
- Eye protection and sturdy shoes
- A tape measure (optional, for precision)
Choosing the Right Striping Attachment
A good striping attachment is your best friend here. These devices are designed to push the grass down. They hold the blades in place.
You have a few options. Each has its pros and cons. Consider your mower type and lawn size.
| Attachment Type | Mower Compatibility | Key Benefit | Consideration |
|---|---|---|---|
| Roller (Heavy-Duty) | Riding mowers, large walk-behinds | Excellent, long-lasting stripes | Heavier, can be costly |
| Brush/Bar Kit | Most walk-behind mowers | Affordable, easy to install | May need more passes for deep stripes |
| DIY Roller | Any mower with a hitch point | Very low cost, customizable | Requires construction skills |
Many homeowners find that even a basic striping bar works well. The goal is to bend the grass firmly. You want it to stay bent for a while.
Preparing Your Lawn for Striping
Before you even think about firing up the mower, a little prep work goes a long way. This ensures your stripes look their best. It also protects your equipment.
Think of it as setting the stage. A clean, healthy lawn is ready for its star performance.
Mowing Height Matters
You can’t stripe a lawn that’s too short. Taller grass bends more easily. It also holds its bent shape better.
We found that a cutting height of at least 2.5 to 3 inches is ideal. If your grass is shorter, let it grow out for a few days.
If you cut too short, the grass blades spring back up quickly. This makes your stripes disappear faster.
Clean Up Your Lawn First
Remove any debris before you mow. Sticks, stones, and toys can damage your mower. They can also create uneven stripes.
Give your lawn a quick visual inspection. Walk around and pick up anything that shouldn’t be there. This small step prevents big headaches.
Ensure Your Blades Are Sharp
Dull blades tear grass. Sharp blades cut cleanly. Clean cuts are essential for healthy grass and crisp stripes.
Torn grass tips turn brown. This makes your lawn look unhealthy. It also makes your stripes less defined.
Many experts say to sharpen your mower blades at least once a season. More often if you mow frequently or have a large yard (Ohio State University Extension).
The Step-by-Step Striping Process
Now for the fun part! This is where you bring your striped lawn vision to life. Follow these steps carefully for the best results.
Patience is a virtue here. Don’t rush. Take your time to get each pass just right.
Mow the Perimeter First
Start by mowing a border around your lawn. This gives you room to turn. It helps you maintain straight lines for your stripes.
One or two passes around the edge is usually enough. This creates a clean frame for your masterpiece.
Choose Your Pattern and Direction
The most common pattern is simple back-and-forth lines. You can go horizontally, vertically, or diagonally. You can also learn how to mow squares in lawn for a distinct pattern.
Pick a starting point that aligns with your desired direction. For example, if you want vertical stripes, start at one end of your lawn and mow straight across.
Making Your First Stripe
Begin your first pass. Go slowly and maintain a straight line. Focus on consistency.
The striping attachment will push the grass down. This creates your first visible stripe.
Overlapping for Continuous Stripes
When you turn around for your next pass, slightly overlap your previous stripe. This ensures there are no missed spots.
A good rule of thumb is to overlap by about 2-4 inches. This blends the edges nicely.
Always mow in the opposite direction on your return pass. This is how you create the alternating light and dark pattern.
Turning Around at the End of Each Pass
How you turn matters. Make wide, smooth turns. This prevents damage to your lawn and keeps your lines straight.
You can lift your mower deck slightly during turns if needed. This reduces stress on your turf.
Maintaining Your Striped Masterpiece
You’ve put in the effort. Now, how do you keep those stripes looking sharp? It takes a bit of ongoing care.
Regular maintenance ensures your striped lawn remains a neighborhood highlight. It’s an ongoing project, but a rewarding one.
Regular Mowing Schedule
Mow your lawn consistently. Every 3-5 days is often recommended during peak growing season. This helps reinforce the bent grass pattern.
If you let your grass grow too long between mows, the old stripes will fade. The grass will try to stand back up.
Varying Your Striping Direction
It’s important not to stripe the same way every time. We found that always mowing in the same direction can create ruts. It can also compact the soil unevenly. Learning how to mow a lawn well can help prevent issues like ruts and uneven soil compaction.
Try alternating your pattern. Stripe vertically one week, then horizontally the next. Or try a diagonal pattern occasionally.
This promotes healthier grass growth. It also keeps your lawn looking fresh and varied.
Watering and Fertilization
Healthy grass stripes better. Ensure your lawn gets enough water. Fertilize according to your grass type and local recommendations.
A strong root system and vibrant blades are more resilient. They hold their shape better after being bent.
Many lawn care guides emphasize the importance of proper nutrition for turf vigor (USDA).
Conclusion
You now have all the tools and knowledge to create stunning stripes on your lawn. We’ve shown you how proper preparation, the right equipment, and a consistent technique make all the difference. Remember, the magic is in bending the grass and playing with light.
Don’t be afraid to experiment with patterns. Varying your mowing direction is key for both aesthetics and lawn health. With a little practice, your yard will become the envy of the neighborhood. Get out there and give your lawn that professional, manicured look.
Frequently Asked Questions
How long do lawn stripes typically last?
The longevity of your lawn stripes depends on several factors. These include grass type, cutting height, and how quickly your grass grows. Generally, stripes are visible for 3-5 days before fading. Mowing regularly helps reinforce the pattern.
Can I stripe my lawn without a special attachment?
While a striping attachment greatly enhances the effect, you can get some striping with just your mower. We found that simply mowing in alternating directions can bend taller grass blades. However, the stripes won’t be as defined or last as long without a roller or brush.
Does striping my lawn harm the grass?
No, striping your lawn is not harmful to the grass. You are simply bending the grass blades, not breaking or damaging them. In fact, regularly varying your mowing direction can promote healthier, more upright growth over time by preventing soil compaction in consistent paths.
What’s the best time of day to stripe my lawn?
The best time to stripe your lawn is when the grass is dry. This prevents clumping and allows for a cleaner bend. Also, striping earlier in the day or later in the afternoon when the sun is lower can make the contrast of the stripes more visible due to the angle of light reflection.
Can I stripe a lawn that has different types of grass?
Yes, you can stripe a lawn with mixed grass types, but the results may vary. Finer, more flexible grasses tend to stripe better than coarser, stiffer varieties. The key is to ensure all grass types are cut at an appropriate height to allow for bending and light reflection.
