
How to Fix a Self-propelled Mower That Won’t Start?
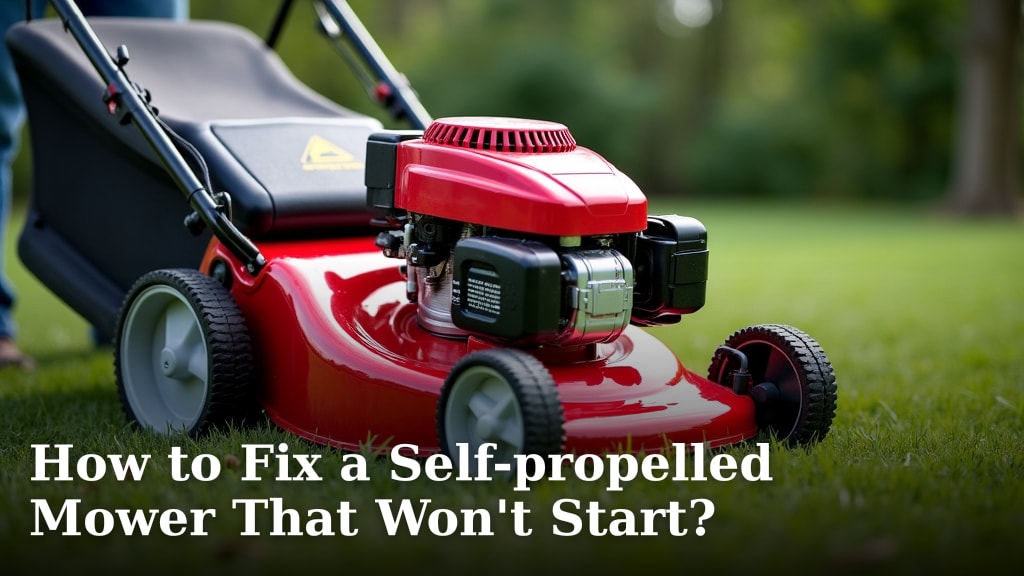
If your self-propelled mower won’t start, don’t panic! We found that most no-start issues come down to a few common culprits. Often, the fix is as simple as checking your fuel, spark plug, or air filter. These are the most frequent reasons your trusty mower is letting you down.
Getting your mower running again means tackling potential problems methodically. It’s not just about the engine; sometimes, it’s the little things that make a big difference. We’ve researched that a mower that won’t move forward could be a sign of a clogged fuel line or a dull blade, impacting its self-propel function.
- Check if you have enough fresh gasoline.
- Inspect the spark plug for damage or fouling.
- Ensure the air filter isn’t clogged.
- Verify the oil level is correct.
- Clean any debris around the blade and drive system. Clean any debris around the blade and drive system. If you need to remove the blade, our guide on how to change lawn mower blades can help.
Ready to get your lawn looking sharp again? Let’s walk through the most common reasons your self-propelled mower might be refusing to start and how you can fix it yourself.
Troubleshooting Your Self-Propelled Mower When It Won’t Start
Don’t let a stubborn mower ruin your weekend! When your self-propelled mower refuses to kick into gear, it can be incredibly frustrating. You’re ready to tackle that overgrown lawn, but your machine has other ideas. We found that many common starting problems have simple fixes you can do yourself. Let’s get this done so you can get back to enjoying a neatly manicured yard.
Fuel System Checks: The First Line of Defense
Most mower start-up issues boil down to what’s happening with the fuel. If your mower isn’t getting the right fuel, or enough of it, it simply won’t run. Think of fuel as the vital **food and drink** for your mower’s engine. Without it, there’s no power.
1. Fresh Fuel is Key
The most common culprit? Stale gasoline. Gasoline, especially when left in the tank over winter, degrades. It can lose its combustibility and even form gummy deposits. We found that gas older than 30 days is often suspect, especially if it wasn’t treated with a stabilizer.
How to check:
- Visually inspect the fuel. Does it look cloudy or have a varnish-like appearance?
- Smell it. Does it smell sharp and fresh, or dull and stale?
- If in doubt, drain the old fuel. You can pour it into a disposable container and take it to a hazardous waste disposal site, or use it in a leaf blower or other equipment that doesn’t require such fresh fuel.
Always use fresh fuel from a reputable source. For your mower, a higher octane fuel isn’t usually necessary and might even cause problems. Stick to the manufacturer’s recommendation, usually 87 octane.
2. Inspect the Fuel Cap and Tank
It sounds basic, but a clogged fuel cap can prevent air from entering the tank, which is essential for fuel flow. Many fuel caps have a small vent. If this vent is blocked by dirt or debris, it can stop your mower dead in its tracks.
How to check:
- Remove the fuel cap.
- Inspect the vent hole for any blockages.
- Clean it with a soft brush or compressed air.
- Ensure the cap itself isn’t damaged and screws on tightly.
If the tank itself has debris, you might need to remove it and clean it thoroughly. We found that a dirty fuel tank can introduce contaminants into the fuel line, leading to starting issues.
3. The Fuel Filter: An Often-Overlooked Hero
Your mower likely has a small fuel filter in the line between the fuel tank and the carburetor. This filter catches any tiny bits of dirt or rust before they can clog the carburetor. If this filter is clogged, fuel can’t get through.
How to check:
- Locate the fuel filter. It’s usually a small plastic or metal component in the fuel line.
- Disconnect the fuel line from the filter (have a rag ready for spills).
- Inspect the filter. If it’s dark, discolored, or you see debris inside, it needs replacing.
- Replacing a fuel filter is typically straightforward. Just make sure to install the new one in the correct direction if it’s marked.
Many experts suggest replacing the fuel filter annually as part of routine maintenance. It’s an inexpensive part that can prevent a lot of headaches.
4. Clogged Fuel Lines and Carburetor Issues
If the fuel cap and filter are fine, the next step is to check the fuel lines and carburetor. Gummed-up fuel can leave deposits that block these critical components. A clogged carburetor is one of the most frequent reasons a mower won’t start after sitting for a while. We found that this is especially true if fuel stabilizer wasn’t used.
What to do:
- Fuel Lines: Gently disconnect the fuel line from the carburetor. Try to blow through it with compressed air. If it’s blocked, you might need to flush it or replace the line.
- Carburetor Cleaning: This is a more involved step. You may need to remove the carburetor from the engine. Cleaning it typically involves using a specialized carburetor cleaner spray and ensuring all the tiny fuel passages are clear. Many online videos can guide you through this process for your specific mower model.
If you’re not comfortable with carburetor work, it might be time to call a professional or take it to a repair shop. A clogged carburetor can be tricky to fix correctly.
Spark Plug and Ignition System: The Spark of Life
Even with fresh fuel, your mower needs a spark to ignite it. The spark plug is responsible for creating this spark. If it’s dirty, damaged, or not getting a good spark, your engine won’t fire up.
1. Inspecting and Cleaning the Spark Plug
This is one of the easiest checks you can do. A fouled spark plug can prevent the spark from jumping the gap.
How to check:
- First, disconnect the spark plug wire to avoid accidental starting.
- Use a spark plug wrench to carefully remove the spark plug.
- Examine the plug. Is the tip black and sooty (oily or carbon fouled), white and burnt (running too lean or hot), or does it look normal?
- If it’s dirty but not damaged, you can try cleaning it with a wire brush and some carb cleaner.
- Check the gap between the electrodes. You’ll need a feeler gauge to measure this. The correct gap is usually specified in your mower’s manual.
If the spark plug looks significantly worn, cracked, or the electrodes are rounded off, it’s best to simply replace it. They are inexpensive, and a new plug can make a world of difference.
2. Testing for Spark
If the plug looks good, you need to ensure it’s actually creating a spark. This requires a bit of caution.
How to test:
- Reinstall the spark plug into the cylinder head (don’t connect the wire yet).
- Connect the spark plug wire to the top of the plug.
- Hold the metal body of the spark plug firmly against a clean, unpainted metal part of the engine block. Use insulated pliers or wear thick gloves for safety.
- Have someone else pull the starter rope (or turn the key on an electric start model).
- Look for a strong, blue spark jumping across the spark plug gap.
If you see a weak spark, no spark, or an orange spark, there’s an ignition problem. This could be a faulty spark plug, a bad spark plug wire, or an issue with the ignition coil. We found that a weak spark is often insufficient to ignite the fuel mixture.
Air Filter: Letting Your Mower Breathe
Your mower’s engine needs air to run, just like you do. The air filter prevents dirt and debris from entering the engine. A clogged air filter restricts airflow, making your engine run poorly or not at all.
How to check:
- Locate the air filter cover. It’s usually a plastic housing held on by clips or screws.
- Remove the air filter.
- Hold it up to a light. If you can’t see light through it, it’s definitely clogged.
- If it’s a paper filter, you’ll need to replace it. Tapping it gently might dislodge some surface dirt, but heavy clogging requires replacement.
- Some foam filters can be cleaned with soap and water, but make sure they are completely dry before reinstalling.
We found that replacing a dirty air filter is one of the easiest and most effective maintenance tasks you can do. It’s inexpensive and often immediately improves performance. Most manufacturers recommend checking and cleaning your air filter after every few uses and replacing it annually.
Oil Level and Condition: Lubrication is Key
While low oil usually causes engines to seize or run very poorly, it’s still important to check. Some modern engines have low-oil sensors that can prevent starting as a safety feature.
How to check:
- Ensure the mower is on a level surface.
- Locate the oil dipstick.
- Pull out the dipstick, wipe it clean, reinsert it fully, and pull it out again.
- Check the oil level. It should be between the “add” and “full” marks.
- Note the oil’s color and consistency. If it’s very dark, milky, or has debris in it, it needs to be changed.
Consult your owner’s manual for the correct type and amount of oil to use. Running your mower with insufficient or contaminated oil can cause severe engine damage.
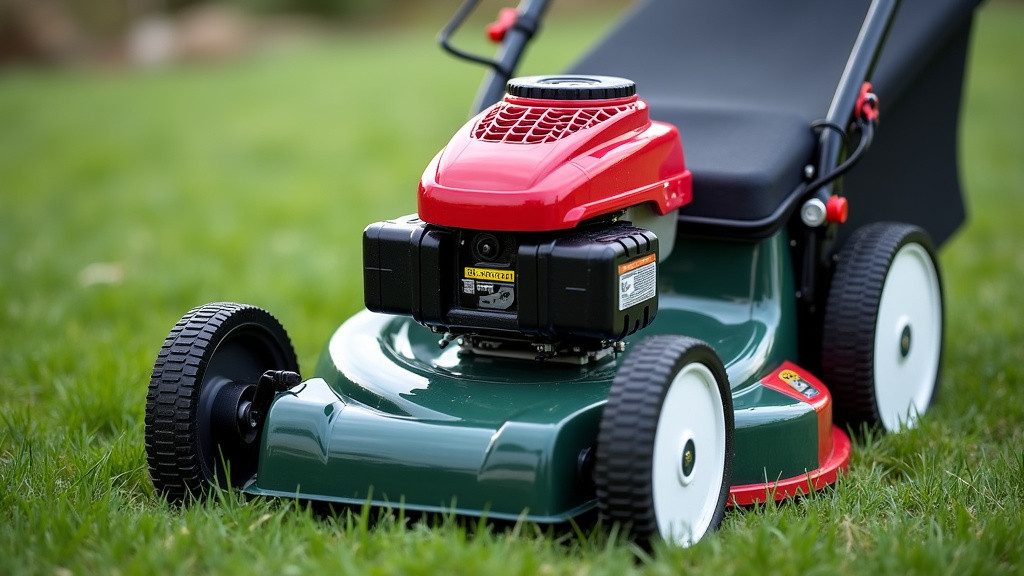
The Self-Propel System: More Than Just Starting
Sometimes, the engine starts fine, but the mower won’t move forward. This is where the “self-propelled” part of your mower comes into play. Issues here aren’t usually about the engine *starting*, but about the drive system not engaging.
1. Drive Belt and Transmission
The self-propel system uses a drive belt to transfer power from the engine’s drive shaft to the transmission and then to the wheels. If this belt is broken, loose, or has slipped off, the mower won’t move.
What to inspect:
- Turn the mower off and disconnect the spark plug wire for safety.
- Look underneath the mower deck or access the drive system according to your manual.
- Check the drive belt for wear, cracks, or damage. Ensure it’s properly seated on the pulleys.
- We found that a worn drive belt is a common reason for a loss of self-propel function.
If the belt is intact, the issue might be with the transmission itself, which is a more complex repair. Many experts recommend inspecting the drive belt at least once a season.
2. Debris and Obstructions
Grass clippings, dirt, and small branches can get packed around the drive pulleys, wheels, or transmission housing. This buildup can jam the system.
How to clear:
- With the engine off and spark plug wire disconnected, use a brush or compressed air to thoroughly clean the area around the wheels, drive pulleys, and any visible parts of the transmission.
- Pay special attention to the wheel hubs and the area where the drive belt runs.
Sometimes, simply clearing away accumulated gunk is all it takes to get your mower moving again.
Safety Features: Is Something Preventing a Start?
Mowers come with safety features designed to protect you. Some of these can inadvertently prevent starting.
Common safety checks:
- Bail Lever/Safety Bar: Most self-propelled mowers have a lever or bar on the handle that must be held down for the engine to run. Ensure this is fully engaged and that the cable connected to it is not broken or disconnected.
- Low Oil Sensor: As mentioned, some engines won’t start if the oil level is critically low.
- Blade Brake Clutch (BBC): If your mower has a BBC system, a faulty one could prevent the engine from firing. We found that this is less common for basic no-start issues but worth noting.
Make sure all these safety mechanisms are functioning correctly according to your owner’s manual. They are there for your protection.
Quick Checklist for When Your Mower Won’t Start
When you’re faced with a mower that won’t start, run through this quick checklist:
- Fuel: Is there fresh gasoline in the tank?
- Spark Plug: Is it clean, properly gapped, and sparking?
- Air Filter: Is it clean enough to allow airflow?
- Oil: Is the oil level correct and the oil clean?
- Safety Bar: Is the bail lever fully engaged?
- Debris: Is anything obstructing the blade or drive system?
Tackling these common issues systematically can help you diagnose
Conclusion
You’ve now armed yourself with the knowledge to tackle most common self-propelled mower starting issues. We’ve seen that problems often stem from simple things like stale fuel, a dirty air filter, or a fouled spark plug. By systematically working through these checks, you can often get your mower back up and running without a trip to the repair shop. Remember to always prioritize safety and consult your owner’s manual. If these steps don’t solve your problem, don’t hesitate to seek professional help to keep your lawn looking its best.
Frequently Asked Questions
My self-propelled mower starts but won’t move. What should I check?
If your mower starts but has lost its self-propel function, check the drive belt first. We found that a worn or slipped belt is a very common cause. Also, clear any grass clippings or debris packed around the wheels and drive pulleys, as this can jam the system.
Can old gasoline really prevent my mower from starting?
Yes, absolutely. Old gasoline degrades over time and loses its ability to ignite properly. We researched that gas older than 30 days is often suspect, especially if it wasn’t treated with a stabilizer. Always use fresh fuel for best results.
How often should I replace my mower’s air filter?
Most manufacturers recommend checking your air filter at least after every few uses and cleaning it as needed. Replacing it annually is a good practice. A clogged filter severely restricts airflow, impacting performance and starting.
What does it mean if my spark plug looks black and sooty?
A black, sooty spark plug usually indicates an issue with the fuel-to-air mixture. It often means the engine is running too rich (too much fuel) or is burning oil. You can try cleaning it, but if it looks heavily fouled, it’s best to replace it.
My mower won’t start, and I’ve checked the fuel, spark plug, and air filter. What’s next?
If those basic checks didn’t help, investigate the fuel lines and carburetor for clogs. Gummed-up fuel can block these essential components. Cleaning the carburetor might be necessary, which can be a more involved process.
