
How to Change the Oil in a Zero-turn Mower?

Yes, you absolutely can change the oil in your zero-turn mower yourself. It’s a straightforward maintenance task that will save you time and money. Knowing how to do it keeps your mower running smoothly for years. You just need a few basic tools and a little bit of know-how.
Regular oil changes are essential for engine health. Old oil loses its lubrication properties and can cause increased wear. This simple process helps prevent costly repairs down the line. Think of it like giving your mower a fresh drink of its favorite beverage.
- Gather your supplies: new oil, filter, wrench, drain pan, rags.
- Warm up the mower engine before you start.
- Locate the oil drain plug and filter.
- Drain the old oil into a pan.
- Remove the old oil filter.
- Install the new filter and oil.
- Check the oil level with the dipstick.
Ready to get your hands a little dirty? We’ve got you covered. Let’s walk through exactly how to change the oil in your zero-turn mower, step by step.
Keeping Your Zero-Turn Mower Running Smoothly
Changing the oil in your zero-turn mower is a **vital maintenance task**. Doing it regularly prevents engine damage and keeps your mower performing at its best. Many lawn care pros and manufacturer recommendations suggest doing this at least once a year, or every 50-100 hours of use, depending on your model and how hard you work it (e.g., Kubota, Toro, John Deere, etc.).
Gathering Your Essential Supplies
Before you begin, make sure you have everything you need. This ensures the job goes smoothly and you don’t have to stop halfway through. Think of it like preparing for a small DIY project; gathering your tools upfront saves you a lot of hassle.
The Must-Have Items
- New Engine Oil: Check your owner’s manual for the **correct type and weight** of oil. Most zero-turn mowers use SAE 30 or 10W-30.
- New Oil Filter: Again, your manual is the best source for the **exact part number** for your mower.
- Wrench Set or Socket Wrench: You’ll need this for the oil drain plug. A **socket wrench often provides better grip**.
- Oil Drain Pan: A pan large enough to hold all the old oil is essential. Aim for at least a 5-quart capacity to be safe.
- Funnel: For pouring the new oil into the engine.
- Shop Rags or Paper Towels: You’ll need these for wiping up spills and cleaning parts.
- Gloves: To keep your hands clean and provide a better grip.
- Optional: Oil Filter Wrench: Sometimes the oil filter can be tight and difficult to remove by hand. This tool can be a lifesaver.
Preparing Your Mower for an Oil Change
Starting with a warm engine makes the oil flow much better, allowing it to carry more of the contaminants out. This is a **key step for a complete drain**. Think of it like warming up before exercise – it prepares the system for the task ahead.
Warming Up the Engine
Run your mower’s engine for about 5-10 minutes. You don’t need to mow anything! Just let it idle or run at a moderate pace in a safe, open area. This heats the oil without making the engine too hot to work on safely. **Avoid running it so long that it becomes dangerously hot** to the touch.
Safety First!
Always prioritize safety. Park your mower on a **level, solid surface**. Engaging the parking brake is crucial. For extra safety, especially if you’ll be working underneath, you might consider blocking the wheels. Always **disconnect the spark plug wires** before you start working on any engine components to prevent accidental startup.
Draining the Old Engine Oil
This is where you get to remove the old, dirty oil. It’s a straightforward process, but doing it carefully prevents making a big mess.
Locating the Drain Plug and Oil Pan
Most zero-turn mowers have an oil drain plug located at the bottom of the engine’s oil pan. Consult your owner’s manual if you’re having trouble finding it. Place your oil drain pan directly underneath the plug. Ensure it’s positioned so that it will **catch all the draining oil**, as it might shoot out a bit initially.
Removing the Drain Plug
Using the correct size wrench or socket, **slowly loosen and remove the drain plug**. Be ready for the oil to start flowing out immediately. Let the oil drain completely. This could take several minutes. You want to get as much of the old oil out as possible.
Reinstalling the Drain Plug
Once the oil has finished draining, clean the drain plug and the area around the drain hole with a rag. Reinstall the drain plug and tighten it securely with your wrench. **Don’t overtighten it**, as this can strip the threads. Again, your owner’s manual can give you a torque specification if you have a torque wrench.
Replacing the Oil Filter
The oil filter captures contaminants, so replacing it with a new one is just as important as changing the oil itself. A dirty filter can restrict oil flow.
Locating and Removing the Old Filter
The oil filter is usually a cylindrical canister screwed onto the engine. It might be in a tight spot, which is where an oil filter wrench can be very helpful. Position your drain pan underneath the filter before you start to unscrew it, as **some oil will spill out**.
Preparing the New Filter
Before installing the new filter, take a small amount of clean engine oil on your finger and **lightly coat the rubber gasket** on the top of the new filter. This helps create a good seal and makes it easier to remove next time. Some people also like to pre-fill the new filter with a bit of new oil, which helps the engine get oil pressure faster on startup, but this isn’t always necessary and can be messy.
Installing the New Filter
Screw the new oil filter onto the engine by hand. Tighten it until the gasket makes contact, then **give it about another three-quarters to one full turn**. Most filters have instructions printed on them. Avoid using a wrench to tighten it, as this can over-tighten it and damage the filter or the engine mounting point.
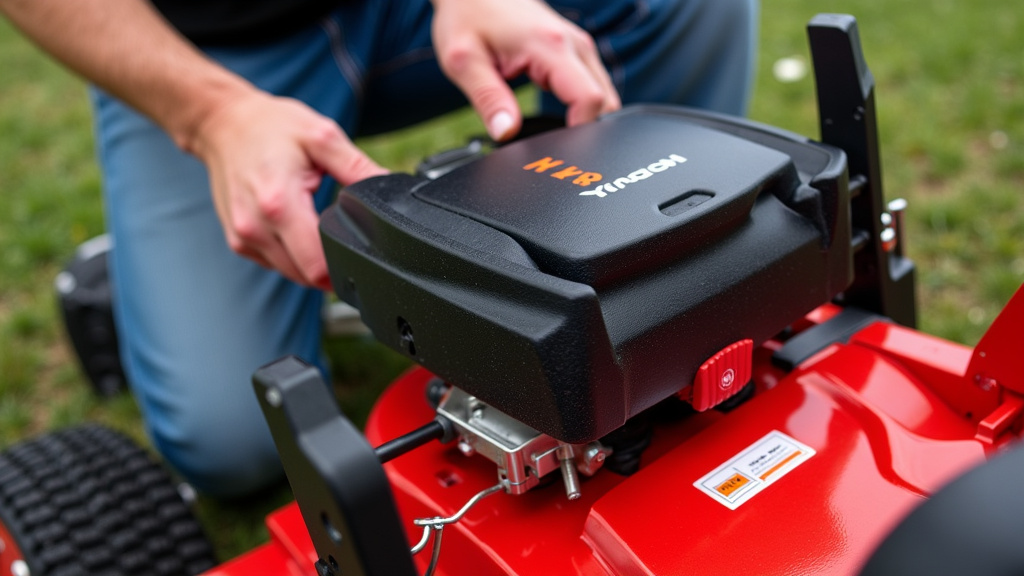
Adding Fresh Engine Oil
Now it’s time to give your mower’s engine some clean, fresh lubricant. This is the fun part – seeing your mower get its “new life”!
Locating the Oil Fill Cap
Find the oil fill cap on your engine. It’s usually clearly marked with an oil can symbol or the word “OIL.” Remove the cap and insert your clean funnel into the opening.
Filling with New Oil
Carefully pour the recommended amount of new engine oil into the funnel. Your owner’s manual will tell you the **exact capacity**, usually around 1.5 to 2 quarts for most residential zero-turn mowers. Pour slowly to avoid spills. Many experts recommend starting with slightly less than the full capacity so you don’t overfill.
Checking the Oil Level
Once you’ve added the oil, replace the oil fill cap. Remove the oil dipstick, wipe it clean, reinsert it fully, and then pull it out again. Check the oil level against the markings on the dipstick. There should be a **low and a full mark**. Add more oil in small increments if needed, rechecking the dipstick each time until the level is at or just below the full mark.
Final Checks and Startup
You’re almost done! Just a few more steps to ensure everything is correct and your mower is ready to go.
One Last Look
Before starting the engine, double-check that the drain plug is tight and the oil filter is securely installed. Look around the drain plug and filter area for any signs of leaks. **Wipe up any spilled oil** from the engine or mower deck.
Starting and Monitoring
Reconnect the spark plug wires. Start the engine and let it run for a minute or two. Watch the oil pressure light on your dashboard, if your mower has one; it should turn off shortly after starting. While the engine is running, **look under the mower** for any leaks around the drain plug or oil filter. After a minute or two, shut off the engine and let it sit for a few minutes. Then, pull the dipstick again and **check the oil level one last time** to ensure it’s still within the proper range.
Disposing of Old Oil Responsibly
Never pour old motor oil down the drain or on the ground. It’s harmful to the environment. Most auto parts stores, service stations, and local recycling centers will **accept used motor oil and filters** for proper disposal and recycling. Many communities have specific hazardous waste drop-off days.
Here’s a quick rundown of your checklist:
- Gathered all necessary tools and supplies.
- Mower parked on a level surface and brake engaged.
- Spark plug wires disconnected.
- Old oil completely drained.
- New oil filter installed correctly.
- Correct amount of new oil added and level checked.
Conclusion
You’ve successfully navigated the process of changing your zero-turn mower’s oil! You’ve gathered your supplies, warmed up the engine, and drained out the old fluid, replacing it with fresh oil and a new filter. This simple maintenance task is a huge win for your mower’s longevity and your wallet. By performing this regularly, you’re ensuring your mower runs efficiently and powerfully for every mow. Now, go ahead and schedule your next oil change in your calendar—your mower will thank you!
Frequently Asked Questions
How often should I really change the oil in my zero-turn mower?
Most manufacturers recommend changing the oil at least once a year, or after every 50 to 100 hours of operation. If you use your mower frequently or in dusty conditions, consider changing it more often to keep your engine in top shape.
Can I use any type of oil in my zero-turn mower?
No, you should always use the type and weight of oil recommended in your owner’s manual. Common types are SAE 30 or 10W-30, but using the wrong oil can damage your engine.
What if my oil filter is really stuck and won’t budge?
If the oil filter is too tight to remove by hand, an oil filter wrench is your best friend. There are different types, so find one that fits your filter. Ensure you have a good grip and turn it steadily.
Is it okay to overfill the oil slightly if I can’t get it perfect?
It’s best to avoid overfilling your mower’s engine with oil. Too much oil can cause foaming and damage engine seals. Always aim for the ‘full’ mark on the dipstick and add oil in small increments, rechecking frequently.
Where can I properly dispose of the old motor oil and filter?
Never pour old oil down drains or onto the ground. Most auto parts stores, service centers, and local recycling facilities accept used motor oil and filters for recycling. Check with your local waste management for designated drop-off locations.
