
How To Install Torsion Spring On Lawn Mower?
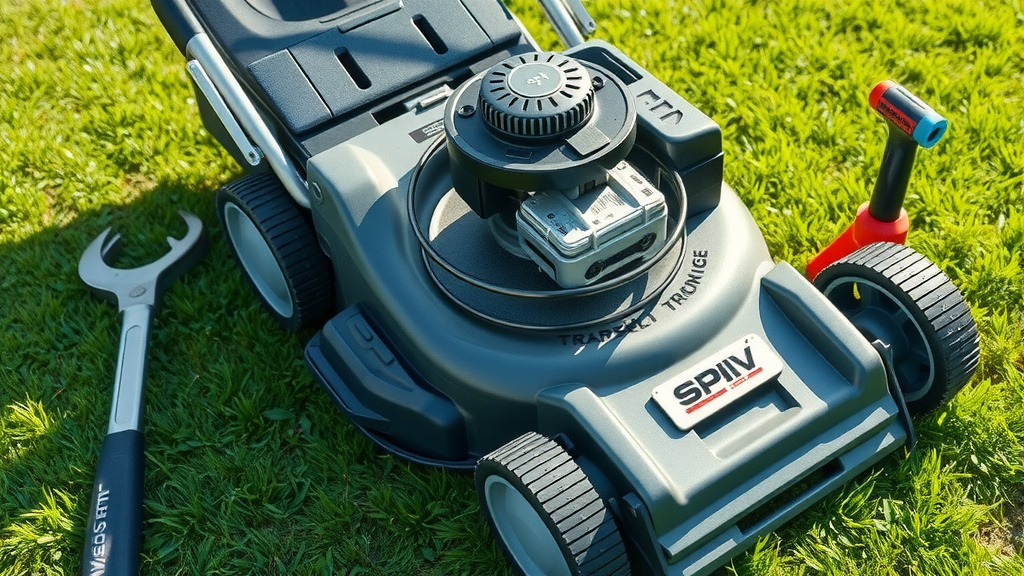
To install a torsion spring on a lawn mower, first ensure the mower is completely off and the spark plug wire is disconnected for your safety. Then, carefully remove the old spring, noting its exact position and winding direction, often using pliers or a spring tool.
Next, place the new torsion spring by hooking one end to its anchor point. Use your tools to stretch and attach the other end securely, matching the original orientation and confirming the spring is under proper tension for correct operation.
Here’s a quick rundown of what you’ll find in this guide:
- Understand the important job your mower’s torsion springs do.
- Learn to spot the clear signs that a spring needs replacing.
- Get a detailed, step-by-step guide for safe spring removal and installation.
- Discover the basic tools you’ll need for this home repair task.
- Learn how to check your work to ensure the new spring functions perfectly.
How To Install Torsion Spring On Lawn Mower?
Installing a torsion spring on your lawn mower requires careful attention to safety and specific steps. You’ll need to remove the old spring. Then, correctly position and tension the new one for smooth mower deck operation.
Why Torsion Springs Matter on Your Mower
Torsion springs might be small, but they play a big part in how your lawn mower works. They provide the necessary tension to hold different parts in place. Think of them as the quiet workhorses keeping everything stable.
These springs often help manage the idler pulleys on your mower’s drive belt system. Without them, your belt might slip or lose tension. This could lead to poor cutting or even a stalled engine. They are key for consistent, smooth performance, we found.
Signs Your Torsion Spring Needs Replacing
Is your mower acting a bit off lately? A failing torsion spring could be the reason. Knowing the signs can help you prevent bigger problems. Catching issues early saves you time and effort.
You might notice your mower deck seems wobbly or isn’t staying level. A common sign is the deck sagging on one side. It might also refuse to adjust height correctly. These issues often mean a spring has lost its tension.
Another clear sign is visible damage to the spring itself. Look for rust, stretching, or even breaks in the coils. Many experts say a visual inspection is your best first step (Mower Expert Guide).
If your drive belt keeps slipping, or blade engagement feels sluggish, a weak torsion spring could be causing it. The spring simply isn’t providing enough force anymore. It’s like trying to pull a heavy wagon with a worn-out rope.
Essential Safety Steps Before You Start
Before you touch any part of your mower, safety comes first. Working on machinery can be risky if you skip precautions. Your well-being is the top priority, always.
Tools for the Job
You’ll need a few basic tools to complete this task. Having them all ready makes the job much easier. Don’t begin until you have everything within arm’s reach.
- Wrench or socket set
- Pliers (needle-nose and regular)
- Spring removal tool (optional, but helpful)
- Sturdy work gloves
- Safety glasses
- A good work light (if needed)
Disconnecting Power Safely
This is the most critical step: disconnect the spark plug wire. This prevents the engine from accidentally starting while you’re working. Just pull the rubber boot off the spark plug and tuck it away. You want zero surprises.
For electric mowers, remove the battery or unplug the power cord completely. Never work on a mower with an active power source. Imagine trying to change a tire on a moving car – not a good idea, right?
Your Step-by-Step Installation Guide
Safety is covered, and your tools are ready. Now we can focus on the actual installation. Take your time with each step. Being patient will lead to a better result.
Removing the Old Spring Carefully
First, you need to remove the worn-out spring. This part can sometimes be a bit challenging due to the tension. Approach it with both care and confidence.
Torsion springs are usually near the deck height adjustment or drive belt system. Look closely at how the old spring is attached. Take a picture with your phone; it will be a perfect visual guide later.
Understanding its orientation is key. Which way does it hook? What is its winding direction? Many experts stress noting these details before removal (Engine Repair Guides).
Using your pliers or a spring tool, grasp one end of the old spring. Apply gentle but firm pressure to unhook it. Be ready for the spring to release its tension. It might jump a little. Once one end is free, the rest should come off easily. Set the old spring aside.
Positioning and Securing the New Spring
With the old spring gone, it’s time for the new one. Your careful observation of the old spring’s setup becomes very useful here. Don’t rush; precision matters.
Proper Alignment
The spring has a specific way it needs to be installed. Make sure the coils wind in the same direction as the original spring. First, attach one end of the new spring to its fixed anchor point. This gives you a stable starting place.
We found that incorrect alignment can prevent the spring from providing proper tension. It might also cause early wear on the spring or other mower parts. It’s like trying to put a puzzle piece in the wrong spot.
Applying Correct Tension
Now, carefully use your spring tool or pliers to stretch the other end of the spring to its second anchor point. This is where you apply the tension. It can take a bit of strength. Ensure it hooks securely.
Double-check that both ends are firmly attached and the spring sits snugly. Many experts suggest a quick visual check. Confirm the spring is not rubbing against any other parts. You want a smooth, unhindered movement.
Post-Installation Testing
You’re nearly finished! Before starting your mower, give your work a thorough check. A little testing now can prevent bigger issues later.
Try operating the mechanism the spring affects. If it’s a deck height adjustment spring, move the lever through its full range. Does it feel smooth? Does it lock firmly in place? Industry research often links correct tension with fluid operation (Mower Industry News).
If it’s a belt tensioning spring, manually move the pulley slightly. Does the spring retract and extend without catching? Does the belt feel tight enough but not overly strained? These checks are very important for your mower’s health.
Post-Installation Checklist
Before you start your mower, run through this quick list:
- Spark plug wire reconnected securely?
- All tools cleared from the work area?
- New spring seated firmly at both ends?
- Mechanism (e.g., deck height) moving freely?
- No rubbing or interference from the new spring?
- Visual check for any loose parts?
Tips for Spring Longevity
You’ve done the hard work of replacing the spring. Now, let’s talk about keeping it in top shape. A little care can greatly extend its life.
Maintaining Your Mower’s Springs
Make it a habit to visually inspect your mower’s springs a few times each season. Look for signs of rust, stretching, or dirt buildup. Finding issues early can prevent a full breakdown and expensive repairs.
Many experts advise cleaning around the springs during your regular mower maintenance. Dirt and debris can interfere with spring action. Think of it like a quick health check-up for your mower’s vital parts.
When storing your mower for the off-season, consider the springs. If your mower is kept in a damp place, rust can become a serious problem. Keeping it dry is extremely important.
| Spring Type | Common Location on Mower | Primary Function |
|---|---|---|
| Single Torsion | Deck height adjusters, control levers | Provides rotational force to hold positions. |
| Double Torsion | Blade engagement mechanisms, idler pulleys | Offers balanced tension using two legs. |
| Extension Springs | Throttle linkages, clutch engagement (pulls parts) | Pulls components together under tension. |
Conclusion
Installing a new torsion spring on your lawn mower doesn’t have to be a tough job. By following these clear, step-by-step instructions and always putting safety first, you can successfully replace this important part. You’ll restore your mower’s proper function and enjoy a smoother, more efficient cut.
Remember, paying attention to details, especially the spring’s orientation and tension, is key to a lasting repair. A little effort now means a healthier, happier mower for many seasons to come. You’ve definitely got this!
What tools do I need to replace a torsion spring?
You’ll generally need a wrench or socket set, pliers (both regular and needle-nose), and safety gear like gloves and safety glasses. A dedicated spring removal tool can also be very helpful for safely unhooking and attaching springs.
How do I know if my lawn mower’s torsion spring is broken?
Look for visible signs like a stretched, rusted, or broken spring. Functional clues include a sagging or uneven mower deck, difficulty adjusting the cutting height, or a drive belt that frequently slips off due to insufficient tension.
Is it dangerous to install a torsion spring myself?
It can be if proper safety measures aren’t followed. Always disconnect the spark plug wire (or power source for electric models) to prevent accidental starts. Torsion springs are under tension, so wear gloves and safety glasses, and use appropriate tools to prevent injury.
Can I use any torsion spring as a replacement?
No, you need a specific replacement spring designed for your mower’s make and model. Using the wrong size or tension can lead to poor performance, early wear, or damage to other mower parts. Always check your mower’s manual for the correct part number.
How often should I check my lawn mower’s springs?
We recommend visually inspecting all springs a few times during each mowing season, especially if you mow frequently. Also, include them in your routine pre-season and end-of-season maintenance checks. This helps catch potential issues early.
