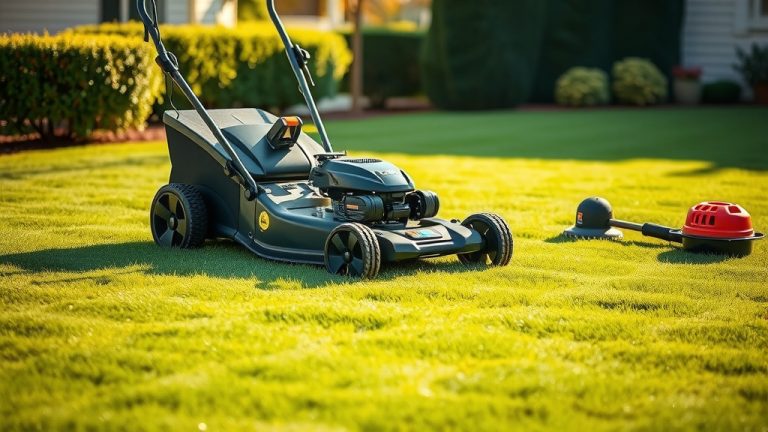
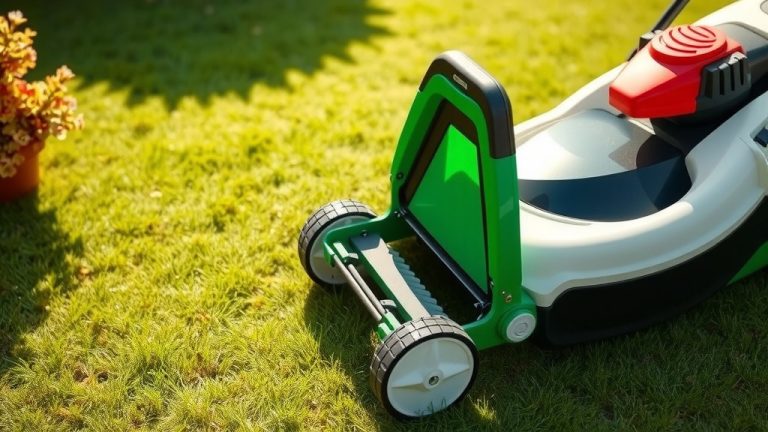
How To Attach Mulcher To Lawn Mower?
To attach a mulcher to a lawn mower, you generally begin by disconnecting the spark plug for safety.
Then, you typically remove the bagging or side discharge system, swap to a mulching blade, and install a mulching plug to efficiently convert your mower for mulching.
- Safety is paramount; always disconnect the spark plug first.
- You’ll swap your standard cutting blade for a specialized mulching blade.
- A mulch plug or plate is essential to keep clippings under the deck.
- The process turns grass clippings into nutrient-rich organic matter for your lawn.
- This quick conversion helps feed your lawn naturally without extra fertilizer.
How To Attach Mulcher To Lawn Mower?
Attaching a mulcher to your lawn mower transforms it into a powerful tool for lawn health. It involves safety checks, replacing the standard blade with a mulching blade, and installing a mulch plug. This process effectively turns your mower into a nutrient-recycling machine for your yard, giving you a greener, healthier lawn.
Why Mulching is a Game Changer for Your Lawn
You might be wondering why mulching is such a big deal. Instead of bagging grass clippings, mulching finely chops them. These tiny pieces fall back into your lawn, acting like a natural, slow-release fertilizer. It’s like giving your grass a nutritious snack every time you mow!
Before You Start: Safety First!
Before you even think about touching your mower’s underbelly, safety must be your top priority. Think of it like cooking: you wouldn’t start chopping onions without a clean cutting board, right? Here’s your safety checklist to ensure a smooth, worry-free process:
- Disconnect the Spark Plug: This is non-negotiable. Always pull the spark plug wire to prevent accidental engine starts. Many experts say this step alone can prevent serious injuries.
- Wear Protective Gear: Gloves protect your hands from sharp blades and grease. Safety glasses shield your eyes from debris.
- Allow Engine to Cool: If you just mowed, let the engine cool down completely. Hot engine parts can cause burns.
- Work on a Flat, Stable Surface: Ensure your mower is on a level surface that won’t allow it to tip or roll.
- Secure the Mower: For walk-behind mowers, tilt it backward so the handles touch the ground. For riding mowers, set the parking brake.
Gathering Your Essential Tools
Think of this as preparing for a small home repair project. You don’t need a toolbox the size of Texas, but a few key items will make the job much easier. We found that having these on hand saves a lot of back-and-forth:
- A wrench or socket set (often 1/2-inch or 5/8-inch)
- Work gloves
- Safety glasses
- A block of wood (for blade stability)
- Your new mulching blade(s)
- Your new mulching plug or cover
- Stiff wire brush (optional, for cleaning)
Step-by-Step Guide: Attaching Your Mulcher
Removing the Old Blade (Carefully!)
Now, let’s get down to business. With the spark plug disconnected, tilt your mower or secure your riding mower. You’ll see the blade underneath. Use your block of wood to brace the blade against the deck. This stops it from spinning while you loosen the nut.
Using your wrench, turn the blade nut counter-clockwise to loosen it. Remember, this nut is often very tight, so it might require some muscle! Once loose, carefully remove the old blade. Many guidelines point to inspecting the blade bolts for wear and tear at this stage (Briggs & Stratton).
Installing the Mulching Blade
Your mulching blade might look a bit different from your standard blade. It often has more curves or “teeth” designed to chop grass finer. Position the new mulching blade with the cutting edge facing up, towards the mower deck. There’s usually a specific side that faces up, so double-check your blade’s markings or manual. Align the star-shaped hole or keyway on the blade with the corresponding shaft on your mower.
Hand-tighten the blade nut first, making sure everything is aligned. Then, using your wrench and the block of wood, tighten the nut clockwise until it’s very secure. Research often connects a properly tightened blade with optimal cutting performance and safety (Consumer Reports).
Attaching the Mulch Plug
This is where the magic really happens. The mulch plug is a piece of plastic or metal that blocks the discharge chute. For walk-behind mowers, you’ll usually find it clips or slides into place where the grass bag typically attaches. For riding mowers, it might fit under the deck or into the discharge opening.
Ensure the mulch plug creates a tight seal. This keeps those grass clippings circulating under the deck, allowing them to be chopped repeatedly. A good seal is key for effective mulching, preventing large clumps from escaping.
Double-Checking Everything
You’re almost done! Before reconnecting the spark plug, take a moment for a final inspection. Spin the blade by hand to make sure it moves freely and doesn’t hit anything. Check that the mulch plug is securely in place. Confirm all nuts and bolts are tight. A thorough check ensures both safety and proper function.
What If Your Mower Isn’t “Mulch-Ready”?
Don’t fret if your mower doesn’t have an obvious mulching kit. Many mowers are designed to be versatile. Some come with a dedicated mulching function from the factory. Others might need a full conversion kit, which often includes the mulching blade and a special plug. We found that most modern mowers can be adapted with a kit designed for their specific model (Sears PartsDirect).
Benefits of Mulching Your Lawn
Switching to mulching offers several advantages. It’s not just about saving time from emptying a bag. It’s about nurturing your lawn and the environment. Here’s a quick comparison:
| Feature | Mulching | Bagging |
|---|---|---|
| Nutrient Return | Excellent (feeds lawn naturally) | None (removes nutrients) |
| Moisture Retention | Good (clippings help retain moisture) | None |
| Weed Suppression | Moderate (adds a thin protective layer) | None |
| Time & Effort | Less (no bagging/emptying) | More (bagging, hauling, disposal) |
| Disposal Needs | None (clippings stay on lawn) | Requires disposal (landfill, compost) |
Troubleshooting Common Mulching Issues
Sometimes things don’t go exactly as planned, and that’s okay. If your mulcher isn’t performing perfectly, don’t worry. Are you noticing clumps of grass after mulching? This often means the grass is too wet or too long. Try mowing when the lawn is dry. Is the mulching blade struggling? It might be dull. Regularly sharpening your mulching blade is key for efficient chopping and a clean cut.
Maintenance Tips for Your Mulcher
Just like any tool, your mulcher benefits from a little TLC. After each use, try to clean the underside of your mower deck. Grass clippings can build up, reducing airflow and mulching efficiency. Periodically check your mulching blade for sharpness and balance. A dull blade tears grass instead of cutting it, and an unbalanced blade can cause vibrations. We found that regular cleaning and blade sharpening significantly extend the life of your mulching setup.
When is the Best Time to Mulch?
Timing is everything in lawn care, isn’t it? The best time to mulch is when your grass is actively growing but not overly wet. Spring and early fall are usually prime mulching seasons. Avoid mulching when the grass is extremely tall or soggy from rain. This can lead to clumping, which is the opposite of what we want! Aim for frequent, consistent mulching, taking off no more than one-third of the grass blade height at a time (University of Minnesota Extension).
Conclusion
Attaching a mulcher to your lawn mower is a practical, rewarding project. It transforms your routine lawn care into an act of enriching your soil and promoting healthier grass. By following these straightforward steps, prioritizing safety, and performing a bit of regular maintenance, you’ll be well on your way to a vibrant, naturally fed lawn. You’re not just mowing; you’re cultivating a better outdoor space, one nutrient-rich clipping at a time!
How do I know if my lawn mower can be converted to a mulcher?
Most modern lawn mowers, whether walk-behind or riding, can be converted. Check your mower’s manual for specific instructions or look for “mulching kit” compatibility information online by your mower’s model number. If a kit is available, your mower is likely convertible.
Can I use a regular blade for mulching?
While a regular blade will cut the grass, it won’t chop it into the fine pieces necessary for effective mulching. Mulching blades have a distinct design with more curves and often extra cutting surfaces to create the turbulence needed for repeated chopping before the clippings fall to the ground.
What is the purpose of a mulch plug?
A mulch plug seals the discharge chute of your mower. This keeps the grass clippings circulating under the mower deck for a longer period. This extended circulation allows the mulching blade to chop the clippings into much smaller, almost invisible pieces, which then fall back into the lawn.
How often should I mulch my lawn?
The ideal frequency for mulching is similar to your regular mowing schedule, typically once a week during peak growing seasons. The key is to cut no more than one-third of the grass blade’s height at a time. This ensures the clippings are small enough to decompose quickly and effectively return nutrients to your soil.
Will mulching cause thatch build-up in my lawn?
Contrary to a common myth, mulching grass clippings does not typically cause thatch build-up. Thatch is a dense layer of living and dead stems and roots between the soil and green grass blades. Finely mulched grass clippings, primarily made of water, decompose rapidly, adding nutrients rather than contributing to thatch.