
How To Remove Lawn Mower Handle?
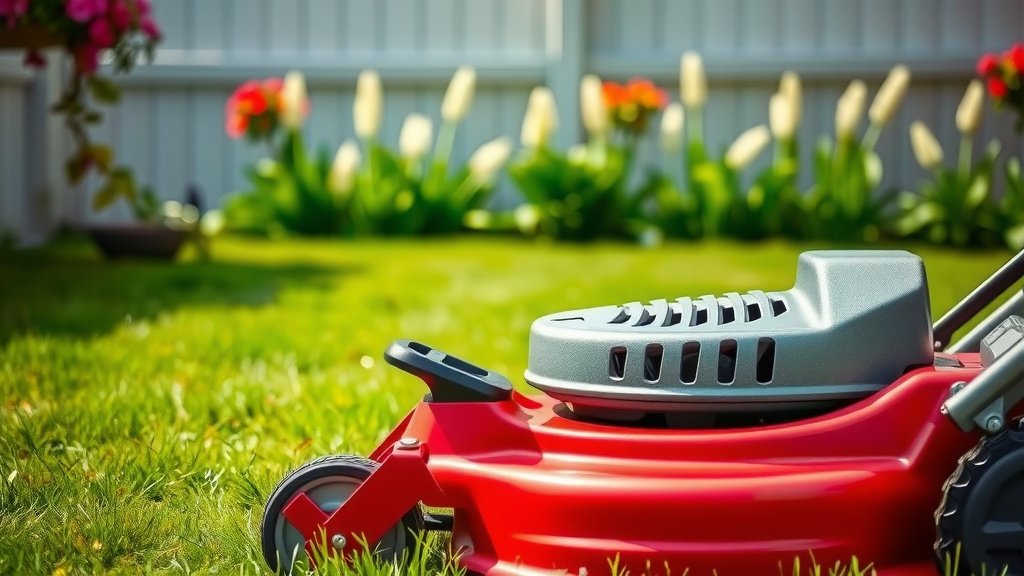
To remove a lawn mower handle, first ensure the engine is off and cool, then disconnect the spark plug wire for safety. Next, locate and loosen any quick-release knobs, bolts, or clips securing the handle to the mower deck.
After loosening the fasteners, carefully detach any throttle or self-propel control cables from the handle, often using pliers or a screwdriver, before gently pulling the handle free.
- Safety is paramount: always disconnect the spark plug.
- Identify fasteners: they could be knobs, bolts, or pins.
- Unclip cables: throttle and drive controls often need detaching.
- Work slowly: rushing can damage parts or cause injury.
- Store parts safely: keep bolts and clips together for reassembly.
How To Remove Lawn Mower Handle?
Removing your lawn mower handle can feel like a puzzle, but it’s quite straightforward once you know the steps. You are essentially reversing the assembly process. We found that the key is identifying the specific type of fasteners on your model and handling control cables carefully.
Why Would You Remove Your Mower Handle?
You might be wondering, “Why would I even take the handle off?” Good question! There are several practical reasons. Perhaps you need to store your mower in a tight space during winter. Maybe you’re transporting it in a car trunk, or you’re doing a repair that requires better access to the engine or deck. Sometimes, it’s just about cleaning thoroughly.
Folding vs. Detaching – What’s the Difference?
It’s helpful to know that some mower handles only fold, while others can be fully removed. Folding handles often have hinges and quick-release levers, allowing them to collapse over the deck. Removing a handle means fully separating it from the mower body. Your mower’s design will dictate which option you have.
Safety First: Essential Preparations
Before you even touch a tool, think safety. This isn’t just a suggestion; it’s a rule. Many experts say neglecting these steps can lead to serious injury (Consumer Reports). Always start by ensuring your mower engine is completely off and cool. No hot parts, please.
First, disconnect the spark plug wire. This prevents accidental starting while you’re working. Just pull it off the plug. Next, if your mower has fuel, consider draining the tank or at least ensuring the cap is secure to avoid spills. Finally, grab some sturdy work gloves to protect your hands.
Gathering Your Tools
What tools will you need for this mission? Often, it’s nothing too fancy. You’ll likely need a set of wrenches, perhaps some pliers, and maybe a screwdriver. Consult your owner’s manual if you have it; it’s a treasure map for your specific mower model. It will show exact fastener locations and tool sizes.
Step-by-Step Guide: The Common Removal Process
Alright, let’s get into the actual work. Think of this as a mini-surgery for your mower, requiring a steady hand and a clear head. We found that most handles follow a similar pattern, even with different fasteners.
Locating Fasteners
Look where the handle attaches to the mower deck. You’ll usually see bolts, wing nuts, or quick-release knobs. Some models might use pins or clips instead. These are your primary targets. Often, there are two attachment points, one on each side.
Loosening and Unbolting
If you have quick-release knobs, simply twist them counter-clockwise until they loosen. For bolts, you’ll need the correct size wrench. Again, turn counter-clockwise. You may need a second wrench to hold the nut on the other side. Work slowly and apply steady pressure.
Disconnecting Control Cables
This is where things can get a little fiddly. Your throttle cable and any self-propel cables often run along the handle. They might be clipped on or routed through small guides. Carefully unclip them. The actual cable connections near the engine usually involve a spring or a small hook. Take a photo with your phone before disconnecting, for easy reassembly reference.
Many systems simply require you to unhook a small Z-bend or pull a cable out of a slot. Be gentle; these cables can bend or fray if forced. Research shows that damaging these cables can lead to costly repairs (Repair Clinic).
Carefully Detaching the Handle
Once all fasteners are loose and cables are free, you should be able to lift the handle straight up or gently pull it away. Some handles might require a slight wiggle to clear their mounting points. Be mindful of any remaining wires or cables that might snag.
| Fastener Type | Common Tool Needed | Notes |
|---|---|---|
| Wing Nuts / Knobs | Hands (or pliers if stuck) | Often quick-release, easy to turn. |
| Hex Bolts / Nuts | Socket wrench, crescent wrench | May require two wrenches for both sides. |
| Pins / Clips | Pliers, flathead screwdriver | Look for cotter pins or spring clips. |
| Plastic Clamps | Screwdriver (for screws) | Usually hold cables in place, not structural. |
Troubleshooting Tricky Handles
What if your handle just won’t budge? Don’t panic; this happens. Think of it as a stubborn friend who just needs a bit of convincing.
Stuck Bolts?
If a bolt is rusted or seized, a penetrating oil like WD-40 can be your best friend. Spray it on, let it sit for 10-15 minutes, and try again. Sometimes, a rubber mallet with a gentle tap can help break things loose. Avoid excessive force, which can strip the bolt or damage the mower.
Hidden Clips?
Some mowers, especially newer models, have clever hidden clips or mechanisms. If you can’t find obvious bolts, refer to your owner’s manual again. We found that these hidden fasteners are often designed for a specific release method that isn’t always intuitive.
Checklist: Before You Begin
- Mower engine off and cool?
- Spark plug wire disconnected?
- Fuel tank secure or drained?
- Gloves on and ready?
- Owner’s manual nearby (if available)?
- Correct tools gathered?
- Camera phone ready for reference photos?
Reattaching Your Mower Handle
Putting the handle back on is essentially the reverse process. Carefully align the handle with the mounting points. Reconnect any control cables, making sure they move freely. Then, secure the bolts or knobs, tightening them until snug, but avoid overtightening. Once reattached, reconnect the spark plug wire and test your throttle and drive controls before starting the mower.
When to Seek Expert Help
Sometimes, despite your best efforts, a handle just won’t come off, or you encounter damage. If you’re feeling frustrated, unsure, or worried about breaking something, there’s no shame in calling a professional. Lawn mower repair shops have specialized tools and knowledge to handle stubborn issues. Better safe than sorry, right?
Conclusion
Removing your lawn mower handle is a task many homeowners can tackle with a bit of patience and the right approach. From ensuring your safety by disconnecting the spark plug to carefully managing control cables, each step plays a role. Remember to use the proper tools and don’t hesitate to consult your mower’s manual for specific details. Whether for storage, transport, or repair, mastering this skill can genuinely make your lawn care life a little easier. Now you’re equipped to handle it!
How do I find my lawn mower handle type?
Your lawn mower handle type is typically evident by how it connects to the deck. Look for quick-release knobs, hex bolts, or specific hinge mechanisms. The owner’s manual for your specific mower model will provide the most accurate details on its handle design and removal process.
Can I remove a lawn mower handle without tools?
Some modern lawn mowers feature tool-free quick-release knobs or pins for handle removal, making it possible to detach without extra tools. However, many models still use bolts or other fasteners that require basic wrenches or screwdrivers for removal.
What if my lawn mower handle is rusted?
If your lawn mower handle’s fasteners are rusted, apply a penetrating oil generously and let it soak for 10-15 minutes. Gently try to loosen them with the correct tool. Avoid excessive force to prevent stripping the fasteners or damaging the handle.
How do I properly store my lawn mower handle after removal?
After removing your lawn mower handle, store it in a clean, dry place where it won’t get bent or damaged. Keep all bolts, washers, and clips in a small, labeled bag to ensure you have all parts ready for reattachment. Many people tape the bag to the handle itself.
Is it normal for control cables to be attached to the handle?
Yes, it’s very normal for control cables (like throttle, engine kill switch, or self-propel engagement) to run along and attach to the lawn mower handle. These cables typically need to be disconnected from their anchor points on the handle or near the engine before the handle can be fully removed.
