
How to Replace a Trimmer Head?
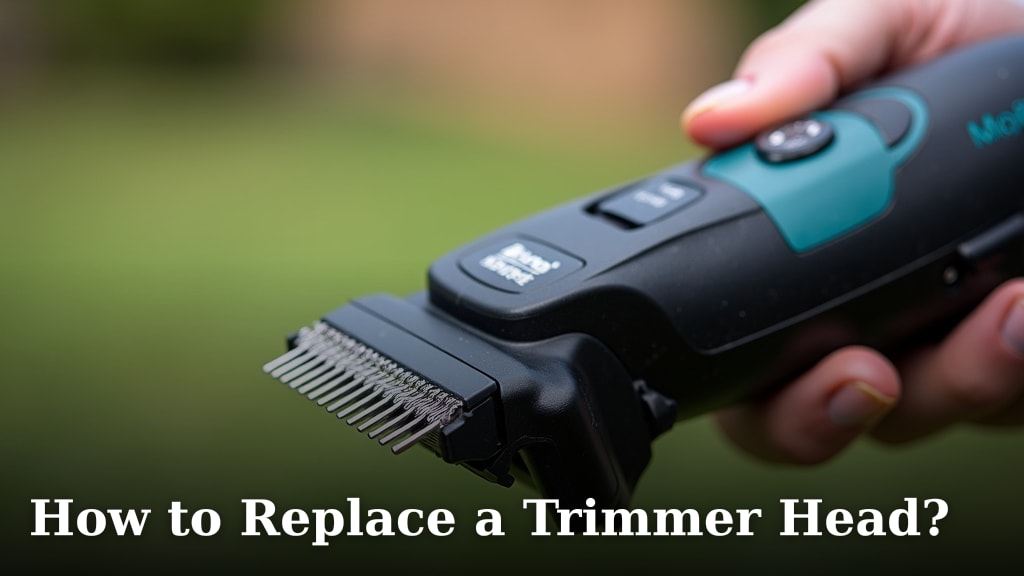
Replacing a trimmer head is a straightforward DIY task. You can usually do it in under 15 minutes. Most trimmer heads are designed for easy replacement. You’ll just need to follow a few simple steps to get your trimmer back in action.
A worn-out or damaged trimmer head can make your yard work much harder. Knowing how to swap it out yourself saves you time and money. We found that having the right tool, or even just a sturdy screwdriver, is often all you need to get the job done.
- The trimmer head spins and cuts grass.
- It needs replacement when worn out.
- Most heads unscrew or clip off.
- New heads easily attach.
- It’s a quick DIY fix.
Let’s walk through exactly how to replace your trimmer head, step by step, so you can get back to a beautifully trimmed yard!
Swapping Out Your String Trimmer Head
Replacing a trimmer head is a simple fix that gets your weed whacker back to work. You can usually complete this task in less than 15 minutes. Most trimmer heads are designed for easy removal and attachment. You just need to follow a few basic steps. If your trimmer line runs out, learn how to restring a string trimmer head yourself.
A worn-out or damaged trimmer head can make your yard work much harder. Knowing how to swap it out yourself saves you time and money. We found that having the right tool, or even just a sturdy screwdriver, is often all you need to get the job done.
When Should You Consider a New Trimmer Head?
You might be wondering if it’s time for a new trimmer head. Keep an eye out for a few common signs. These indicate your current head is past its prime and ready for a change. It’s better to replace it before it becomes a bigger problem.
Signs Your Trimmer Head Needs Replacing
Your trimmer head is the part that spins and cuts grass. Over time, it takes a beating. We found that certain signs are clear indicators it’s time for a replacement. This includes obvious wear and tear that affects performance.
- Visible Damage: Look for cracks, chips, or deep gouges on the trimmer head itself. This kind of damage can weaken the head and lead to failure.
- Worn Bump Feed Mechanism: If your trimmer head uses a bump feed to release more line, and it’s no longer working smoothly, it’s a sign of wear. The line might not advance properly.
- Difficulty Holding Line: When the trimmer head struggles to keep the trimmer line secure, or the line frequently pulls out, the internal mechanisms might be worn out.
- Reduced Cutting Efficiency: If you notice your trimmer isn’t cutting as cleanly or effectively as it used to, even with new line, the head might be the culprit. It might not be spinning true. If your trimmer isn’t cutting cleanly, it might be because it’s not feeding line properly.
- Excessive Vibration: A trimmer head that’s unbalanced or damaged can cause unusual vibrations. This can be uncomfortable to use and potentially damage other parts of your trimmer.
Choosing the Right Replacement Head
Before you can replace your trimmer head, you need to make sure you have the correct one. Not all trimmer heads are universal. They need to match your specific trimmer model. We researched this and found there are a few key things to check.
Compatibility is Key
The most important factor is compatibility. Your new trimmer head must fit your trimmer’s drive shaft. Most manufacturers provide this information in your trimmer’s user manual. You can often find it on the manufacturer’s website too. Check the shaft diameter and the type of connection.
Types of Trimmer Heads
There are a few main types of trimmer heads you might encounter. Understanding them helps you choose the best option for your needs. We found that most homeowners use either a fixed-line or a bump-feed head.
- Fixed-Line Heads: These heads come with pre-cut lengths of trimmer line. You simply insert the line into the designated slots. They are often simpler to reload.
- Bump-Feed Heads: These are very common. You feed a longer length of trimmer line through the head. When you need more line, you tap the head on the ground while the trimmer is running.
- Rapid-Load Heads: These are a type of bump-feed head designed for even faster line changes. They often have a mechanism that lets you wind new line onto a spool directly on the head.
Preparing for the Head Replacement
Getting ready for the job is simple. A little preparation makes the actual replacement go much smoother. Safety is always our first priority. We want to ensure you have a good experience. Always disconnect the power source before starting any maintenance.
Safety First: Disconnect Power
This is the most critical step. Before you touch anything on the trimmer head, make sure the trimmer is completely powered down. For gas trimmers, this means ensuring the engine is off and has cooled down. For electric or battery-powered trimmers, unplug them from the power source or remove the battery pack. We cannot stress this enough: never work on a powered trimmer. This prevents accidental starting.
Gather Your Tools and Supplies
You don’t need a whole workshop for this job. Most replacements require just a few basic items. Having everything within reach saves you trips back and forth. We found that a good pair of gloves can also be helpful for grip.
- Replacement Trimmer Head: Make sure it’s the correct model for your trimmer.
- Gloves: Protect your hands.
- Screwdriver or Allen Wrench: Often needed to loosen or tighten mounting bolts. Your trimmer’s manual will specify the type.
- Pliers: Might be useful for removing stubborn parts or old line.
- New Trimmer Line: If your new head doesn’t come with line, or if you’re refilling a bump-feed head.
How to Remove the Old Trimmer Head
Now for the actual removal process. This part can vary slightly depending on your trimmer model. But the general principles are the same. We’ll cover the most common methods. Refer to your owner’s manual if you’re unsure.
Locking the Spindle (If Applicable)
Some trimmer heads have a spindle that needs to be held in place while you loosen the head. Many trimmers have a small hole on the gear housing. You can insert a screwdriver or a special tool through this hole. This locks the spindle, preventing it from spinning. This makes removing the head much easier. We found this trick is a real time-saver.
Unscrewing the Trimmer Head
Many trimmer heads simply screw onto the end of the drive shaft. They usually unscrew in the opposite direction of the cutting rotation. If you were cutting grass, the head would spin counter-clockwise. So, to remove it, you’ll likely need to turn it clockwise. Yes, it feels backward, but trust us! Just remember: “righty tighty, lefty loosey” applies to screws, but for many trimmer heads, it’s the opposite. Try turning it counter-clockwise first; if that doesn’t work, try clockwise.
Removing Heads with Bolts or Nuts
Other trimmer heads are secured with a bolt or a nut. You’ll typically find this at the center of the head. You’ll need the correct size wrench or socket set to remove it. Make sure you have the spindle locked (if possible) to prevent it from turning. Loosen the bolt or nut, and the head should come off. We found that keeping these small parts together is important so you don’t lose them.
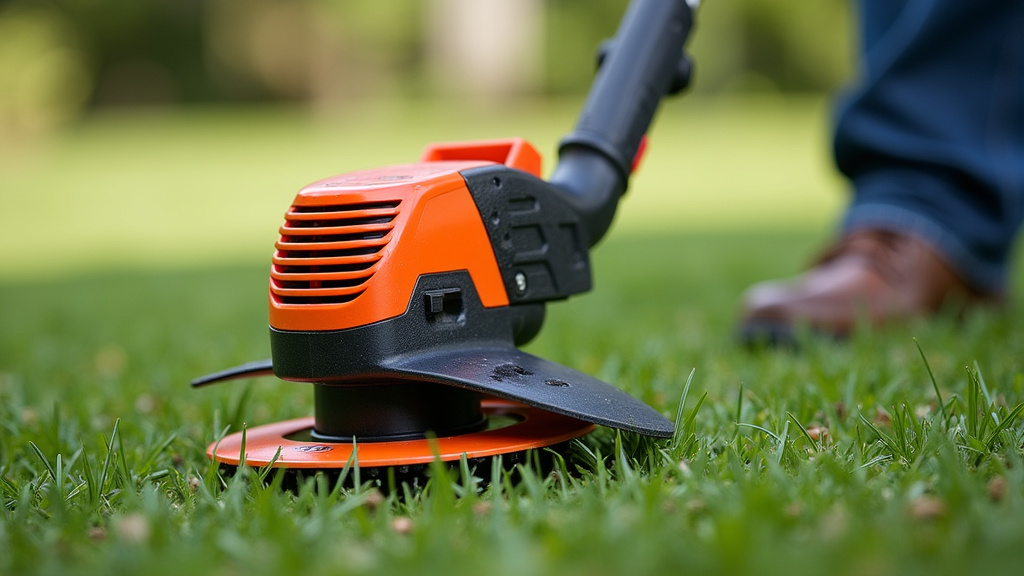
Installing the New Trimmer Head
Putting on the new head is usually the reverse of taking off the old one. It’s exciting to see your trimmer ready for action again! Remember to load your trimmer line according to the manufacturer’s instructions for your new head.
Attaching the New Head
Align the new trimmer head with the threads on the drive shaft. For screw-on types, simply turn the head counter-clockwise (usually) until it’s snug. Make sure it’s tight enough so it won’t come loose during operation. If your head uses a bolt or nut, place it back on and tighten it securely with your wrench. Again, lock the spindle if your trimmer allows it.
Loading Trimmer Line (If Necessary)
If your new head didn’t come pre-loaded or if you’re using a refillable type, you’ll need to add line. Different heads have different methods. Bump-feed heads usually involve feeding the line through the center and out the sides. Rapid-load heads might have a spool you wind. We recommend watching a quick video tutorial for your specific head model if you’re unsure. Getting the line loaded correctly is vital for it to feed properly.
Final Checks and Testing
Once the new head is installed, take a moment to ensure everything is secure. A quick check can prevent issues down the line. It’s like giving your trimmer a pat on the back before it goes to work.
Test for Security
Gently try to wiggle the new trimmer head. It should feel firmly attached. It shouldn’t spin freely on the shaft or feel loose. Give the trimmer a very brief, gentle start-up (without cutting anything) to listen for any unusual noises. If everything sounds and feels right, you’re ready to go!
Checklist for a Successful Trimmer Head Replacement:
- 1. Ensure trimmer is off and unplugged/battery removed.
- 2. Identify the correct replacement head for your model.
- 3. Gather all necessary tools and supplies.
- 4. Loosen and remove the old trimmer head.
- 5. Attach the new trimmer head securely.
- 6. Perform a quick security and sound check.
You’ve done it! Your trimmer should now be ready to tackle that overgrown lawn. Replacing a trimmer head is a fantastic skill to have. It keeps your equipment in top shape and saves you money. Now, go enjoy that beautifully manicured yard!
Conclusion
You’ve successfully learned how to replace your trimmer head! This simple DIY task is a money-saver and keeps your yard looking its best. By following these steps, you’ve ensured your trimmer is ready for action again. Remember to always prioritize safety by disconnecting power before you start. Now that you’ve got this skill, you can tackle future head replacements with confidence. Get out there and enjoy that freshly trimmed lawn!
Frequently Asked Questions
How do I know if I need a new trimmer head?
Look for visible cracks or damage on the old head. If the line won’t feed properly or you notice excessive vibration, it’s likely time for a replacement. Reduced cutting efficiency, even with fresh line, also points to a worn head.
Can any trimmer head fit my trimmer?
No, not all trimmer heads are universal. You need to ensure the new head is compatible with your specific trimmer model. Check your owner’s manual for details on shaft diameter and connection type before purchasing.
What’s the difference between a bump-feed and a fixed-line head?
Bump-feed heads allow you to extend trimmer line by tapping the head on the ground while it’s running. Fixed-line heads use pre-cut lengths of line that you manually insert into the head.
Do I need special tools to change a trimmer head?
Usually, no. A sturdy screwdriver or Allen wrench is often all you need to loosen or tighten the mounting bolt or nut. Some models might require pliers, but most basic replacements are quite simple.
What’s the trick to unscrewing a trimmer head that won’t budge?
First, ensure you’re turning it the correct way; it’s often reverse of what you’d expect. If your trimmer has a spindle lock hole, use a screwdriver or tool to hold the spindle still while you attempt to unscrew the head.
