
How to Store a Self-propelled Mower for Winter?
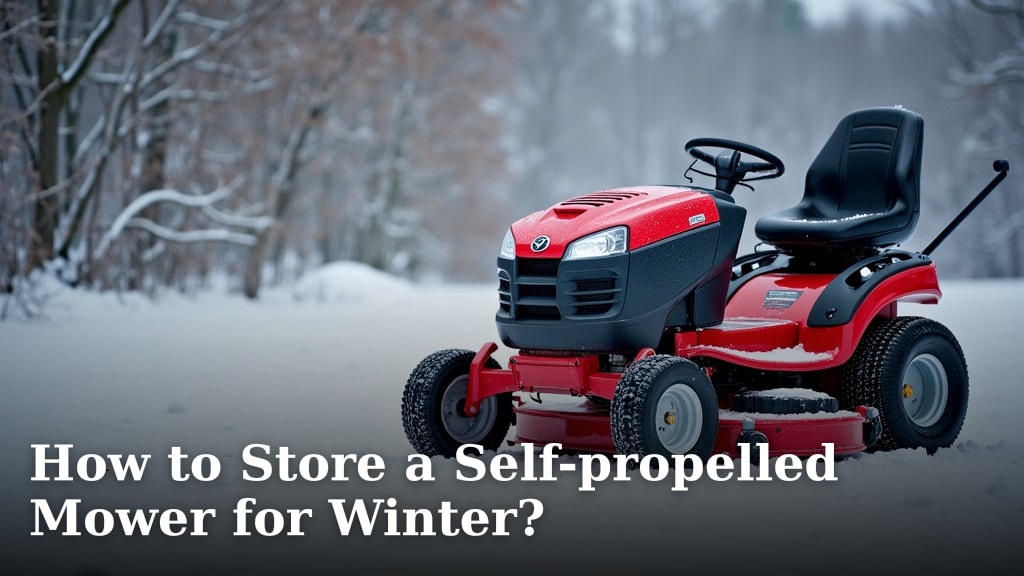
Storing your self-propelled mower for winter is simple if you prepare it correctly. The key steps involve cleaning, fuel stabilization, and proper storage location. Taking these precautions helps ensure your mower starts right up next spring.
Proper winter storage prevents engine damage and component wear. Many people overlook this step, leading to costly repairs later. We found that consistent preparation makes a big difference for mower longevity.
- Clean your mower thoroughly.
- Stabilize the fuel system.
- Store it in a dry place.
- Disconnect the battery.
Let’s walk through exactly how to get your self-propelled mower ready for its winter nap, step by step.
Getting Your Self-Propelled Mower Ready for Winter Storage
Properly storing your self-propelled mower for the off-season is more than just a good idea. It’s about protecting your investment. Think of it like tucking your car into a garage for a long hibernation. You wouldn’t just leave it out in the elements, right? Your mower deserves the same care. We found that this preparation can dramatically extend its lifespan and ensure it fires up eagerly next spring.
Step 1: A Thorough Mower Cleaning
Before you even think about putting your mower away, give it a good, deep clean. This isn’t just about making it look nice. Removing grass clippings, dirt, and debris is essential for preventing rust and corrosion. Grass left on the deck can hold moisture, which is a breeding ground for trouble.
Cleaning the Underside (Deck)
This is probably the messiest part, but it’s super important. You’ll want to tilt your mower safely. Most self-propelled mowers can be tilted to the side, usually with the air filter and carburetor facing upwards. Check your owner’s manual to be sure which way is safe for your specific model. Then, use a putty knife or a stiff brush to scrape away packed-on grass and mud. A garden hose can help rinse away the loose stuff, but avoid spraying water directly into the engine or electrical components. We found that letting the grass dry a bit before scraping makes it much easier to remove.
Cleaning the Topside and Wheels
Wipe down the engine housing, handle, and wheels with a damp cloth. Pay attention to any areas where dirt has accumulated. For tougher grime, a mild detergent and water solution can work wonders. Just be sure to dry everything thoroughly afterward. Leaving water on metal parts can lead to rust spots, and nobody wants that.
Checking for Loose Parts
While you’re cleaning, take a moment to check for any loose bolts, nuts, or parts. Tighten them up to prevent them from rattling off during storage or the first use next season. A quick once-over now can save you a headache later.
Step 2: Dealing with the Fuel System
This is arguably the most critical step for engine health. Gasoline today contains ethanol, which can attract moisture and degrade over time. If you leave fuel in the tank all winter, it can turn gummy, clog the carburetor, and lead to starting problems come spring. Many experts recommend stabilizing the fuel or emptying the tank entirely.
Using a Fuel Stabilizer
This is the most common and recommended method. You’ll need a quality fuel stabilizer additive. Follow the instructions on the stabilizer bottle precisely. Generally, you add the recommended amount to a nearly empty fuel tank. Then, run the engine for about 5-10 minutes. This ensures the stabilized fuel circulates throughout the entire fuel system, including the carburetor. We found that using a stabilizer designed for small engines is best. This process coats internal fuel system components, protecting them from corrosion.
Running the Carburetor Dry (Optional but Recommended)
Some people prefer to empty the fuel tank completely. If you choose this route, after adding the stabilizer and running the engine briefly, you’ll want to run it until it completely stalls from lack of fuel. This ensures no residual fuel remains in the carburetor. It’s a bit more work, but it offers an extra layer of protection against fuel-related issues.
What About Mowers with Electric Start?
If your mower has an electric start, the fuel system steps are the same. The battery is a separate concern we’ll cover next.
Step 3: Battery Care for Electric Start Models
If your self-propelled mower has an electric start, you need to pay special attention to the battery. Cold temperatures can reduce battery life and performance, and leaving it fully discharged can damage it permanently.
Disconnect and Charge
First, disconnect the battery from the mower. This prevents any accidental draining. Then, bring the battery indoors to a cool, dry place. Many experts recommend storing it on a shelf, not directly on a concrete floor, which can cause it to discharge. Before storing, give it a full charge using the appropriate charger. We found that a trickle charger or a battery maintainer is ideal for keeping the battery topped up throughout the winter without overcharging.
Periodic Charging
Depending on the type of battery and charger you have, you might need to periodically check its charge and recharge it every month or two. Consult your mower’s manual or the battery manufacturer’s guidelines for best practices. A little attention now means a reliable start next season.
Step 4: Lubrication and Oil Check
Fresh oil is cleaner oil. Changing the oil before storage is a wise move. Old oil can contain contaminants that can damage the engine during its winter rest. It’s like letting your car sit with dirty oil; it’s just not good for the engine.
Changing the Oil
Consult your owner’s manual for the correct type and amount of oil. You’ll typically need to warm up the engine slightly (just a few minutes) to make the oil flow better. Then, drain the old oil into a suitable container and refill with fresh oil. Dispose of the old oil responsibly at a local recycling center.
Lubricating Moving Parts
After cleaning, consider applying a light coat of oil or a silicone spray to metal components like the blade (if removed), linkages, and pivot points. This helps prevent rust. Again, avoid getting lubricants on the engine itself or any belts unless specified by the manufacturer.
Step 5: Selecting the Right Storage Location
Where you store your mower is just as important as how you prepare it. The goal is a dry, protected environment. Exposure to moisture, extreme temperatures, and pests can all cause damage.
Ideal Storage Spots
The best places are garages, sheds, or basements. These locations offer protection from the elements. Ideally, the space should be dry and relatively temperature-stable. Avoid storing your mower directly on a dirt floor, as this can encourage rust.
Avoiding Damp or Humid Areas
If your only option is a shed, make sure it’s well-ventilated but still protected from rain and snow. High humidity can still cause problems, even indoors. We found that placing the mower on a piece of cardboard or a mat can help further insulate it from a potentially damp concrete floor.
Pest Prevention
Rodents can sometimes find stored equipment an attractive place to nest. Mice, in particular, might chew on wires or build nests in the engine housing. While not always preventable, keeping the storage area clean and free of food sources can help deter them. Some people also place mothballs or dryer sheets around the mower, though effectiveness varies.
Final Checklist for Winter Mower Storage
Here’s a quick rundown to make sure you’ve covered all your bases before your self-propelled mower heads into its winter slumber:
- Clean thoroughly inside and out.
- Stabilize the fuel system or drain the tank.
- Change the oil and check lubrication points.
- Disconnect and charge the battery (if applicable).
- Store in a dry, protected location.
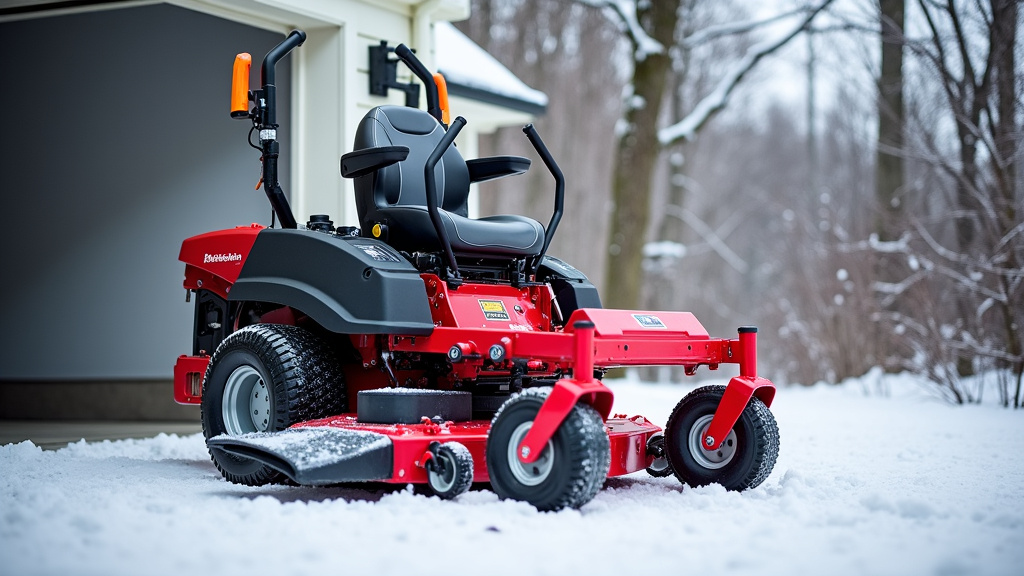
- Cover loosely if desired, but ensure ventilation.
Conclusion
You’ve now learned the essential steps to properly store your self-propelled mower for winter. By taking the time to clean it thoroughly, stabilize the fuel, care for the battery, and select a good storage spot, you’re investing in its future. We found that these simple precautions make a huge difference. Don’t let another spring arrive with starting problems! Take these steps now, and you’ll be rewarded with a mower that’s ready to go when you are.
Frequently Asked Questions
Do I really need to stabilize the fuel, or can I just run it dry?
Stabilizing the fuel is generally recommended because it coats internal engine parts with a protective layer. Running it dry ensures no fuel remains, which also prevents issues. Both methods work well; choose the one that best suits your comfort level.
What’s the best way to clean grass off the mower deck?
The easiest way is often to let the grass dry a bit after mowing. Then, tilt your mower safely (check your manual for the correct side!) and use a putty knife or stiff brush to scrape away the caked-on debris. A garden hose can help rinse it clean, but avoid spraying water directly at the engine.
How often should I charge the battery for an electric start mower during winter?
It depends on the battery type and charger, but generally, checking and recharging every month or two is a good practice. A battery maintainer is even better as it keeps the charge topped up without overcharging.
Can I just leave my mower in the garage uncovered?
Yes, you can leave it uncovered, especially if the garage is dry. The most important thing is protecting it from moisture and pests. If you choose to cover it, ensure the cover is breathable to allow for air circulation and prevent condensation.
My mower is stored in a shed. What if it gets damp in there?
If your shed tends to get humid, place the mower on a piece of cardboard or a small mat. This helps create a barrier between the mower and a potentially damp concrete floor, reducing the risk of rust developing on the metal parts.
