How To Assemble Lawn Mower Bag?
To assemble a lawn mower bag, you typically connect the fabric bag to its rigid frame by sliding the bag’s edges over the frame’s wire or plastic clips.
Then, you attach this assembled bag and frame unit securely to your lawn mower’s discharge chute, often with hooks or a simple snap mechanism to collect grass clippings.
- Unbox all components and inspect for damage before starting.
- Connect the fabric collection bag securely to its support frame.
- Attach the fully assembled bag unit to your mower’s rear or side discharge opening.
- Always double-check that the bag is latched and seated properly to avoid leaks.
- You’re ready to mow once everything is snug and stable!
You’ve just brought home a shiny new lawn mower, perhaps, or maybe you’re replacing an old, tattered grass collection bag. What’s next? Getting that bag put together can feel like a small puzzle, can’t it? Don’t worry! We understand that sometimes, the simplest tasks can feel a bit baffling without clear directions. We’re here to walk you through every step of the process.
Think of us as your friendly guide. We’ll turn that pile of parts into a functional grass collection system. With the right approach, you’ll have your mower ready for action in no time. Let’s get your lawn mower bag assembled so you can start enjoying a tidy yard.
How To Assemble Lawn Mower Bag?
Assembling a lawn mower bag involves fitting the fabric portion onto its frame and then attaching the complete unit to your mower. This quick process ensures efficient grass collection.
Why Is Proper Bag Assembly So Important?
A correctly assembled lawn mower bag does more than just hold clippings. It ensures your mower operates at its best. If the bag isn’t attached right, you might find grass flying everywhere. This creates a messy lawn and can even clog your mower’s discharge chute.
Many experts say that a good seal prevents debris from escaping. It also maintains proper airflow. This airflow is vital for the mower to effectively vacuum up the cut grass. An ill-fitting bag can reduce your mower’s efficiency, making your work harder (Briggs & Stratton guides).
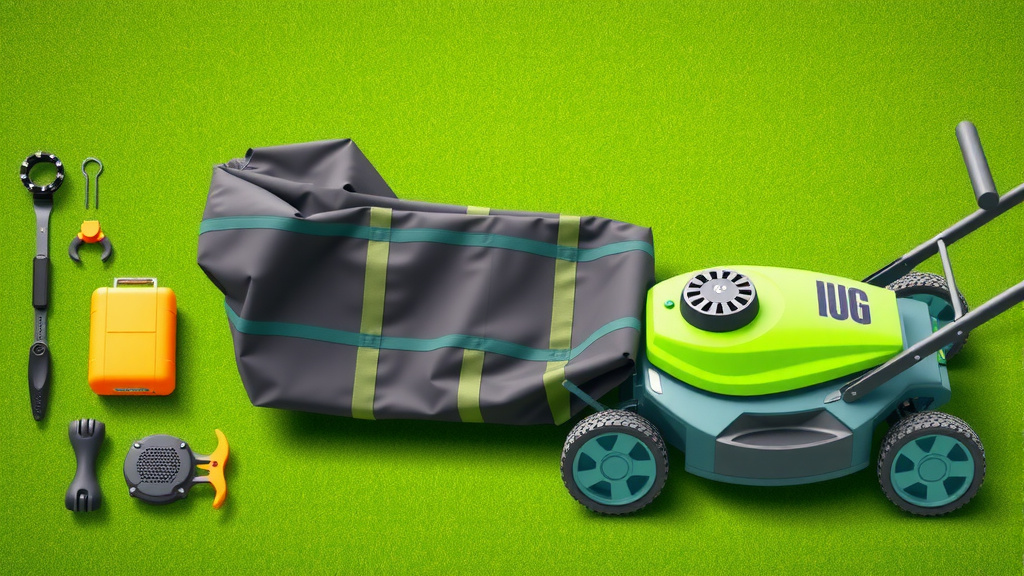
Gather Your Tools and Parts
Before you begin, it’s always smart to lay everything out. This helps you confirm you have all the necessary parts. It also gives you a clear workspace. You wouldn’t start a baking project without all your ingredients, would you?
What You’ll Typically Need
Most lawn mower bags come with just a few components. You will likely have the fabric bag itself and a metal or plastic support frame. Some models might include additional clips or a handle. You rarely need actual tools for this job.
- The fabric grass collection bag.
- A sturdy frame, often made of wire or plastic.
- Any included handles or attachment clips.
- Your lawn mower (of course!).
We recommend a clean, flat surface for assembly. This could be your garage floor or a workbench. It just makes the process smoother and prevents parts from getting lost.
Step-by-Step Bag Assembly Guide
Let’s get down to business! Follow these simple steps. You’ll have your bag ready for action quickly.
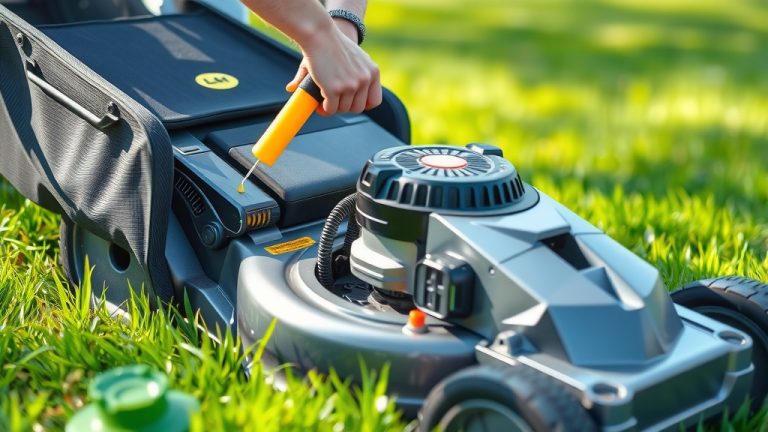
Unboxing and Inspection
First things first, carefully unpack all the items from the box. Take a moment to inspect each piece. Are there any tears in the fabric? Is the frame bent or damaged? We found that taking a moment here can save you trouble later. If anything looks off, contact the manufacturer.
Connecting the Fabric Bag to the Frame
This is often the trickiest part for many people. But once you get the knack, it’s quite easy. The goal is to stretch the fabric opening securely over the frame. Think of it like putting a fitted sheet on a mattress.
The “Sleeve” Method
Many bags have a fabric “sleeve” around their opening. You simply slide the frame into this sleeve. Start at one corner and gently work your way around. Make sure the fabric is pulled taut. This prevents any sagging, which could affect grass collection.
The “Clip” Method
Some bags feature plastic clips or hooks along the fabric edge. These clips snap onto the frame directly. Line up the bag with the frame and press firmly. You might hear a satisfying “click” as each clip engages. Ensure all clips are fastened for a secure fit.
Here’s a quick look at common bag parts:
| Part Name | Function | Appearance |
|---|---|---|
| Fabric Bag | Collects grass clippings | Flexible, porous material |
| Support Frame | Gives the bag shape and rigidity | Metal wire or plastic structure |
| Handle | For easy carrying and emptying | Attached to frame, often plastic |
| Attachment Hooks/Clips | Secures bag to mower | Part of the frame, or separate pieces |
Attaching the Assembled Bag to Your Mower
With the bag and frame now one unit, it’s time to connect it to your mower. This step is usually straightforward.
Locating the Discharge Chute
Your mower will have a discharge opening, typically at the rear or side. This is where cut grass exits. The bag is designed to fit right over this opening. Some mowers have a spring-loaded cover you’ll need to lift.
Securing the Bag
Align the bag’s frame with the mower’s attachment points. These are often hooks, slots, or a lip designed to hold the bag. Push the bag firmly into place. Many models have an indicator that tells you when the bag is correctly seated. You want a snug fit to prevent clippings from escaping.
Research often connects a good bag seal with optimal mower performance (Consumer Reports). Double-check those connections. Give the bag a gentle tug to ensure it’s stable. You don’t want it falling off mid-mow!
Troubleshooting Common Assembly Issues
Even with careful steps, you might run into a snag or two. It’s okay! We’ve all been there.
Bag Not Fitting Securely
If your bag feels loose, recheck all attachment points. Are the hooks fully engaged? Is the frame sitting properly in its slots? Sometimes, a slight adjustment is all it takes. Also, make sure no fabric is caught between the frame and the mower, creating a gap.
Grass Clipping Leaks
Leaks usually mean there’s a gap somewhere. Examine where the bag meets the mower. Is the fabric pulled tight over the frame? Is the frame fully seated against the mower’s opening? A common culprit is a small section of the fabric not quite stretched over the frame correctly. A quick reseating often fixes it.
Maintenance Tips for Your Mower Bag
A well-maintained bag lasts longer and works better. After each use, empty your bag completely. Knock out any stuck grass. Periodically, you might want to hose down the fabric bag to remove accumulated dust and debris. Allow it to air dry fully before storing it. This prevents mold and unpleasant smells. We found that a clean bag actually improves airflow, helping your mower collect grass more effectively.
Here’s a quick checklist to ensure your bag is ready to roll:
- Is the fabric fully stretched over the frame?
- Are all frame clips or sleeves secure?
- Is the bag firmly attached to the mower’s discharge chute?
- Are there any visible gaps between the bag and the mower?
- Is the bag empty and clean from its last use?
Conclusion
Assembling your lawn mower bag might seem like a small task, but getting it right truly matters for a cleaner cut and a tidier lawn. By following these simple, step-by-step instructions, you can confidently set up your grass collection system. Remember, a properly assembled bag means fewer clippings left behind and a more efficient mowing experience for you. You’ve got this!
Can I use my lawn mower without the grass bag?
Yes, many lawn mowers can operate without the grass bag attached. This is often called “side discharge” or “rear discharge” mode, where clippings are spread back onto the lawn. Just make sure the discharge chute is open and clear.
How do I know if my lawn mower bag is full?
Most mower bags have a visual indicator, like a small flap or window, that shows when airflow reduces, signaling a full bag. You’ll also notice grass clippings starting to trail from the mower or a decrease in cutting efficiency. A full bag also makes the mower harder to push.
What if my mower bag keeps falling off?
If your bag keeps falling off, first check that it’s correctly seated on the mower’s attachment points. Ensure all clips or hooks are fully engaged. Sometimes, the vibration of the mower can dislodge a loosely attached bag. Also, inspect the bag’s frame and the mower’s attachment points for wear or damage that might prevent a secure fit.
How often should I clean my lawn mower bag?
It’s a good practice to empty and shake out your lawn mower bag after every use. For a deeper clean, hose it down with water periodically, especially if you’ve been mowing wet grass. Allow it to dry completely in the sun to prevent mold and mildew buildup, which can damage the fabric and cause odors.
Can I repair a torn lawn mower bag?
For small tears or holes, you might be able to repair a lawn mower bag using heavy-duty fabric repair tape or a patching kit designed for outdoor gear. However, for larger tears or damage to the frame, it’s often more practical and efficient to replace the entire bag unit to ensure proper function and safety.