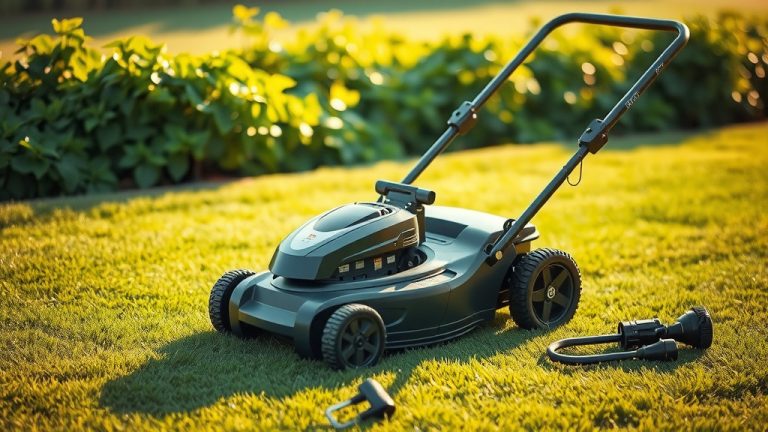
How To Change Lawn Mower Cord?

Changing your lawn mower cord involves disconnecting the power, opening the mower’s housing to access the wiring, carefully detaching the old cord, and then securely connecting the new, appropriately rated replacement cord. Always prioritize safety by unplugging the mower first.
You can change a lawn mower cord by following a few clear steps: gathering the right tools, ensuring power is completely disconnected, making precise wire connections, and finally testing it carefully. This guide will walk you through each part of the process.
Here’s a quick overview of how to get your mower cord fixed and get back to a pristine lawn:
- Always unplug your mower before starting any work to stay safe.
- You’ll need basic tools like screwdrivers, wire cutters, and strippers.
- Replacing the cord involves locating the internal connections and carefully swapping the wires.
- Choose a replacement cord that matches your mower’s power needs.
- Testing your mower after the change is essential to confirm everything works properly and safely.
How To Change Lawn Mower Cord?
Changing your lawn mower cord is a straightforward repair that can extend the life of your equipment. It is important to approach this task with care and attention to safety to ensure a proper and lasting fix.
Why Bother Changing Your Mower Cord?
A damaged power cord on your electric lawn mower isn’t just an eyesore; it’s a real safety hazard. Frayed wires can lead to electrical shocks or even start a fire (National Safety Council).
Beyond safety, a faulty cord can also hurt your mower’s performance. It might cause intermittent power, make the motor strain, or even prevent it from starting at all. A healthy cord ensures your mower runs smoothly.
Signs Your Mower Cord Needs Changing
How do you know it’s time for a new cord? Your mower might be trying to tell you something. Look for these clear warning signs to keep your mowing safe and efficient.
- Visible wear: Fraying, cuts, or exposed wires are immediate red flags.
- Mower cutting out: If your mower suddenly stops or sputters, a bad cord might be the culprit.
- Overheating plug: A hot plug or cord often points to internal damage or loose connections.
- Flickering power: Power that goes in and out can signal a failing cord.
- Scorched smell: Any burning odor suggests electrical issues, often in the wiring.
Cord Damage: A Safety Issue
Electrical cords can suffer damage from many sources. Running over the cord is common, but so is damage from rodents, UV exposure, or just old age. Each of these can break down the cord’s insulation.
When the protective outer layer of the cord is compromised, internal wires become exposed. This creates a risk of electric shock for anyone touching the cord or nearby metal components. It is not a risk worth taking.
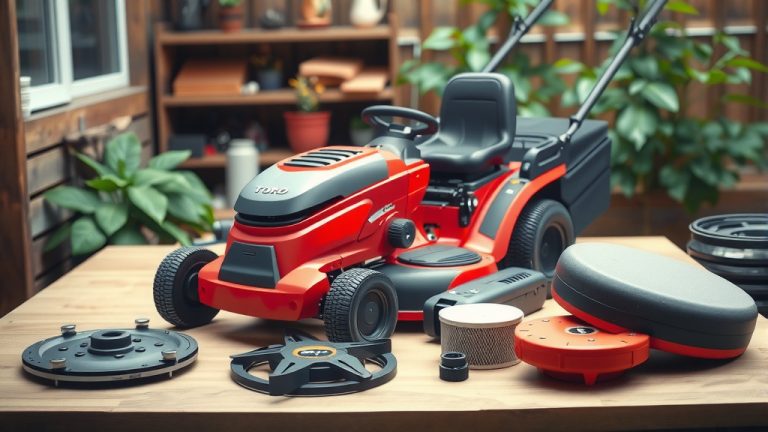
Tools and Materials You’ll Need
Before you begin, gather everything required. Having the right tools makes the job much smoother and safer. You don’t want to stop midway through to search for a screwdriver.
Here’s a quick checklist:
- New replacement cord (matching amperage and voltage)
- Screwdriver set (Phillips and flathead)
- Wire cutters/strippers
- Pliers
- Electrical tape
- Multimeter (optional, for testing continuity)
- Safety glasses and work gloves
Choosing the Right Replacement Cord
Selecting the correct cord is very important. You need one that matches your mower’s original specifications for voltage and amperage. We found that using an incorrect cord can cause overheating or poor performance.
Check your mower’s user manual or the existing cord for these details. Many electric mowers use 12-gauge or 14-gauge cords, but always confirm for your specific model (UL Standards).
Safety First: Before You Start
This cannot be stressed enough: safety is paramount. Working with electricity is risky if not handled correctly. Taking a moment for safety preparations can prevent serious injury.
Always unplug your lawn mower from the power source. This is the very first step, no exceptions. Next, make sure the spark plug wire is disconnected on gas models, if applicable (though this guide focuses on electric). Wait a few minutes after unplugging to allow any residual charge to dissipate.
Step-by-Step Guide to Cord Replacement
Ready to get your hands a little dirty? We’ll break down the process into easy-to-follow steps. Don’t rush; take your time with each one.
Disconnect the Old Cord
Most electric mowers have a housing around the cord connection point. You will need to open this. Use your screwdriver to remove any screws holding the cover in place. Take note of how the existing wires are connected.
Inside, you’ll likely see the power cord wires attached to terminals or a wiring block. Often, there will be a strain relief clip. Carefully loosen or remove these connections. Many experts say to take a photo before disconnecting anything, just in case (DIY Network).
Prepare the New Cord
Once the old cord is out, prepare your new one. You might need to strip a small amount of insulation from the ends of the wires. Generally, about half an inch is enough to make a good connection. Use your wire strippers for a clean cut.
Be careful not to cut too much insulation or damage the copper strands. A clean, even strip ensures a strong electrical connection. This step sets up the success of your new cord.
Connect the New Cord
Now, connect the new cord to the mower’s internal terminals. Match the wires carefully: typically, a hot wire (often black), a neutral wire (often white), and a ground wire (often green or bare copper). If in doubt, refer to your mower’s manual.
Secure each wire firmly. If using screw terminals, tighten them well. If using push-in connectors, ensure they click into place. A loose connection can cause future problems or be a fire hazard.
Secure the Connections
After connecting the wires, use electrical tape to insulate any exposed metal parts if needed. This adds an extra layer of safety. Then, re-install any strain relief clips you removed earlier.
The strain relief is vital. It prevents tension on the cord from pulling the wires out of their connections inside the mower. Make sure it is snug and holding the cord securely in place before you close everything up.
Test Your Mower
Before putting all the covers back on, do a quick test. Plug the mower into a ground fault circuit interrupter (GFCI) outlet. If you don’t have one, plug into a regular outlet, but be extra cautious.
Turn the mower on briefly. Does it power up smoothly? Does anything feel or smell wrong? If all seems well, unplug it again before reassembling the housing. If there are issues, recheck your connections.
Here’s a quick checklist to ensure your work is solid:
- Connections are tight and secure.
- No bare wires are exposed.
- Strain relief is properly installed.
- Mower housing is fully reassembled.
- Tested with a GFCI outlet for initial safety.
DIY vs. Professional Repair
Should you tackle this yourself or call a pro? It often depends on your comfort level and the complexity of your mower. Many homeowners find cord replacement to be a manageable DIY project.
However, if your mower has intricate wiring, or if you’re uncomfortable with electrical work, a professional might be a better choice. Safety always comes first, and a pro ensures the job is done right.
| Factor | DIY Approach | Professional Repair |
|---|---|---|
| Cost | Generally lower (parts only) | Higher (parts + labor) |
| Time Commitment | Requires your time for repair | Mower dropped off, picked up later |
| Skill Level | Basic electrical knowledge helpful | Expertise guaranteed |
| Warranty/Guarantee | None for your work | Often includes repair warranty |
| Tools Needed | Basic hand tools | Shop has all specialized tools |
Maintaining Your Mower Cord for Longevity
Once you’ve installed a new cord, you’ll want to keep it in good shape. A little care goes a long way in preventing future damage. Proper storage and handling are key.
Always coil your cord neatly after use, avoiding kinks or tight wraps. Store it in a dry place, away from extreme temperatures and pests. Inspect it regularly for any signs of wear. These simple habits can add years to your cord’s life.
Conclusion
Replacing a damaged lawn mower cord is a practical repair that boosts safety and performance. By following these steps carefully, you can successfully tackle the task yourself. Remember, prioritizing safety and using the correct parts are crucial for a lasting fix. You can now get back to maintaining a beautiful lawn with confidence.
Frequently Asked Questions
Can I use any extension cord as a replacement for my lawn mower cord?
No, you should not use just any extension cord. The replacement cord needs to match the original cord’s gauge (thickness) and length, and be rated for outdoor use and the amperage your mower draws. Using an undersized or indoor-rated cord can lead to overheating and fire hazards.
What does “gauge” mean when choosing a cord, and why is it important?
Gauge refers to the thickness of the wire inside the cord; a lower gauge number means a thicker wire. A thicker wire can handle more electrical current. It’s important to match your mower’s required gauge to prevent the cord from overheating or causing power loss, which could damage the mower’s motor.
How do I know if my electric mower is still under warranty before I try to change the cord myself?
You can check your mower’s user manual or the manufacturer’s website to find warranty information. Most manufacturers offer a limited warranty on their products, and some repairs done by unauthorized personnel can void that warranty. It is wise to confirm this before starting any DIY work.
What if I connect the wires incorrectly? What are the risks?
Connecting wires incorrectly can be very dangerous. It could lead to electrical shock, short circuits, or even fire. The mower might also fail to start or operate erratically. Always double-check your connections and ensure they match the original wiring or the diagrams in your mower’s manual.
Is it normal for a new cord to feel warm during use?
A new cord might feel slightly warm, especially after extended use, but it should never feel hot to the touch. If your new cord becomes excessively hot, it could indicate that the cord is too thin (wrong gauge) for your mower’s power needs, or there’s a problem with the mower itself. Unplug it immediately and investigate.