
How To Install Pull String On Lawn Mower?
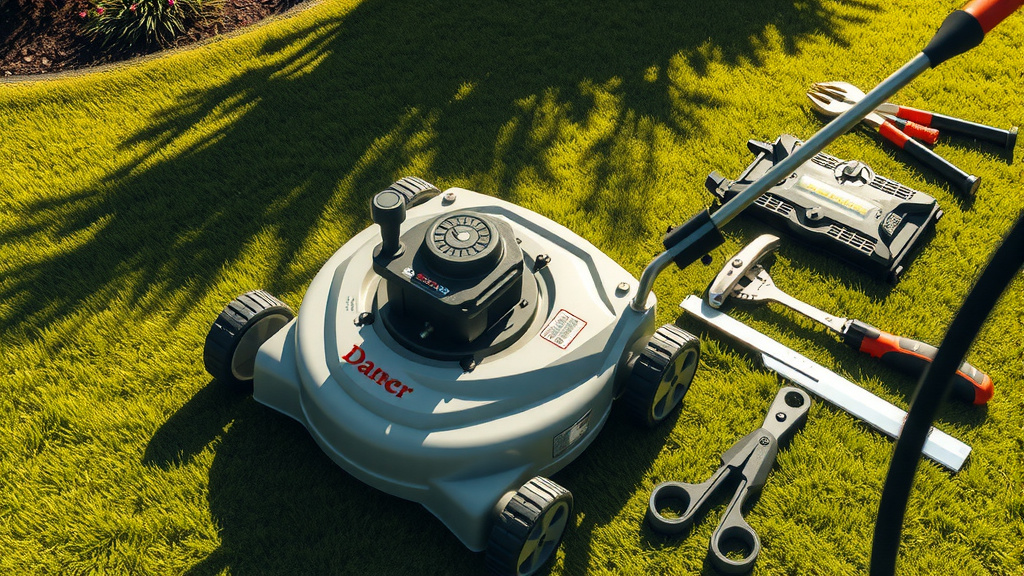
To install a pull string on your lawn mower, you will typically need to remove the recoil starter assembly, carefully feed the new rope through the housing, and then secure it with a strong knot to the starter pulley.
This process involves detaching the old cord, winding the spring correctly, and reassembling the unit for a reliable start every time.
- You’ll first need to gather a few basic tools like screwdrivers and pliers.
- Always disconnect the spark plug to prevent accidental starts—safety is paramount!
- The main task is to remove the recoil starter casing to access the internal pulley.
- After removing the old cord, you must securely knot the new rope to the pulley and handle.
- A final test pull confirms everything is installed correctly and your mower is ready to go.
Hey there, lawn care enthusiast! Has your trusty lawn mower’s pull string decided to call it quits? It’s a common issue, and honestly, a bit frustrating when you’re ready to tackle the yard. Don’t worry, you’re not alone. Many of us face this. The good news? You absolutely can fix this yourself. You don’t need special skills, just a little patience and the right steps. Let’s get your mower roaring back to life!
How To Install Pull String On Lawn Mower?
Installing a pull string on your lawn mower requires careful removal of the old cord and secure attachment of the new one, ensuring proper spring tension for smooth operation.
Safety First: Your Number One Priority
Before you touch anything on your mower, safety must be your top concern. You’re working with an engine that can unexpectedly start. We found that disconnecting the spark plug wire is the most important first step (Consumer Reports). This prevents any accidental engine cranking while your hands are near moving parts.
Also, wear some sturdy gloves to protect your hands. Those mower parts can be sharp, and things can get messy. Do you want to avoid nicks and scrapes? Of course, you do!
Gathering Your Essential Tools
You won’t need a whole workshop for this job. Most likely, you already have these tools lying around. You’ll need a few basics to get started. Do you have a screwdriver set, some pliers, and maybe a socket wrench?
- Screwdriver set (Phillips and flathead)
- Pliers (needle-nose can be helpful)
- Socket wrench or nut driver (to remove recoil starter bolts)
- Utility knife or scissors (for cutting the old rope)
- Lighter or matches (to slightly melt rope ends)
- New pull string (of course!)
Choosing the Right Pull String
Not all ropes are created equal, especially for your lawn mower. You need a specific type that can withstand the friction and pulling force. Many experts recommend a braided nylon or polyester rope (Briggs & Stratton). These materials are durable and resistant to wear and tear.
Make sure you get the correct diameter and length for your specific mower model. A cord that is too thin will break quickly. One that is too thick might not fit through the holes or wrap properly around the pulley. Research often connects the right string choice to longer part life (Small Engine Repair Magazine).
Accessing the Recoil Starter Assembly
The pull string is part of the recoil starter assembly. This unit is usually located on top or on the side of your mower’s engine. You’ll spot it because it’s where your old pull handle comes out.
Typically, it’s held in place by a few bolts or screws. Carefully remove these fasteners. Keep them in a small container so they don’t wander off. You don’t want to play hide-and-seek with tiny screws later, do you?
Detaching the Old, Broken Rope
Once the recoil starter assembly is off, you can see the inner workings. The old rope might still be partly attached, or it could be completely snapped. Use your utility knife or scissors to cut away any remaining bits of the old cord. Make sure there’s nothing obstructing the path for the new string.
Sometimes, the old rope might be tangled around the pulley. Gently untangle it. You want a clean slate for your new cord.
Inspecting the Pulley and Spring
This is a great time for a quick inspection. Look at the pulley itself. Is it cracked or damaged? Does it spin freely? How about the recoil spring? This coiled spring provides the tension that retracts the rope. If it looks broken or warped, you might need to replace the whole assembly. Many users find a quick check here saves future headaches.
Winding the Recoil Spring: A Crucial Step
This part can feel a little tricky, but it’s essential. The recoil spring needs tension to pull the rope back in. We found that pre-winding the spring correctly is key to a functional starter. You’ll typically need to rotate the pulley a few times counter-clockwise (or clockwise, depending on your model) until you feel tension. Hold it there, as if the rope is fully extended.
There might be a small notch or hole in the pulley that aligns with the housing to hold this tension temporarily. Some people say to wind it until it stops, then back off one turn. Others prefer winding it enough so the handle retracts fully. Here’s the trade-off: too much tension can make it hard to pull, too little means the rope won’t retract.
Threading the New Pull String
Now, take your new pull string. It’s a good idea to slightly melt the ends of the rope with a lighter. This prevents fraying and makes it much easier to thread. Feed one end of the rope through the hole in the recoil starter housing, then through the hole in the pulley you’ve just tensioned.
Securing the Knot: The Strong Link
This knot needs to be strong and secure. A simple overhand knot won’t cut it. Many experts recommend a figure-eight knot or a fisherman’s bend for durability. Double check that the knot is tight and won’t slip. Once tied, trim any excess rope, leaving a small tail, and melt the end again to prevent fraying.
Attaching the Handle
With the other end of the rope, feed it through your pull handle. Tie another strong knot inside the handle. This knot also needs to hold up to repeated pulling. Make sure the handle sits comfortably against the housing when the rope is fully retracted.
| Rope Material | Pros | Cons |
|---|---|---|
| Braided Nylon | Very strong, resistant to abrasion, flexible. | Can stretch slightly over time, slightly higher cost. |
| Polyester | Good strength, minimal stretch, resistant to UV light. | Can be stiffer than nylon, may fray if not melted. |
| Polypropylene | Lightweight, floats, inexpensive. | Less durable for repeated use, degrades faster from UV. |
Reassembling the Recoil Starter
Carefully place the recoil starter assembly back onto the engine. Align the bolt holes and reinsert all the fasteners. Make sure they are tightened securely. Don’t overtighten, but ensure there’s no wobbling. You want a snug fit.
Testing Your New Pull String
Before you try to start the mower, give the new pull string a few gentle tugs. Does it pull out smoothly? Does it retract fully back into the housing? If it snags or doesn’t retract, you might need to recheck the spring tension or the rope’s path.
If all looks good, reconnect your spark plug wire. Now, give it a proper starting pull! Does it catch? Does the engine fire up? Many guidelines point to smooth, consistent pulls as a sign of correct installation (Mechanic’s Handbook).
Pre-Start Checklist:
- Spark plug wire reconnected?
- Fuel level checked?
- Oil level okay?
- Air filter clean?
- Mower deck clear of debris?
Common Issues and Troubleshooting
What if it’s not perfect? Don’t fret! If the rope doesn’t retract, the spring might not have enough tension, or it could be incorrectly seated. If it pulls out but doesn’t engage, the pawls (the little arms that catch the flywheel) might be sticking. A little lubrication can often fix sticky pawls.
Sometimes, the rope feels stiff. This could mean the rope is too thick or the pulley mechanism is dirty. A quick clean can help here.
Maintenance Tips for Longer Pull String Life
Want your new pull string to last? Good habits help! Avoid yanking the rope forcefully; a smooth, steady pull works best. Always make sure the rope retracts fully after each start. If it hangs out a little, it can get caught or damaged. Regularly checking the rope for fraying can catch problems early, before they become a full snap!
Conclusion
Replacing a lawn mower pull string might seem like a daunting task, but as you’ve seen, it’s quite manageable with the right approach. You’ve walked through each step, from ensuring safety to carefully reassembling the unit. Remember, patience and attention to detail make all the difference here. Now that your pull string is good as new, go ahead and enjoy that satisfying rumble of your mower. Your lawn (and your wallet) will thank you!
FAQs About Lawn Mower Pull String Installation
How do I know what size pull string I need for my lawn mower?
The best way is to check your mower’s owner’s manual. If you don’t have it, measure the diameter of the old rope (if any remains) and look up generic rope sizes for small engines online, often ranging from 5/32″ to 3/16″ in diameter, with lengths around 8-10 feet.
Can I use any rope as a pull string for my lawn mower?
No, you shouldn’t use just any rope. Regular household rope isn’t designed for the high friction and sudden pulls of a mower engine. You need a durable, braided nylon or polyester starter rope that resists stretching and abrasion for safety and longevity.
What if my pull string won’t retract after installation?
This usually means the recoil spring inside the starter assembly wasn’t properly tensioned or seated. You’ll need to remove the assembly again, re-tension the spring by winding the pulley counter-clockwise until snug, then reassemble, ensuring the rope is free from obstructions.
How often should I replace my lawn mower pull string?
There’s no fixed schedule; it depends on usage and wear. Replace it if you see fraying, significant thinning, or if it snaps. Regular inspection is key. A well-maintained pull string can last several seasons.
Is it better to replace just the string or the whole recoil starter assembly?
If only the string is broken and the recoil spring, pulley, and housing are in good condition, replacing just the string is more cost-effective. However, if any other components (like a broken spring or cracked housing) are damaged, replacing the entire recoil starter assembly is the smarter choice.
