
How To Remove Sod With Lawn Mower?
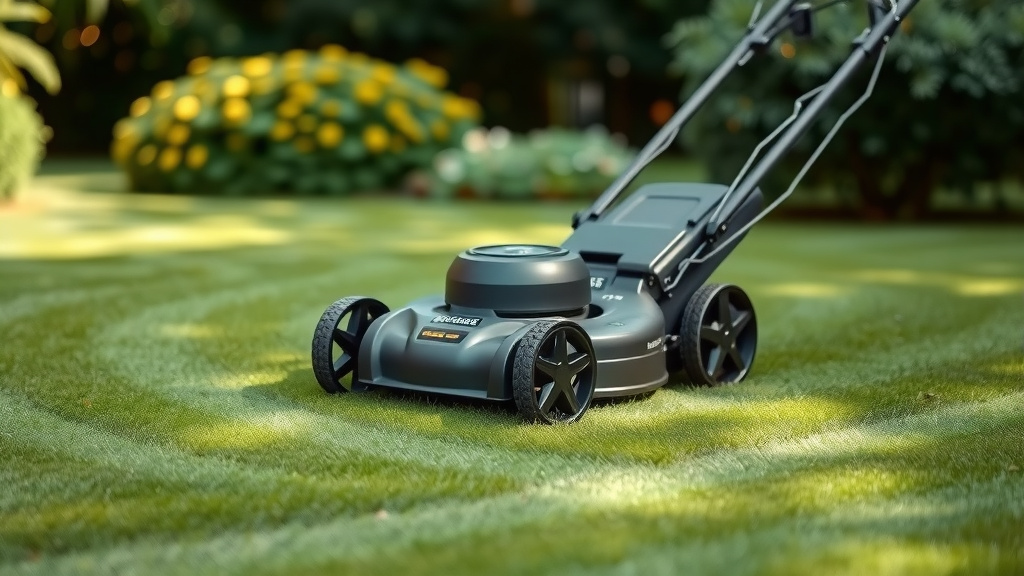
Yes, you can remove sod with a lawn mower for smaller, less dense areas, primarily by lowering the blade to its lowest setting and making multiple passes to scalp the turf. This method works best for stripping away the top layer of grass, but it typically won’t remove the entire root structure without additional effort.
For effective sod removal with a lawn mower, choose a powerful rotary mower, adjust the blade to the lowest height, overlap your passes, and expect to make several rounds, often followed by further soil preparation.
- You can remove sod with a powerful rotary lawn mower, especially for smaller sections.
- Adjust your mower blade to its absolute lowest setting for the best results.
- Multiple passes are often necessary to effectively strip away the grass and some root material.
- This method is less effective than dedicated sod cutters but can save you rental costs.
- Always prepare your area by watering and clearing debris before starting.
How To Remove Sod With Lawn Mower?
Removing sod with a lawn mower is a common question we hear from homeowners. It’s certainly possible, especially if you’re working on a smaller patch. Think of it as a DIY approach to turf removal.
While a specialized sod cutter is often recommended for large projects, your trusty lawn mower can get the job done for smaller areas. We found that setting proper expectations is key here.
Is Your Lawn Mower Up to the Task?
Not all lawn mowers are created equal when it comes to sod removal. We found that a robust rotary mower is your best bet for this kind of work. Reel mowers just don’t have the cutting power or clearance needed.
Look for a mower with a strong engine and sharp blades. A dull blade will only tear at the sod, making your job much harder. Some research shows that a gas-powered mower often performs better than electric for dense sod (University of California Agriculture and Natural Resources).
Understanding Your Mower’s Limitations
Using a lawn mower for sod removal isn’t like using a dedicated sod cutter. Your mower will primarily scalp the grass, cutting it very short and potentially digging into the top layer of soil. It won’t neatly slice and lift strips of sod.
You’ll likely be left with a mixture of grass, roots, and soil. This means more post-removal clean-up and soil preparation will be needed. Is that something you’re ready for?
Preparing for Sod Removal with Your Mower
Before you even fire up your mower, some crucial preparation will make the process smoother. Skipping these steps can lead to frustration and a less effective job.
Many experts suggest that proper groundwork can reduce your overall effort significantly.
Hydrate the Sod
Surprisingly, watering the sod before removal can make a big difference. We found that moist soil allows the mower blade to cut through roots and soil more easily.
Aim to water the area a day or two before you plan to remove the sod. You want it moist, but not waterlogged or muddy. Good soil moisture helps the roots release.
Clear the Area
Walk across your lawn and remove any rocks, sticks, toys, or other debris. This is vital for safety and to prevent damage to your mower blades. Imagine hitting a hidden rock at full speed!
A damaged blade will make the sod removal impossible and could even be dangerous. Safety first, always.
Set Your Mower Blade Height
This is where your mower becomes a sod-removing machine. Adjust your mower’s blades to the absolute lowest setting possible. You want to cut as close to the ground as you can.
For some mowers, this means the blade might even skim the soil. The goal is to slice off the grass just above the root crown or even slightly below it.
The Mowing Process: Step-by-Step
Alright, you’re prepped and ready. Let’s talk about the actual technique for using your lawn mower to remove sod. It’s not a one-and-done job; patience is your friend here.
We found that taking your time prevents burnout and ensures a better result.
First Pass: Scalping the Turf
Begin by mowing the entire area at your lowest blade setting. Think of this as your “scalping” pass. You’re cutting off all the green top growth.
Go slowly and steadily. Bagging the clippings is highly recommended, as it removes organic material and lets you see the ground more clearly for subsequent passes. Remove all clippings to expose the soil.
Second Pass: Digging Deeper
After the first pass, you’ll see a very short, brown stubble. Now, adjust your blade even lower if possible, or maintain the lowest setting. Go over the entire area again, but this time, slightly overlap your passes.
You’ll notice the mower starting to dig into the top layer of soil. This pass is designed to cut deeper into the root system.
Subsequent Passes and Overlapping
Depending on the density of your sod, you might need a third or even fourth pass. Each time, try to overlap your previous lines by about one-third. This ensures thorough coverage and gradually removes more of the sod.
Some areas might be tougher; don’t be afraid to go over them multiple times from different directions. We often recommend a criss-cross pattern for stubborn spots.
| Step | Action | Purpose |
|---|---|---|
| 1 | Water Sod | Soften soil for easier cutting |
| 2 | Clear Debris | Protect mower, ensure safety |
| 3 | Set Blade Low | Maximize cutting depth |
| 4 | First Mow | Remove top green growth (scalp) |
| 5 | Second Mow | Cut into root zone |
| 6 | Repeat & Overlap | Ensure thorough removal |
What to Expect After Mowing
Once you’ve made your passes, don’t expect a perfectly bare patch of soil. You’ll likely see a lot of shredded grass, loose soil, and exposed roots. This is completely normal for the lawn mower method.
You’ve done the heavy lifting, but now it’s time for some refinement. Post-mowing clean-up is essential.
Raking and Removing Debris
Grab a sturdy rake and start raking up all the loose grass, thatch, and shallow roots that your mower loosened. You want to remove as much organic material as possible.
This debris can be composted, but be aware that it might contain weed seeds or active grass roots. Many experts advise against putting sod pieces with live roots into regular compost unless your pile gets very hot. Clear all loose material.
Addressing Remaining Roots and Patches
Despite your best efforts with the mower, you’ll probably find stubborn patches of sod or deeper roots still holding on. This is where manual labor comes in.
Use a shovel or a garden hoe to pry up any remaining sod sections. A digging fork can be helpful for breaking up compacted areas. Remember, your mower is a helper, not a magic wand. We found that spot treatment with hand tools is often necessary (Oregon State University Extension).
Preparing the Soil for Your Next Project
After removing the bulk of the sod, your soil will need attention. You might need to amend it with compost, level it, or even till it to prepare for planting new grass, a garden bed, or a patio.
This final soil preparation step is crucial for the success of whatever you plan next. Don’t skip it! Healthy soil leads to healthy growth.
Safety Considerations for Sod Removal
Working with a lawn mower, especially in an unconventional way like sod removal, requires attention to safety. We always prioritize your well-being.
A few simple precautions can prevent accidents. Always put safety first.
- Wear sturdy closed-toe shoes or boots.
- Use eye protection to guard against flying debris.
- Wear hearing protection if your mower is loud.
- Keep children and pets away from the work area.
- Never remove the mower’s safety guards.
- Shut off the mower and remove the spark plug before inspecting or clearing blades.
Conclusion
Removing sod with a lawn mower is a viable, albeit labor-intensive, method for smaller projects. It’s an excellent way to save money on rental equipment and tackle turf removal using tools you already own.
While it won’t give you the clean, rolled strips of a professional sod cutter, with proper preparation, multiple passes, and a bit of manual follow-up, you can effectively clear an area for your next landscaping venture. Remember to always prioritize safety and be patient with the process. You’ve got this!
How deep does a lawn mower cut when removing sod?
When properly set to its lowest blade height, a lawn mower typically cuts just below the grass crown, often skimming or slightly digging into the top 1-2 inches of soil. It won’t remove the entire root structure like a sod cutter.
Can I use an electric lawn mower for sod removal?
While possible for very thin or sparse sod, an electric lawn mower, especially battery-powered, might struggle with dense sod. We found that gas-powered mowers generally offer more consistent power and torque for this demanding task.
What’s the best time of year to remove sod with a mower?
The best time is typically in the spring or early fall when the soil is moist but not muddy, and temperatures are moderate. Avoid mid-summer when sod is toughest, or winter when the ground is frozen.
Do I need to till the soil after removing sod with a lawn mower?
Tilling is often recommended after mower-based sod removal to break up compacted soil, integrate any remaining organic matter, and create an ideal seedbed or planting area. It helps with soil aeration and drainage.
What should I do with the removed sod material?
You can compost the removed sod if your compost pile reaches high temperatures, as this will kill off grass and weed seeds. Otherwise, dispose of it in yard waste bins, use it to fill low spots elsewhere, or layer it upside down to smother future weeds in another area.
