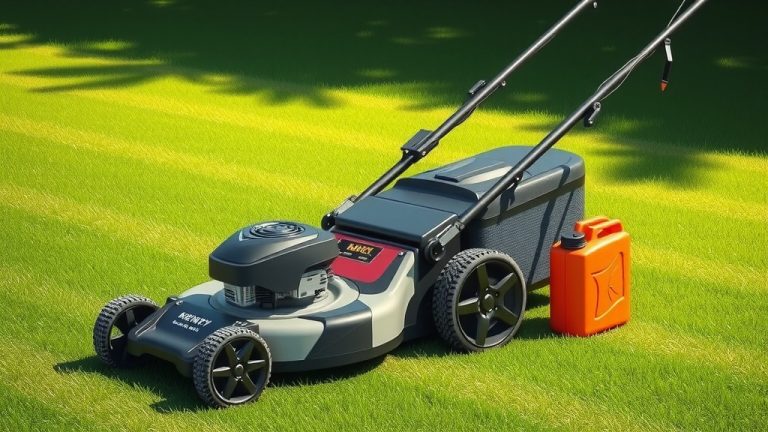
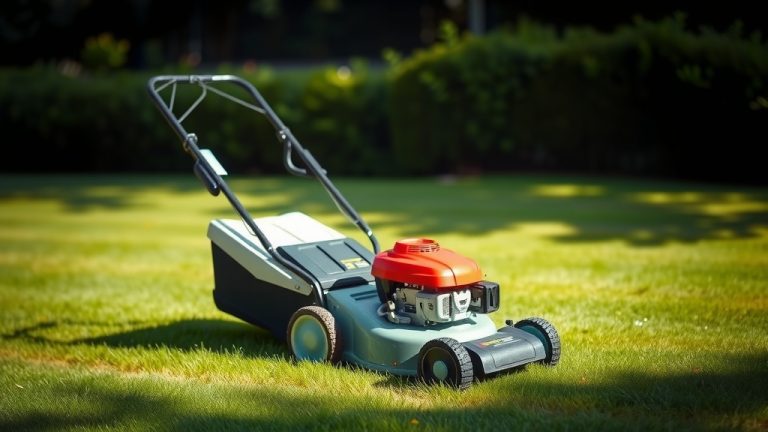
How To Replace Pull String On Honda Lawn Mower?
To replace the pull string on your Honda lawn mower, you’ll first need to remove the recoil starter assembly, which usually involves unbolting a few screws from the engine housing.
After gaining access, carefully remove the old rope, thread the new string through, tie secure knots, and re-tension the recoil spring before meticulously reassembling everything.
Here’s a quick overview of what you need to know:
- Gather essential tools like screwdrivers, pliers, and a new pull rope.
- Unbolt the recoil starter from your Honda lawn mower’s engine for access.
- Carefully remove the old, frayed rope and clean any debris from the housing.
- Thread your new rope, secure it with strong knots, and correctly wind the internal spring.
- Reattach the starter assembly and perform a gentle test pull to check its function.
How To Replace Pull String On Honda Lawn Mower?
Replacing the pull string on your Honda lawn mower is a common repair you can easily tackle yourself. It involves opening the recoil starter, swapping out the old rope, and then carefully re-tensioning the spring inside. You can absolutely get your mower back to work quickly with the right steps.
Why Does Your Pull String Break?
It’s frustrating when you go to start your mower, pull the cord, and it snaps! Many lawn mower owners experience this. A broken pull string is usually due to wear and tear, but sometimes other factors are at play. We found several reasons why this happens, and it’s good to understand them.
Common Causes We Found
Over time, the rope simply frays and weakens from repeated pulling. Each start puts stress on the string, causing it to wear out. We also found that sometimes the rope rubs against the housing if it’s misaligned, creating a weak spot. Additionally, if the engine is hard to start, you might pull the rope with too much force, leading to a sudden break.
Tools You’ll Need For The Job
Before you get started, having the right tools makes a big difference. You’ll want a Phillips head screwdriver, a flathead screwdriver, and some needle-nose pliers. Of course, you’ll also need a new pull string. Many experts suggest using a genuine Honda replacement rope for the best fit and durability (Honda Parts).
A pair of work gloves and a utility knife or scissors will also be helpful. Some people even keep a lighter handy to melt the ends of the new rope to prevent fraying. Having everything laid out saves time and prevents frustration during the repair.
Safety First: Preparing For Your Repair
Your safety is the most important thing before starting any repair. Always ensure the mower engine is completely cool before you touch anything. You don’t want to burn yourself on a hot engine part. Disconnecting the spark plug wire is also crucial.
This prevents any accidental starting while you’re working. We found that this simple step can prevent serious injuries (Consumer Product Safety Commission). Think of it as putting the car in park and setting the emergency brake before getting out.
Quick Safety Checklist
- Ensure the engine is off and cool.
- Disconnect the spark plug wire for safety.
- Wear sturdy work gloves to protect your hands.
- Work in a well-lit and clear area.
- Keep children and pets away from your workspace.
Step-by-Step Guide: Replacing Your Pull String
Now, let’s get down to the actual replacement process. Don’t worry, it’s more straightforward than it sounds. Just take your time with each step, and you’ll be fine. We’re here to guide you through every twist and turn, ensuring you feel confident.
Step 1: Access The Recoil Starter
Your first task is to get to the recoil starter. This is the mechanism that houses the pull string and the spring. On most Honda lawn mowers, the recoil starter is located on top or at the front of the engine, usually covered by a plastic or metal shroud. It’s designed to be fairly accessible.
Removing The Shroud
You’ll typically see a few screws holding the recoil starter assembly to the engine. Use your Phillips head screwdriver to carefully remove these. Keep track of the screws; perhaps place them in a small cup or on a magnetic tray. Once the screws are out, gently lift the entire recoil starter assembly away from the engine. Sometimes, a little jiggle helps free it up.
Step 2: Remove The Old Rope
With the recoil starter assembly off, you’ll see the old, broken rope. Look closely at how the rope is attached inside the spool. There’s usually a knot securing it. You’ll need to untie or cut this knot to remove the old piece of string. Don’t pull too hard on the spool yet, as the spring inside is under tension.
Dealing With The Recoil Spring
The recoil spring is what pulls the rope back into the starter after you pull it. This spring is coiled tightly inside. Sometimes, if the string broke mid-pull, the spring might still have some tension. Be cautious when removing the old rope. Avoid letting the spring unravel suddenly, as it can be tricky to re-wind if it pops out completely. Gently let out any remaining tension as you remove the old rope.
Step 3: Install The New Pull String
Now for the new rope! Take your new pull string and feed one end through the hole in the starter housing. Then, push it through the corresponding hole in the rope spool itself. This can sometimes be a bit fiddly, so patience is key here. Make sure you have enough length to work with on both sides.
Tying Secure Knots
Once the rope is through the spool, tie a very secure knot on the end inside the spool. A figure-eight knot or a double overhand knot works well. You want to ensure it won’t slip under repeated pulling. Many experts recommend melting the end of the rope with a lighter after tying the knot to prevent fraying, creating a more durable and lasting connection. Do this carefully and only if you feel comfortable.
Step 4: Re-tension The Recoil Spring
This is arguably the most crucial step. The recoil spring needs to be wound correctly to ensure the rope retracts properly. Thread the other end of the new rope through the handle and tie another secure knot. Now, with the handle on the rope, feed the rope back through the guide hole on the starter housing.
Hold the rope with the handle out. Now, spin the spool counter-clockwise until it stops, feeling the spring tighten. Then, back off the spool one or two full turns. This creates the tension. It’s a bit like winding a toy car. Some models might need slightly different turns, so check your specific Honda mower manual if you have it.
Getting The Right Tension
The right tension allows the rope to retract fully without being overly tight, which could strain the spring. If the spring is too loose, the rope won’t retract all the way. Too tight, and it might be hard to pull or put stress on the spring. We found that two turns back from fully wound is a good starting point for many Honda models (Lawn Mower Manuals).
Here’s a quick guide for common Honda models:
| Honda Mower Series | Typical Spring Turns (Counter-Clockwise) | Rope Length (Approx.) |
|---|---|---|
| HRR / HRX Series | 2-3 full turns | 80-90 inches |
| HRC Series | 2-3 full turns | 80-90 inches |
| Other smaller models | 1-2 full turns | 70-80 inches |
Step 5: Reassemble And Test
With the new rope in place and the spring properly tensioned, it’s time to put everything back together. Align the recoil starter assembly with the engine housing. Ensure all the holes line up correctly. Insert and tighten the screws you removed earlier. Don’t overtighten them, as this can strip the threads or crack the plastic.
Testing For Smooth Operation
Once everything is secured, slowly pull the starter cord a few times. The rope should extend smoothly and then retract fully without any snagging or hesitation. If it pulls out fine but doesn’t retract, you might need to add another half-turn of tension to the spring. If it feels too stiff, you might have too much tension. Reconnect the spark plug wire, and then you’re ready to test start your mower!
Troubleshooting Common Issues
Sometimes, things don’t go perfectly the first time. That’s okay! It’s part of learning. One common issue is the string not recoiling fully. This almost always points to an issue with the spring tension. As we found, it’s a delicate balance.
String Not Recoiling Fully?
If your string isn’t recoiling all the way, it usually means the spring isn’t wound enough. You’ll need to go back and add another half-turn or full turn of tension to the spool. If the string gets stuck or feels very loose, the spring might have unhooked or slipped. In that case, you’ll need to reopen the assembly and carefully re-seat the spring. Remember, patience is key here!
Maintenance Tips To Extend Rope Life
To prevent your new pull string from breaking prematurely, consider a few maintenance habits. First, always make sure your engine is properly maintained and starts easily. A hard-starting engine means more forceful pulls, which wears out the rope faster. Regular spark plug checks and air filter cleaning can help here.
Also, avoid yanking the cord with excessive force. A smooth, steady pull is usually enough to engage the starter. We found that many people overestimate the force needed (Lawn Care Industry Surveys). Store your mower in a dry place to prevent the rope from getting damp, which can weaken it over time. A little care goes a long way!
Conclusion
Replacing the pull string on your Honda lawn mower might seem daunting at first, but it’s a very manageable DIY project. By following these steps, taking safety precautions, and being patient with the spring tension, you can successfully get your mower running again. It’s rewarding to fix things yourself, and you’ll save money too. Remember, with a little know-how, you can handle many common lawn mower repairs. Keep your Honda happy, and it will keep your lawn looking great!
How do I know what size pull string I need for my Honda mower?
The best way to determine the correct size pull string is to consult your Honda mower’s owner’s manual or look up your specific model online. Generally, Honda mowers use a braided nylon rope, often around 3/16 inch in diameter and about 80-90 inches long. It’s always a good idea to measure your old rope if you can, or buy a specific replacement kit for your model.
Can I use any rope as a replacement pull string?
While you might be able to use a strong general-purpose rope in a pinch, it’s highly recommended to use a pull starter rope specifically designed for lawn mowers. These ropes are typically made of braided nylon or polyester, which offers high tensile strength and resistance to abrasion. Regular rope might not withstand the forces and friction of the starter mechanism, leading to quicker breakage.
What if my recoil spring unwinds completely?
If your recoil spring unwinds completely or pops out of its housing, it can be a bit challenging to reassemble, but it’s not impossible. You’ll need to carefully coil it back into its housing, ensuring it sits flat and the inner end hooks onto its designated post. This often requires patience and sometimes small pliers. If you struggle, looking up a video specific to your Honda model’s recoil spring can be very helpful.
How many pulls should it take to start a Honda lawn mower?
A well-maintained Honda lawn mower should typically start within one to three pulls. If it consistently takes more pulls, it could indicate an issue beyond just the pull string. Factors like a dirty air filter, a fouled spark plug, stale fuel, or a carburetor issue could be making the engine hard to start, putting extra strain on the pull rope.
Is it possible to replace just the starter handle?
Yes, if only your starter handle is broken and the rope is still in good condition, you can absolutely replace just the handle. Most starter handles are separate components that simply tie onto the end of the pull rope. You’d cut the knot holding the old handle, thread the rope through the new handle, and tie a fresh, secure knot to finish the repair.