
How to Sharpen the Blades on a Zero-turn Mower?
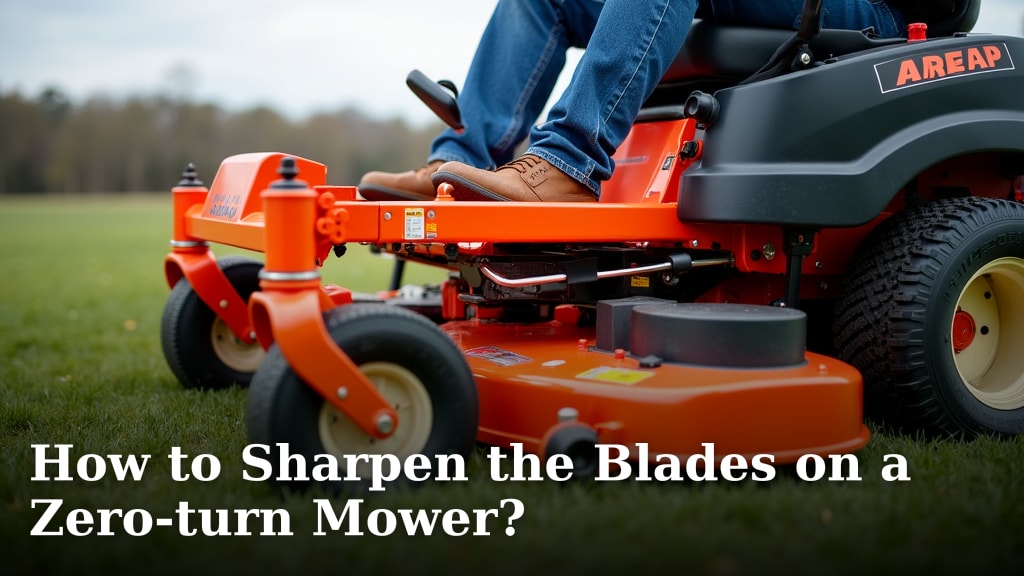
Sharpening your zero-turn mower blades is a straightforward process that will make your lawn look dramatically better. You can easily sharpen mower blades yourself with a few basic tools and some patience. This simple maintenance task is key to getting a clean cut and avoiding torn grass, which can lead to browning and disease.
Dull blades tear grass, leaving ragged edges that invite pests and disease. Regularly sharpening them ensures your mower cuts cleanly, giving your lawn a manicured look. It’s a task many homeowners overlook, but it makes a huge difference in lawn health and appearance. Plus, sharp blades require less engine power, potentially improving fuel efficiency.
- Sharpen blades for a cleaner cut.
- Dull blades tear grass and invite problems.
- Sharpening improves lawn health and appearance.
- It can also make your mower more efficient.
Ready to give your mower the sharp edge it deserves? Let’s walk through how to get those blades sharp and ready to go!
Getting Your Zero-Turn Mower Blades Sharp
Sharpening your zero-turn mower blades is a satisfying task. It makes a big difference in your lawn’s appearance. You’ll get a cleaner cut every time. This helps your grass stay healthy and look its best. Let’s get those blades ready for prime performance.
You might be wondering if you can really do this yourself. The answer is a resounding yes! With a few common tools and a bit of instruction, you’ll be a blade-sharpening pro in no time. It’s less complicated than it sounds. Think of it like giving your mower a good haircut. A sharp edge makes for a neat finish.
Why Sharp Blades Matter So Much
Dull blades don’t cut grass; they tear it. This ragged edge is an open invitation for disease and pests. Your lawn can start to look brown and stressed. Sharp blades make a clean slice. This helps the grass heal faster and stay greener. It’s a simple change with a huge impact on lawn health.
Think about your favorite kitchen knife. A sharp one glides through food. A dull one requires force and makes a mess. Mower blades work the same way. They’re designed to shear grass cleanly. When they’re dull, they just rip and shred. We found that well-maintained blades are essential for a professional-looking lawn.
The Benefits You’ll See
- Healthier Grass: Clean cuts reduce stress and disease risk.
- Better Appearance: Your lawn will look manicured and even.
- Less Strain on Mower: Sharp blades require less engine power.
- Fuel Efficiency: Your mower might even use less gas.
- Easier Mowing: The mower will glide through the grass more easily.
Many lawn care experts agree. Regular blade maintenance is key. It’s often overlooked, but it’s one of the most effective ways to improve your mowing results. You’ll be surprised at the difference a sharp blade makes.
Gathering Your Sharpening Supplies
Before you start, make sure you have the right tools. Having everything ready makes the job go smoothly. You don’t need a lot of fancy equipment. Most of these items are probably already in your garage or toolbox.
Essential Tools You’ll Need
- Work Gloves: For safety, always protect your hands. Blades are sharp!
- Safety Glasses: Protect your eyes from flying metal fragments.
- Socket Wrench Set: You’ll need the right size socket to remove the blades.
- Wire Brush: To clean off dirt and debris before sharpening.
- Metal File or Grinding Wheel: This is your sharpening tool. A hand file is great for beginners. A bench grinder or angle grinder works faster but requires more practice.
- Balancing Tool: To ensure the blade is balanced after sharpening.
- Torque Wrench: To tighten the blade bolts to the correct specification.
- A Sturdy Surface: Like a workbench or a clean, flat spot on the ground.
Having a good set of tools makes the job feel less like a chore and more like a project. It’s important to have the right size socket for your mower’s blade bolts. Check your owner’s manual if you’re unsure. Getting these items together beforehand saves time and frustration.
Safely Removing the Mower Blades
Safety is absolutely critical when working with mower blades. They can be surprisingly sharp, even when dull. Always make sure the mower is completely turned off. Disconnect the spark plug wire to prevent accidental starting.
Steps for Safe Blade Removal
- Park on a Level Surface: Ensure the mower is stable.
- Turn Off the Engine: Let it cool down if it was recently running.
- Engage the Parking Brake: This keeps the mower from moving.
- Disconnect the Spark Plug: This is a crucial safety step. It prevents the engine from starting accidentally. Pull the wire boot off the spark plug.
- Block the Blades: Use a piece of wood to prevent the blade from turning while you loosen the bolt.
- Loosen the Blade Bolt: Use your socket wrench. Turn it counter-clockwise. You might need a strong grip or a breaker bar for stubborn bolts.
- Remove the Blade: Carefully slide the blade out from under the mower deck.
We found that sometimes a blade bolt is on very tight. If you struggle, a little penetrating oil might help. Let it sit for a few minutes before trying again. Remember to always wear your gloves and eye protection during this step.
The Art of Sharpening Your Mower Blades
Now for the main event! Sharpening involves restoring a sharp edge to the blade. The goal is to remove just enough metal to create a clean cutting edge without weakening the blade. Learn how sharpening involves restoring a sharp edge to the blade.
Preparing the Blade for Sharpening
Before you start filing, give the blade a good cleaning. Use your wire brush to remove all grass clippings, dirt, and rust. A clean blade makes the sharpening process easier and more effective. You want to see the bare metal. This allows you to properly assess the blade’s condition.
Sharpening Techniques Explained
You can use a metal file or a grinding wheel. For most homeowners, a sturdy metal file is the best choice. It offers good control and is very forgiving. You’re aiming for an angle that matches the original bevel on the blade. Often, this is around 30-45 degrees.
Using a Metal File:
- Hold the file at the correct angle.
- Work from the dull edge towards the cutting edge.
- Use long, smooth strokes.
- Apply consistent pressure.
- Sharpen one side, then move to the other.
- Aim to remove a similar amount of metal from both sides.
Using a Grinding Wheel:
A grinding wheel can speed things up. However, it’s easy to overheat the blade. Overheating can damage the temper of the steel. If you use a grinder, keep the blade moving. Dip it in water frequently to cool it down. Many experts suggest this method for those with experience.
You want to create a sharp, burr-free edge. A burr is a small, rough edge of metal. You’ll remove it in the next step. The key is consistency. Try to maintain the same angle throughout your strokes. This ensures an even sharpening.
Checking for and Removing Burrs
After filing or grinding, run your gloved finger gently along the cutting edge. You should feel a slight roughness or “burr” on the opposite side of where you were filing. This is good! It means you’ve created a sharp edge. Now, you need to remove this burr.
To remove the burr, make a few light passes with your file on the flat side of the blade. You can also use a fine grit sandpaper or a sharpening stone. The goal is to leave a smooth, sharp edge. A clean edge cuts best.
Balancing Your Mower Blades
This step is often skipped, but it’s very important. An unbalanced blade can cause excessive vibration. This can lead to premature wear on your mower’s bearings and engine. It can also make the ride much less comfortable for you.
Why Balancing is Necessary
Sharpening removes metal. Even if you try to remove the same amount from both sides, tiny differences can occur. This throws off the blade’s balance. A balanced blade spins smoothly and evenly.
How to Balance a Blade
You can buy a simple blade balancer at most hardware stores. They are inexpensive and easy to use. There are a few common types:
- Conical Balancer: Place the hole in the center of the blade over the cone. The heavier side will drop.
- Post Balancer: A simple post that the blade balances on.
Once the blade is on the balancer, identify the heavier side. This is the side that will droop. To correct it, carefully file a small amount of metal from the heavy end of the blade. Don’t file from the cutting edge. Instead, remove metal from the top or bottom edge, away from the cutting surface. Repeat the balancing process until the blade hangs level. It should stay balanced in any position.
This process ensures that the weight is evenly distributed. Think of it like balancing the wheels on your car. It’s essential for smooth operation and longevity.
Reattaching the Blades Correctly
Putting the blades back on is the reverse of removal, but with a critical addition: proper torque.
The Importance of Torque Specifications
Your mower’s manufacturer specifies a torque setting for the blade bolts. This is the tightness required to keep the blade secure without damaging the spindle or bolt. Using a torque wrench ensures you meet this specification.
Steps for Reattachment:
- Ensure the blade is facing the correct direction. Most blades have an indicator (like “Grass Side” or an arrow).
- Place the blade back onto the spindle.
- Start threading the bolt by hand to avoid cross-threading.
- Tighten the bolt snugly with your socket wrench.
- Use your torque wrench to tighten the bolt to the manufacturer’s specified torque. Consult your owner’s manual for these numbers.
- Don’t forget to reconnect the spark plug wire!
We found that over-tightening can strip threads or crack components. Under-tightening is a serious safety hazard. Make sure you get it just right using your torque wrench.
Your Zero-Turn Mower Blade Sharpening Checklist
Here’s a quick rundown to make sure you’ve got everything covered:
- Safety First: Always wear gloves and eye protection. Disconnect the spark plug.
- Clean Up: Thoroughly clean the blade with a wire brush.
- Sharpen Evenly: File or grind to a consistent sharp edge, maintaining the original angle.
- Check for Burrs: Remove any rough metal from the edge.
- Balance is Key: Use a balancer and file the heavy end to achieve level balance.
- Torque It Right: Reinstall the blade using a torque wrench to the correct specification.
Conclusion
You’ve learned that sharpening your zero-turn mower blades is a skill worth having. It’s not as difficult as it might seem, and the payoff for your lawn is huge. Remember, sharp blades mean healthier grass, a better-looking yard, and a mower that works more efficiently. Taking a little time for this maintenance will save you headaches and give you a professional finish every time. Your next step is simple: gather your tools and get those blades sharp!
Frequently Asked Questions
How often should I sharpen my zero-turn mower blades?
We recommend sharpening your blades at least once a year, typically in the spring before mowing season begins. However, if you mow a large property or frequently encounter tough terrain, you might need to sharpen them more often, perhaps mid-season.
Can I sharpen my blades without removing them from the mower?
While some specialized tools allow for on-mower sharpening, it’s generally not recommended. Removing the blades ensures you can clean them thoroughly, access the entire cutting edge for a consistent sharpening angle, and properly balance them afterward.
What angle should I sharpen the mower blades at?
Most mower blades are manufactured with an angle between 30 and 45 degrees. You should aim to match this original angle as closely as possible. Using a file or grinder guide can help you maintain this consistent angle throughout the sharpening process.
Is it okay to use an angle grinder to sharpen mower blades?
An angle grinder can speed up the sharpening process, but you must use it with extreme caution. It’s easy to overheat the blade, which can ruin the temper of the steel and make it less effective. If you use a grinder, keep the blade moving and cool it in water frequently.
What’s the easiest way to tell if my mower blades are balanced?
The simplest method is using a blade balancer tool. You place the blade’s center hole on the balancer, and if it tilts to one side, that’s the heavier end. You then carefully remove a small amount of metal from that heavy end until the blade sits level and stays put in any position.
