
How To Thatch A Lawn With Mower?
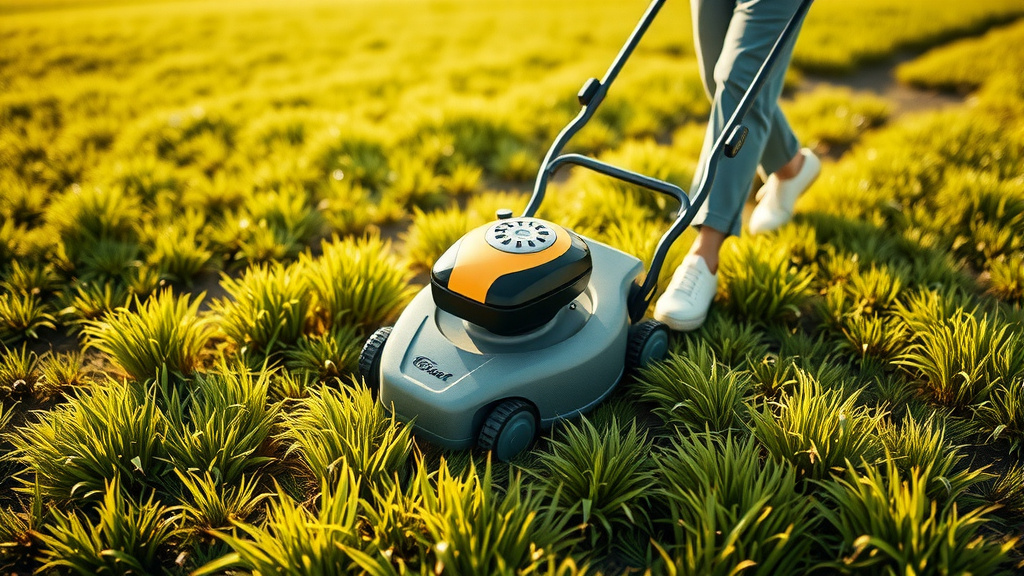
To effectively thatch a lawn with a mower, you will need to equip your standard lawn mower with a specialized dethatching blade or a spring-tine dethatching attachment.
This method helps gently lift and remove excess thatch, a layer of dead organic material, allowing your grass to thrive by improving air, water, and nutrient penetration to the soil.
Here’s a quick overview of what you’ll find in this article:
- Discover why thatch build-up is bad for your lawn’s health.
- Learn how your regular lawn mower can become a dethatching tool.
- Find out the best time and steps for dethatching your lawn.
- Understand what to do right after dethatching to help your lawn recover.
- Get answers to common questions about dethatching with a mower.
How To Thatch A Lawn With Mower?
Thatching your lawn with a mower involves fitting it with a special blade or attachment. This turns your everyday mower into a tool for removing dead grass and debris.
It is a less aggressive option compared to dedicated dethatchers, ideal for lawns with moderate thatch.
Understanding Thatch: What It Is and Why It Matters
Picture your lawn having a cozy, but sometimes suffocating, blanket. That’s thatch!
Thatch is a layer of living and dead grass stems, roots, and other organic matter that builds up between the soil surface and the green grass blades (University of California Extension).
Why Too Much Thatch Is a Problem
A thin layer of thatch, about half an inch, is actually beneficial. It helps cushion the grass and prevents some water loss.
However, when this layer gets thicker than half an inch, it starts causing trouble. It can block water, air, and nutrients from reaching the soil.
Excessive thatch also creates a cozy home for pests and diseases. We found that a thick thatch layer can make your lawn less tolerant to drought and heat.
When Is the Best Time to Dethatch Your Lawn?
Timing is everything when it comes to dethatching. You want your grass to be strong enough to recover quickly.
Many lawn care experts say the best time is in the late spring or early fall. This is when your grass is actively growing.
- Cool-season grasses: Early fall (September-October) or late spring (April-May).
- Warm-season grasses: Late spring to early summer (May-July).
Avoid dethatching during periods of drought or extreme heat. This can stress your lawn too much.
Preparing Your Lawn for Dethatching
Before you get started, a little prep work makes a big difference. Think of it as setting the stage for success.
Mow Your Lawn Shorter Than Usual
Give your lawn a good mow a few days before dethatching. Cut it a bit shorter than your usual height. This allows the dethatching blade or attachment to reach the thatch more effectively.
Just don’t scalp it! We found that removing more than one-third of the blade length in a single mow can harm your grass (Penn State Extension).
Lightly Water Your Lawn
You don’t want a soggy lawn, but a slightly moist one is ideal. Water your lawn a day or two before dethatching.
This helps the dethatching tools move through the thatch more easily without tearing up healthy grass roots too much.
Choosing Your Mower Attachment for Dethatching
There are two main ways to use your mower for dethatching. Each has its own benefits.
Dethatching Blades vs. Dethatching Attachments
Let’s look at the options you have for turning your mower into a dethatcher.
Dethatching Blades for Your Mower
These blades are designed to replace your standard mower blade. They often have spring-like tines or special edges.
When the blade spins, these tines or edges gently lift and pull out thatch from your lawn.
Mower-Mounted Dethatching Attachments
Some mowers can accommodate separate dethatching attachments. These usually consist of a bar with spring tines that attach to the front or rear of your mower.
They often work by dragging the tines across the lawn as you mow, pulling up thatch.
Here’s a quick comparison:
| Feature | Dethatching Blade | Mower-Mounted Attachment |
|---|---|---|
| Installation | Replaces standard blade (requires tools). | Attaches to mower deck (often easier, tool-free). |
| Effectiveness | More direct contact, good for moderate thatch. | Gentler, suitable for lighter thatch or maintenance. |
| Cost | Generally less expensive. | Can be slightly more, depending on type. |
| Convenience | Requires blade change. | Quick to attach/detach. |
The Dethatching Process: Step-by-Step
Once your lawn is ready and your mower is equipped, it’s time for action. Here’s how to do it effectively.
Install Your Dethatching Blade or Attachment
Carefully follow your manufacturer’s instructions to install the dethatching blade or attachment. Safety first!
Always disconnect the spark plug wire before working on your mower. We found this small step prevents accidental starts (Consumer Reports).
Adjust Mower Deck Height
Set your mower deck to its highest setting for the first pass. This helps you gauge how aggressive the dethatching is.
You want to remove thatch, not rip up healthy grass. Adjust lower only if needed for a second pass.
Make Your First Pass
Just like mowing, make overlapping passes across your lawn. Work in straight lines. You will see a lot of dead grass and debris being pulled up.
Don’t be alarmed by the amount of thatch. This is exactly what you want to see!
Consider a Second Pass (If Needed)
If your lawn has a very thick thatch layer, a second pass might be needed. Make this pass perpendicular to your first.
For example, if you went north-south first, go east-west on the second pass. Many experts recommend this for deep thatch removal.
Clean Up the Thatch
After dethatching, you’ll have piles of loose thatch on your lawn. Rake this up immediately.
Leaving it on the lawn will defeat the purpose of dethatching. Bag it, compost it, or dispose of it properly.
After Dethatching Care: Helping Your Lawn Recover
Your lawn will look a bit rough after dethatching. Don’t worry; this is normal. Think of it as a deep clean.
Now is the time to give it extra care to help it bounce back stronger.
Water Your Lawn Thoroughly
Dethatching can dry out the soil surface. Give your lawn a good, deep watering right after cleanup.
This helps settle the soil and provides moisture to newly exposed grass roots.
Overseed and Fertilize (Optional but Recommended)
This is a great opportunity to overseed bare spots or thin areas. The soil is exposed, making it easy for seeds to contact the ground.
Applying a light, balanced fertilizer can also give your lawn a boost as it recovers. Research often connects these steps with faster recovery and healthier growth (Rutgers Extension).
Avoid Heavy Traffic
Give your lawn a break for a week or two after dethatching. Avoid heavy foot traffic or playing on it.
This allows the grass to start recovering without added stress.
The Dethatching Checklist
Here’s a quick reminder of the key steps to ensure a successful dethatching experience:
- Mow your lawn slightly shorter.
- Lightly water the lawn a day before.
- Install the correct dethatching blade or attachment.
- Adjust your mower deck to the highest setting for the first pass.
- Make overlapping passes over your entire lawn.
- Clean up all loose thatch immediately afterward.
- Water your lawn deeply.
- Consider overseeding and fertilizing.
- Give your lawn time to recover without heavy use.
Conclusion
Dethatching your lawn with a mower is a practical and effective way to remove excess thatch. It may seem like a big job, but the benefits for your lawn are clear.
By following these steps, you’re not just cleaning up your lawn; you’re giving it a new lease on life. A healthier lawn means a more beautiful outdoor space for you to enjoy. Take your time, be thorough, and watch your lawn transform.
Frequently Asked Questions
How often should I thatch my lawn with a mower?
For most lawns, dethatching every 1-3 years is sufficient. We found that yearly dethatching is usually only needed for lawns with very aggressive growth or persistent thatch issues. Observe your lawn’s thatch layer to determine its needs.
Will dethatching with a mower harm my lawn?
If done correctly, dethatching will not harm your lawn, though it may look stressed for a short period. Setting the mower deck too low or dethatching when the lawn is dry or under stress can cause damage. Always follow the recommended steps and timing.
Can I use a regular mower blade for dethatching?
No, a regular mower blade is designed to cut grass cleanly, not to pull up thatch. Using it for dethatching can be ineffective and potentially damage your mower. Always use a specialized dethatching blade or attachment for the best results.
What kind of mower works best for dethatching?
Most walk-behind push mowers and riding mowers can be adapted for dethatching with the right attachments or blades. The key is ensuring the specific dethatching tool is compatible with your mower’s make and model. Check your mower’s manual for guidance.
What should my lawn look like after dethatching?
Immediately after dethatching, your lawn will likely look messy, with piles of pulled-up thatch, and the grass itself might appear a bit sparse or brown. This is temporary. With proper aftercare (watering, possibly fertilizing), your lawn should recover and look healthier within a few weeks.
