
How to Replace a Chainsaw Chain?
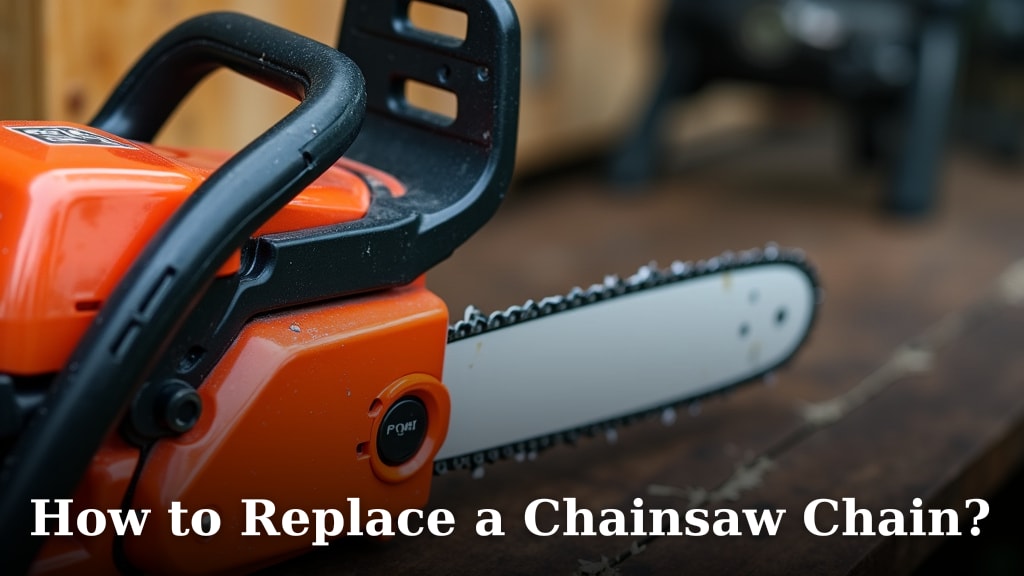
The easiest way to replace a chainsaw chain is by first ensuring your chainsaw is powered off and cool. You will then loosen the bar nuts, remove the old chain, and carefully fit the new chain onto the guide bar and sprocket. Tighten everything back up, and you’re good to go.
Replacing a dull or damaged chainsaw chain keeps your saw cutting safely and smoothly. A sharp chain is much more efficient and reduces the effort you need to put in. We found that a fresh chain also helps to prevent kickback, making your work much safer.
- Inspect your old chain for wear.
- Gather necessary tools and safety gear.
- Loosen saw components to remove the old chain.
- Carefully install the new chain.
- Adjust tension and test the saw properly.
Ready to get your chainsaw running like new? Let’s walk through exactly how to replace a chainsaw chain, step by step.
Getting Your Chainsaw Ready for a Chain Swap
Before you dive into changing your chainsaw chain, it’s really important to prepare properly. This isn’t just about getting the job done; it’s about doing it safely and efficiently. Think of it like getting dressed for a day of work – you wouldn’t wear your pajamas, right?
Safety First: Your Essential Gear
Working with chainsaws always calls for a dose of caution. We found that personal protective equipment (PPE) isn’t optional; it’s absolutely necessary. Skimping here isn’t worth the risk.
- Heavy-Duty Work Gloves: These protect your hands from scrapes, cuts, and the grime of the saw. You’ll be handling sharp objects!
- Safety Glasses or Goggles: Sawdust, metal fragments, or even lubricant spray can injure your eyes. Always wear eye protection.
- Ear Protection: Chainsaws are loud. Prolonged exposure can damage your hearing. Earplugs or earmuffs are a must. We found that even a few minutes without protection can be harmful (OSHA).
- Sturdy Footwear: Closed-toe shoes with good grip are important, especially if you drop a tool. Steel-toe boots are even better.
Beyond your body, think about your surroundings. Make sure you’re in a well-lit, stable work area. A clean workbench is much safer than working on the ground.
Gathering Your Tools: What You’ll Need
Having the right tools at hand makes all the difference. It saves frustration and makes the process smoother. You don’t want to stop mid-job because you’re missing something simple.
Here’s a quick checklist to get you started:
- Your new chainsaw chain (make sure it’s the correct size and gauge for your saw!).
- The screwdriver/wrench tool that came with your chainsaw (often called a “scrench”).
- A pair of heavy-duty work gloves.
- A flat-head screwdriver (sometimes useful for prying or fine adjustments).
- A wire brush or rag for cleaning.
- Some extra bar and chain oil.
Double-checking these items before you begin can save you a lot of time later. Are you sure you have everything?
Dismantling Your Chainsaw: Removing the Old Chain
Alright, you’re geared up and have your tools. Now it’s time to tackle the chainsaw! The first step is to safely remove the old chain. This involves a few key actions.
Power Off and Cool Down
This might seem obvious, but it’s the most important safety step. For gas-powered saws, turn off the engine. For electric saws, unplug them from the wall. For battery-powered saws, remove the battery pack. Why is this so crucial? Because you absolutely don’t want the saw to accidentally start while your hands are near the chain.
Also, let the saw cool down a bit if you’ve recently used it. Metal parts can get hot, and you don’t want to burn yourself.
Loosening the Bar Nuts
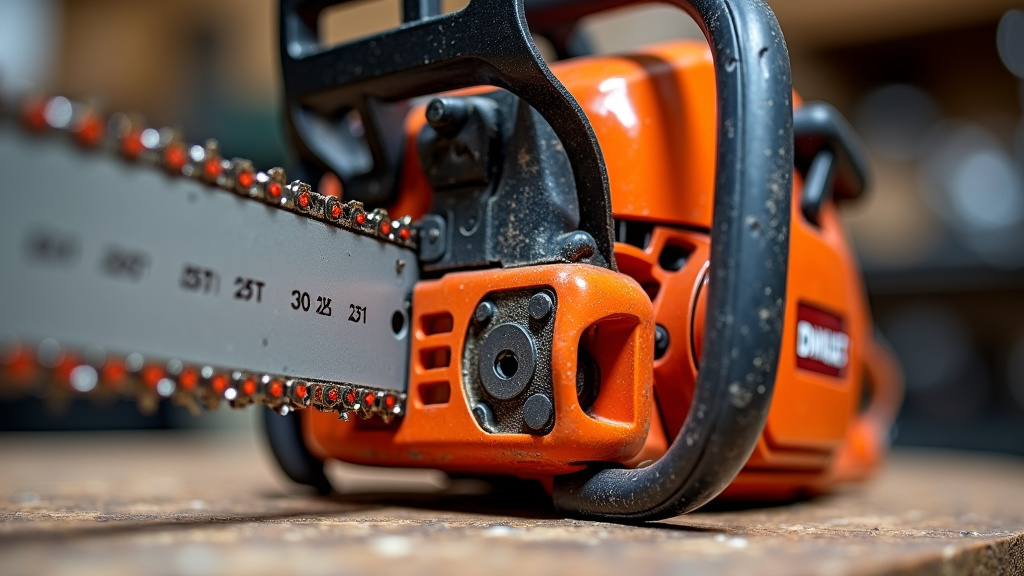
You’ll notice two nuts (sometimes one, sometimes three, depending on your saw model) on the side cover of your chainsaw. These are the bar nuts. They hold the guide bar and chain cover in place.
Take your scrench (or appropriate wrench) and turn these nuts counter-clockwise to loosen them. You don’t need to remove them completely yet; just get them loose enough so the side cover can move freely. Many experts recommend only loosening them a few turns initially (Chainsaw Safety Manuals).
Accessing the Chain Tensioner
Once the bar nuts are loose, you can often gain access to the chain tensioner screw. This screw adjusts how tight or loose your chain is. On most saws, it’s a small screw located either on the side of the saw, just beneath the bar, or directly on the bar itself. There’s usually a small hole for your screwdriver.
Turn this screw counter-clockwise to loosen the chain. You’ll see the chain start to sag. Keep going until the chain is very slack, making it easy to remove from the guide bar and sprocket.
Removing the Side Cover and Old Chain
With the bar nuts fully loosened, you can now remove the side cover completely. You might need to wiggle it a bit to get it off. Underneath, you’ll see the drive sprocket, the guide bar, and the very loose chain.
Carefully lift the old chain off the drive sprocket. Then, you can slide it off the guide bar. Be careful – even a dull chain can still be sharp enough to cut you, especially if you’re pulling it through your hand.
Clean the Saw’s Components
Now is a perfect time for a little maintenance! With the chain and side cover off, you have a great opportunity to clean accumulated sawdust and gunk. Use your wire brush or a rag to clean:
- The drive sprocket area.
- The guide bar groove (where the chain sits).
- The inside of the side cover.
- The chain brake mechanism.
This cleaning step is important because excess debris can cause premature wear on your new chain and even affect the saw’s performance. Think of it as giving your chainsaw a fresh start!
Installing Your New Chainsaw Chain
You’ve cleared the way, and now it’s time for the star of the show: your new chain! Installing it correctly is key to optimal performance and safety.
Orienting the New Chain Correctly
This is a common sticking point for many first-timers. Chainsaw chains have cutting teeth that are designed to cut in one direction. If you put the chain on backward, it simply won’t cut effectively. It’ll just smooth the wood, which isn’t very useful!
Here’s how to tell: Look closely at the cutting teeth. The sharp edge of the tooth should always face in the direction of the bar’s rotation (towards the nose of the bar on the top side). When the chain is correctly installed on the top of the bar, the teeth will point away from you, towards the guide bar tip.
If you put it on and the teeth are facing the wrong direction, don’t worry, just flip it over!
Placing the Chain on the Bar and Sprocket
First, carefully feed the new chain into the groove around the guide bar. Make sure those drive links (the little connectors on the bottom of the chain) sit snugly in the groove.
Once the chain is sitting on the bar, you need to loop it around the drive sprocket. This can sometimes be a bit tricky. Hold the bar slightly away from the saw body to give yourself some slack.
Pro-tip: It can be easier to put the chain around the sprocket first, then guide it onto the bar, starting from the nose and working your way back.
Reattaching the Side Cover and Initial Tension
With the chain loosely in place around the bar and sprocket, slide the side cover back on. Make sure it sits flush. You might need to wiggle the guide bar forward a little for the chain tensioner pin to slide into its hole on the guide bar.
Once the cover is on, hand-tighten the bar nuts just enough to hold the cover in place, but still loose enough to allow the guide bar to move forward and backward for tensioning.
Adjusting the Chain Tension
This is a critical step. The chain must be tensioned correctly – not too tight, not too loose. If it’s too loose, it can jump off the bar. If it’s too tight, it will wear out quickly and put strain on your saw’s engine.
- Using your scrench, turn the tension adjustment screw clockwise to tighten the chain.
- While doing this, lift the nose of the guide bar up with one hand (this helps ensure proper tension along the entire bar).
- When is it right? A properly tensioned chain will have no sag on the underside of the guide bar, but you should still be able to pull the chain around the guide bar by hand (with gloves on, of course!) without too much effort.
- You should also be able to barely see the drive links in the groove of the guide bar – if you can see too much of them, it’s too loose. If you can’t see them at all, it’s too tight.
- Many manufacturers suggest that you should be able to pull one drive link halfway out of the bar’s groove at the center (Homelite Manuals).
Final Tightening and Checking
Once you’ve achieved the correct tension, continue to hold the nose of the guide bar up, and fully tighten the bar nuts. Make sure they are snug. Don’t over-tighten, but ensure they are secure.
After tightening, release the nose of the bar and rotate the chain by hand again. Does it move freely? Is the tension still correct? Sometimes tightening the nuts can slightly change the tension, so a quick re-check is always a good idea.
We’ve found that a little extra check here helps save time and prevents issues once you start cutting.
Final Steps Before You Cut
You’re almost there! Once your new chain is on, a few final checks ensure everything is ready for safe and effective cutting.
Re-check Oil Levels
Before ever starting your saw, always make sure your bar and chain oil reservoir is full. This oil lubricates the chain and guide bar, which is vital for preventing friction, overheating, and premature wear. A dry chain can cause serious damage to your equipment very quickly.
Perform a Quick Test Run
Do a brief test run, but without cutting any wood. Start the saw and let it idle for a moment. Then, rev the engine a few times. Watch the chain – does it move smoothly? Does it sound right? Does oil spray lightly from the tip of the bar?
After a minute or so, shut off the saw and re-check the chain tension. New chains can sometimes stretch a little during their first run. It’s not uncommon to need to adjust the tension slightly after this initial test.
This might feel like an extra step, but it’s a small investment of time that can prevent issues later. Imagine getting out into the woods only to find your chain is too loose!
Quick Chainsaw Chain Replacement Checklist
To ensure you’ve covered all the bases, here’s a quick checklist:
- Is your new chain correctly oriented?
- Is the chain tension just right – not too tight, not too loose?
- Are the bar nuts fully tightened?
- Is your bar and chain oil reservoir full?
- Have you performed a quick test run and re-checked tension?
- Are all your safety gear pieces packed and ready?
With these steps complete, you should be good to go. Enjoy your freshly chained saw!
Conclusion
You’ve seen that replacing your chainsaw chain isn’t a scary task; it’s a straightforward maintenance job that keeps your saw working safely and efficiently. By prioritizing safety, preparing your tools, and following these steps carefully, you can confidently swap out an old chain for a new one. This routine ensures your chainsaw performs at its best, making your yard work or wood cutting easier and more productive. So, go ahead and give your chainsaw the fresh chain it deserves!
Frequently Asked Questions
How often should I replace my chainsaw chain?
You should replace your chainsaw chain when it’s too dull to sharpen effectively, has broken or missing teeth, or is damaged beyond repair. We found that regular sharpening prolongs chain life, but eventually, the cutters become too short to be useful.
Can I use any chain on my chainsaw?
No, you need a chain that matches your chainsaw’s guide bar length, pitch, and gauge. Using the wrong chain can damage your saw or cause dangerous kickback. Always check your chainsaw’s manual for the correct specifications.
What happens if I put the chainsaw chain on backward?
If you install the chain backward, the saw won’t cut the wood; it will essentially just smooth it. It creates more friction and heat, which wastes fuel/power and is inefficient. Always double-check the direction of the cutting teeth before use.
Is it better to sharpen or replace a dull chainsaw chain?
For minor dullness, sharpening is usually the best first step. We found that most chains can be sharpened several times before needing replacement. However, if the chain has significant damage, broken teeth, or has been sharpened too many times to be effective, replacing it is the safer and more efficient option.
How can I tell if my chainsaw chain is too tight or too loose?
A properly tensioned chain will have no sag on the underside of the bar, and you should be able to pull it around the bar by hand with gloves on. If it’s too loose, it sags significantly; if too tight, it will be very difficult to pull around and can bind the saw. Always refer to your saw’s manual for specific tensioning guidelines.
