
How to Replace a Lawn Mower Air Filter?
To replace a lawn mower air filter, you generally need to locate the air filter housing, open it, remove the old filter, and then insert a new, clean filter before securing the housing. This simple task is vital for your mower’s health and performance.
You see, a clean air filter acts like your lawn mower’s lungs, keeping dirt and debris out of the engine. Over time, it gets clogged, which can make your mower run poorly or even fail to start. Replacing it regularly is a small effort with a big payoff.
TL;DR:
- A clogged air filter harms your mower.
- Replacing it is usually quick and easy.
- It improves performance and extends engine life.
- You’ll need a new filter and maybe a screwdriver.
Ready to get your lawn mower breathing easy again? Let’s walk through the steps to replace that air filter and keep your machine running smoothly.
Getting Your Mower Ready: Essential First Steps
Before you even think about touching that air filter, it’s crucial to prepare your lawn mower safely. This isn’t just about convenience; it’s about preventing accidents and making the job easier. Think of it like a surgeon scrubbing in – you need to set the stage properly.
Safety First: Power Down and Disconnect
Your lawn mower is a powerful machine, even when it’s not running. The first and most important step is to ensure it can’t accidentally start. You don’t want any surprises while your hands are near moving parts.
Unplug Spark Plug Wire
Locate the spark plug on your engine. It usually has a thick rubber boot connected to a wire. Gently but firmly pull this boot off the spark plug. This disables the ignition system, so the engine cannot fire up. It’s a simple, yet highly effective safety measure (Outdoor Power Equipment Institute).
Let it Cool Down
Has your mower been running recently? Give it some time. Engine components, especially around the exhaust, can get very hot and cause burns. A good rule of thumb is to wait at least 15-20 minutes after shutting it off before you begin any work.
Gather Your Tools and New Filter
Having everything you need within reach makes the process smooth and quick. There’s nothing more frustrating than having to stop halfway through to hunt for a screwdriver. What you’ll need depends on your mower, but here are the basics.
The Right Air Filter
This is non-negotiable. You need a replacement air filter specifically designed for your lawn mower’s make and model. Check your owner’s manual or look for numbers on the old filter itself. Using the wrong filter can damage your engine or reduce its performance. Many manufacturers, like Briggs & Stratton, recommend using OEM (Original Equipment Manufacturer) parts for best results.
Basic Hand Tools
- Screwdriver: Often a Phillips head or flathead, for opening the air filter housing.
- Wrench or Socket Set: Some housings are secured with small bolts.
- Shop rag or small brush: For cleaning around the housing.
- Safety glasses: Protect your eyes from dust or debris.
- Gloves: Keep your hands clean and protected.
Locating and Removing the Old Air Filter
Now that you’re prepared and safe, it’s time to find that dirty air filter. Most lawn mowers have their air filter in a fairly obvious spot, but locations can vary slightly.
Finding the Air Filter Housing
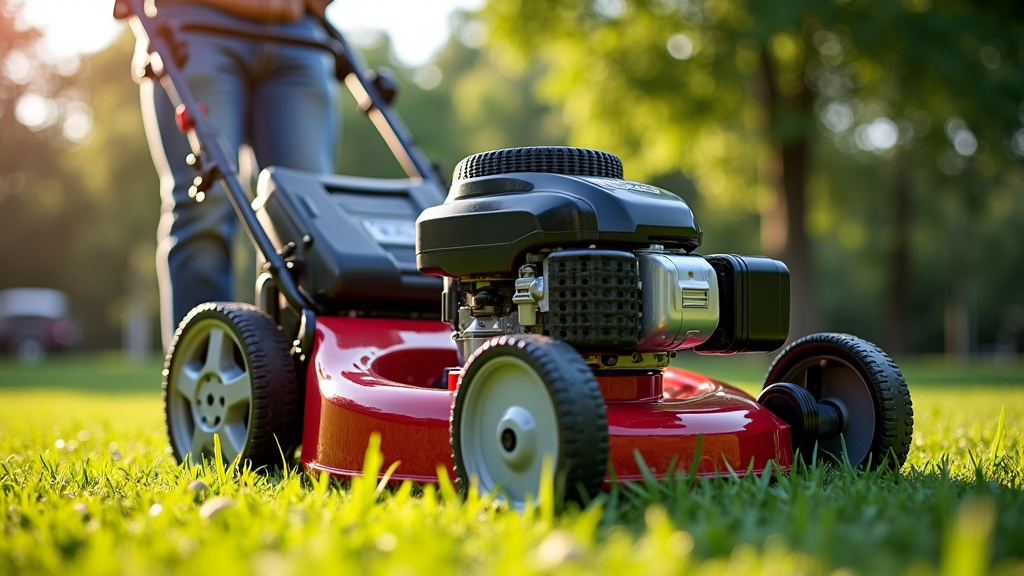
The air filter housing is usually a plastic or metal box located on the side of the engine. It’s often rectangular or oval-shaped. You’ll typically find it close to the carburetor – the part where air and fuel mix before entering the engine. Look for a component that seems designed to be opened.
On some push mowers, it might be a small, squat box. On riding mowers, it could be a larger, more prominent container. Don’t be shy; take a moment to look around the engine block.
Opening the Housing and Removing the Filter
Once you’ve spotted the housing, it’s time to open it up. Most housings are held closed by one of a few methods.
Clip-On Covers
Many smaller engines use simple clips or latches. These are often spring-loaded or snap-on tabs. Gently unlatch or unclip these to release the cover. Be careful not to break the plastic tabs; they can become brittle over time.
Screws or Bolts
Other designs use screws or small bolts. Use your screwdriver or wrench to carefully remove these. It’s a good idea to keep the screws in a small cup or magnetic tray so you don’t lose them. There’s nothing worse than finishing a job and having a screw left over!
Extracting the Old Filter
With the cover off, you’ll see the old air filter. It might be a pleated paper filter, a foam filter, or a combination of both. Carefully pull it straight out. Notice how it fits in there – this will help you install the new one correctly. Don’t be surprised if it’s caked with dirt, grass, and even small bugs. That’s proof it was doing its job!
Cleaning and Installing the New Filter
Before putting in the new filter, take a moment to clean the housing. This prevents new debris from immediately contaminating your fresh filter.
Quick Housing Clean-Up
Use your shop rag or small brush to wipe away any loose dirt, grass clippings, or dust from the inside of the air filter housing. Make sure no debris falls into the carburetor intake. That’s a direct path to engine trouble. A quick wipe is usually all it takes; avoid using water or harsh cleaners.
Proper Filter Installation
This step is usually very straightforward. Simply take your new, clean air filter and insert it into the housing in the same orientation as the old one. There’s often a specific way it sits, so if it feels forced, you might have it backward or upside down. It should seat snugly without bending or crushing. According to many service manuals, incorrect installation is a common mistake (Kohler Engines).
Securing the Cover
Once the new filter is in place, put the housing cover back on. If it had clips, snap them firmly into place. If it had screws or bolts, re-insert and tighten them. Don’t overtighten, especially on plastic housings, as you could strip the threads or crack the plastic. Just snug enough to keep the cover secure and prevent air leaks around the filter.
A properly sealed housing ensures that all air entering the engine passes through the filter, not around it.
Different Filter Types: What You Might Encounter
Not all air filters are created equal. Knowing the type you have can influence how you handle them.
Paper Pleated Filters
These are the most common type. They look like a small accordion made of paper. When these get dirty, they need to be replaced. You cannot clean paper filters effectively; attempts to do so often damage the paper and reduce filtration. A quick tap can dislodge some loose debris, but it’s not a substitute for replacement.
Foam Filters
Some mowers, particularly older models or smaller engines, use foam filters. These are spongy and often treated with oil. If your foam filter is only dusty, you might be able to wash it gently with soap and water, let it dry completely, and then re-oil it with special air filter oil. However, if it’s torn, brittle, or heavily saturated with grime, replacement is best. Always check your mower’s manual for specific cleaning instructions for foam filters.
Dual-Element Filters
You might find a combination filter: a foam pre-filter wrapped around a paper element. In this case, the foam outer layer can often be cleaned and re-oiled, while the inner paper element must be replaced. Always inspect both parts for damage before reusing the foam. Many experts recommend replacing the entire dual-element filter for optimal performance (Small Engine Repair Magazine).
When to Change Your Air Filter: A Maintenance Checklist
How often should you replace this vital component? It depends on several factors, but regular inspection is key.
Here’s a quick guide to help you decide:
- Every 25 hours of operation: This is a common manufacturer recommendation for paper filters.
- At the start of every mowing season: A great habit to get into.
- When it appears visibly dirty: If you hold it up to a light and can’t see through it, it’s definitely time.
- If your mower is running rough: A clogged filter can cause sputtering, loss of power, or difficulty starting.
- After mowing in dusty conditions: If you’ve been cutting very dry grass or in sandy areas, check it sooner.
- If your fuel consumption increases: A rich fuel-to-air mixture due to a clogged filter can burn more gas.
| Sign of a Clogged Filter | What it Means for Your Mower |
|---|---|
| Difficulty Starting | Engine isn’t getting enough air, struggles to ignite fuel. |
| Reduced Power/Stalling | Lack of oxygen means the engine can’t produce full power. |
| Black Smoke from Exhaust | Too much fuel, not enough air (rich mixture), incomplete combustion. |
| Increased Fuel Consumption | Engine tries to compensate for lack of air by using more fuel. |
| Unusual Engine Noise | Straining engine trying to pull air through restricted filter. |
Replacing your lawn mower’s air filter is a small task that yields big benefits. It ensures your engine runs efficiently, extends its lifespan, and helps you achieve a beautifully cut lawn. You’ve got this! To keep your entire machine in top shape, learn more about how to maintain a push lawn mower.
Conclusion
You’ve now got all the knowledge you need to tackle a lawn mower air filter replacement with confidence. This small maintenance task makes a big difference. By regularly inspecting and replacing your filter, you’re ensuring your engine gets clean air. This keeps it running strong, prevents costly repairs, and helps you achieve that perfectly manicured lawn.
Don’t put off this vital step in your mower’s upkeep. Grab your new filter, follow these simple steps, and enjoy a healthier, more efficient machine for seasons to come. Your lawn mower (and your wallet) will thank you!
Frequently Asked Questions
What happens if I don’t change my lawn mower air filter?
If you neglect your air filter, your lawn mower’s engine will struggle to breathe. It can lead to reduced power, stalling, difficulty starting, and even increased fuel consumption. Over time, dirt bypassing a clogged filter can also damage internal engine components.
Can I just clean my paper air filter instead of replacing it?
While you might be able to tap some loose debris from a paper filter, you should not try to wash or blow it clean with compressed air. This can damage the filter’s fine paper pleats, reducing its effectiveness and potentially allowing dirt into your engine. Always replace paper filters when they are dirty.
How often should I check my lawn mower’s air filter?
It’s a good practice to visually check your air filter before each mowing season or every 25 hours of operation. If you mow in very dusty conditions, check it even more frequently. A quick glance can tell you if it’s visibly dirty and needs attention.
Does a new air filter improve gas mileage on my mower?
Yes, it often does! A clogged air filter restricts airflow, forcing your engine to burn more fuel to compensate for the lack of oxygen. Replacing a dirty filter with a clean one helps the engine maintain the correct air-to-fuel ratio, which can lead to better fuel efficiency.
Where can I find the correct replacement air filter for my specific mower?
The best place to find the right filter is by checking your mower’s owner’s manual for the part number. You can also look for a part number printed directly on your old filter. With this number, you can easily find the correct replacement at hardware stores, lawn and garden centers, or online retailers.
